
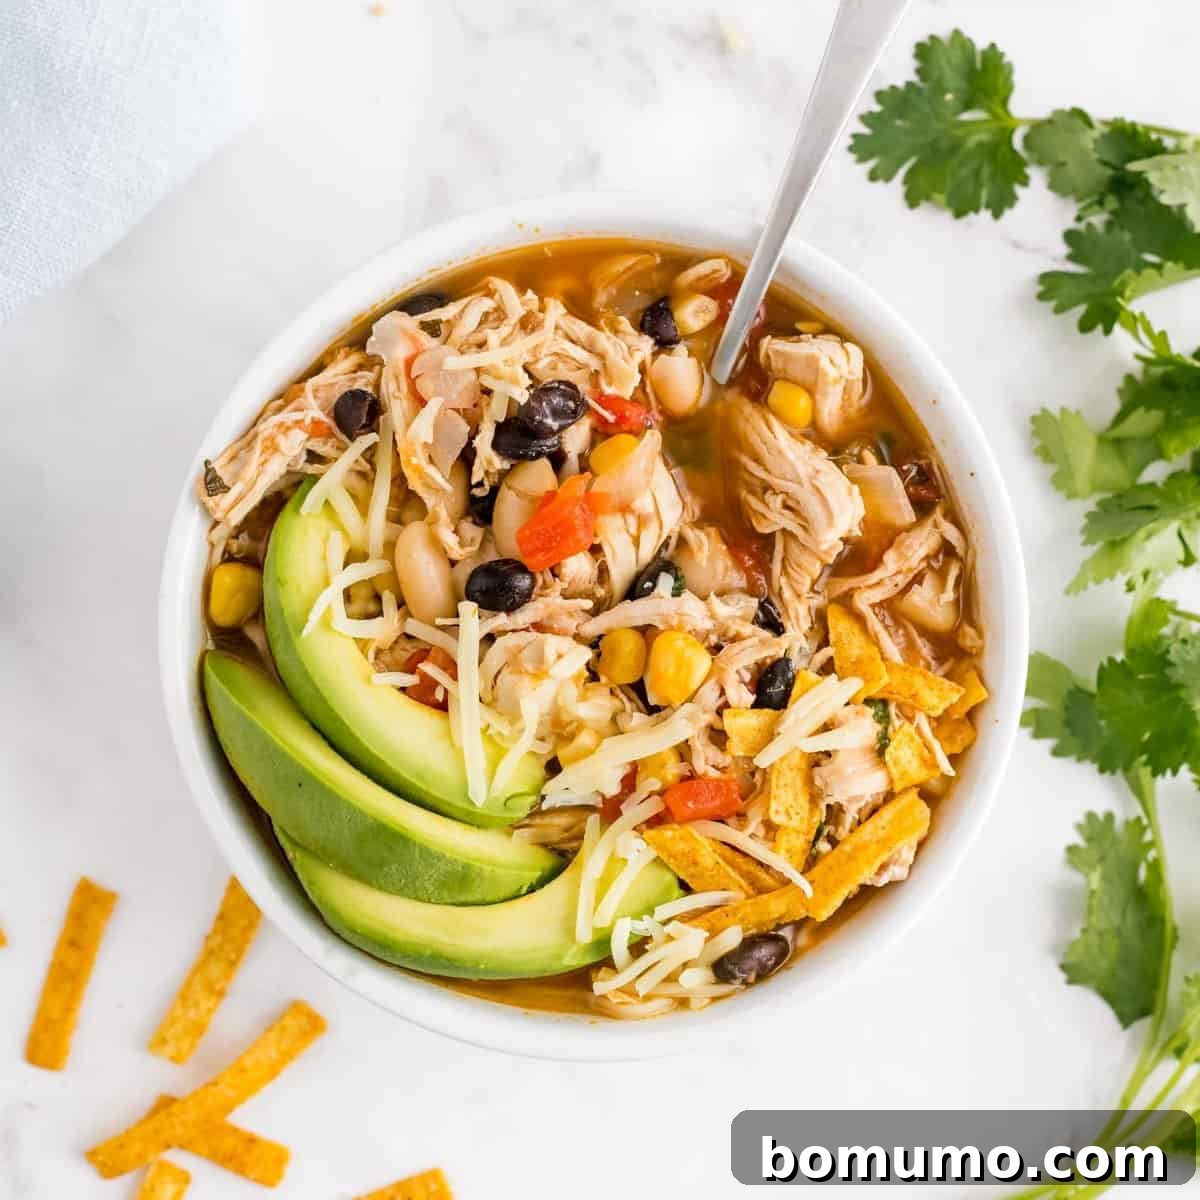
Recipe Overview
Why you’ll love it: This gently seasoned White Chicken Chili, packed with succulent chicken, sweet corn, hearty beans, and juicy tomatoes, is consistently one of my most requested and cherished recipes. It’s an effortless stovetop meal that’s perfect for feeding a gathering.
How long it takes: 1 hour, 20 minutes
Equipment you’ll need: Large pot or Dutch oven
Servings: 8

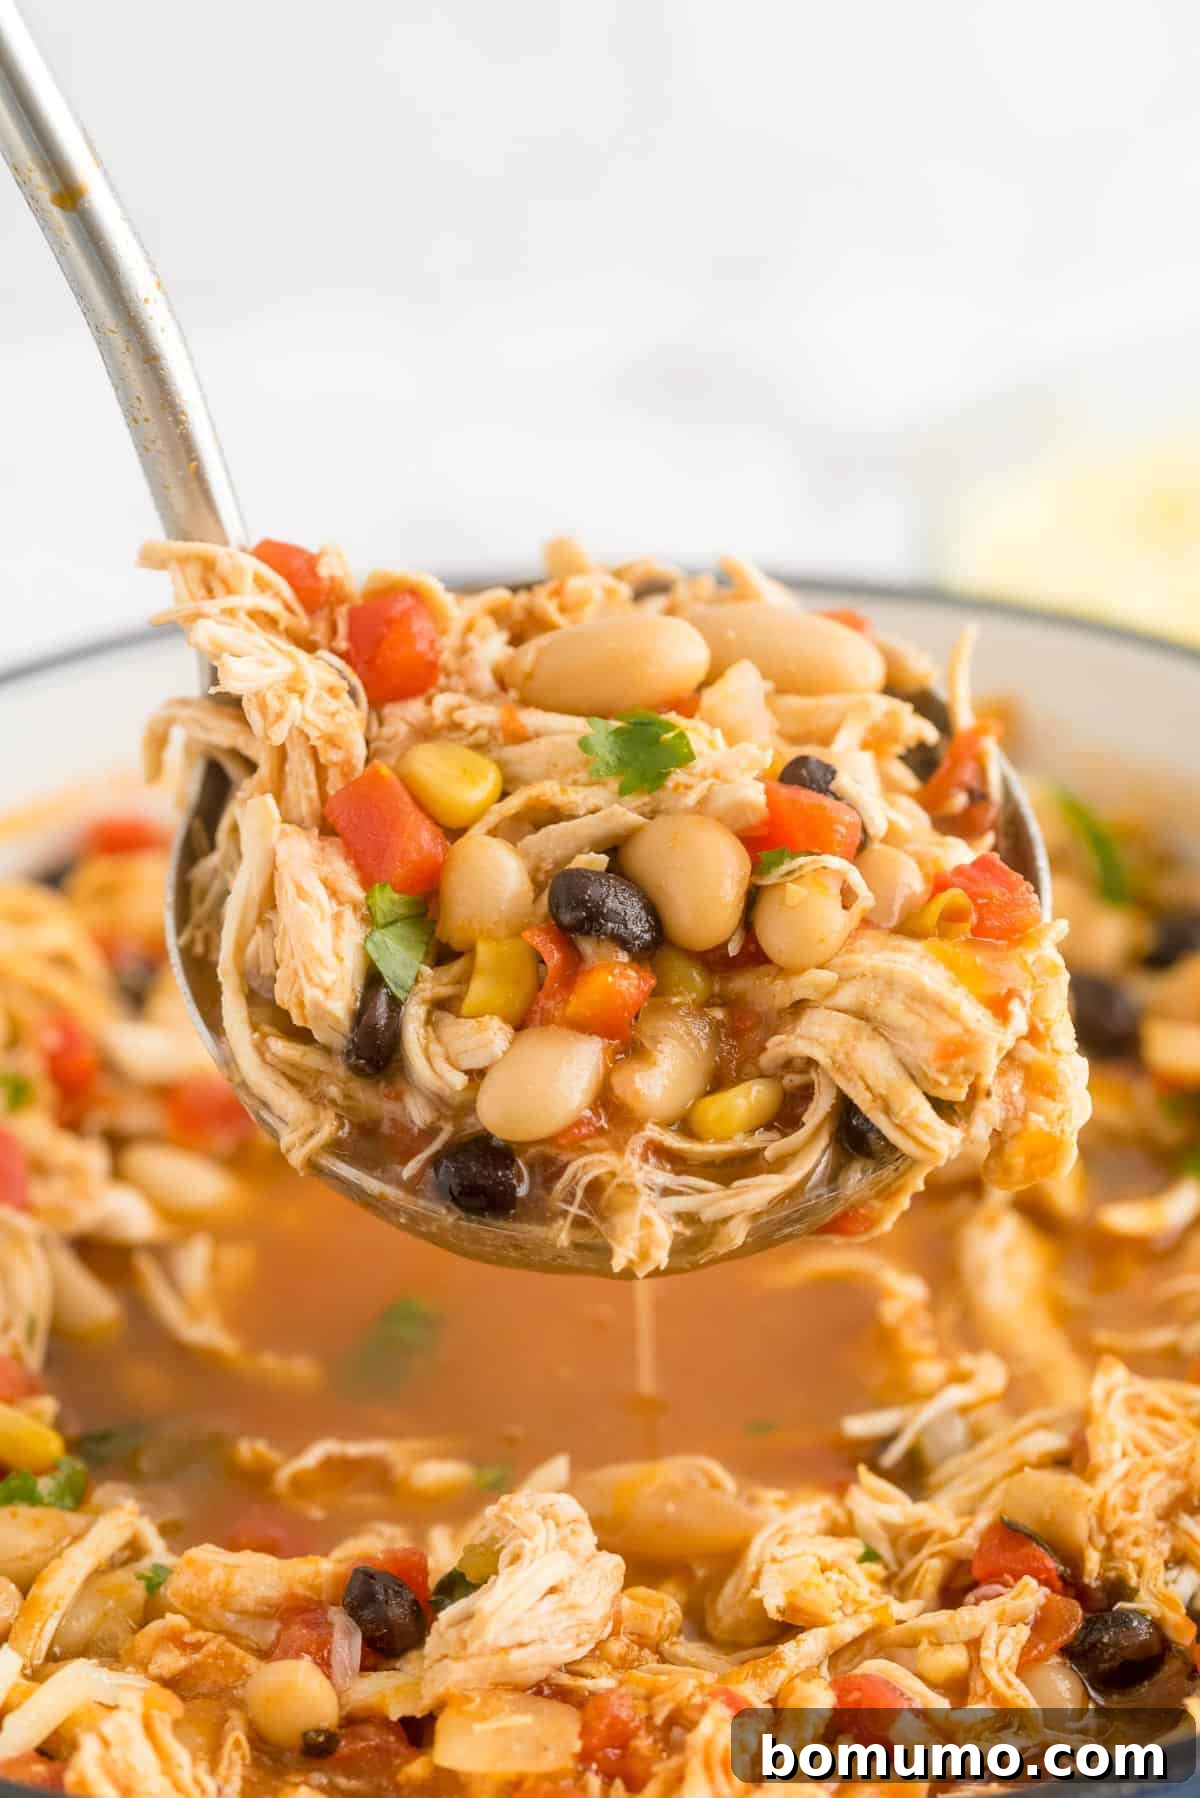
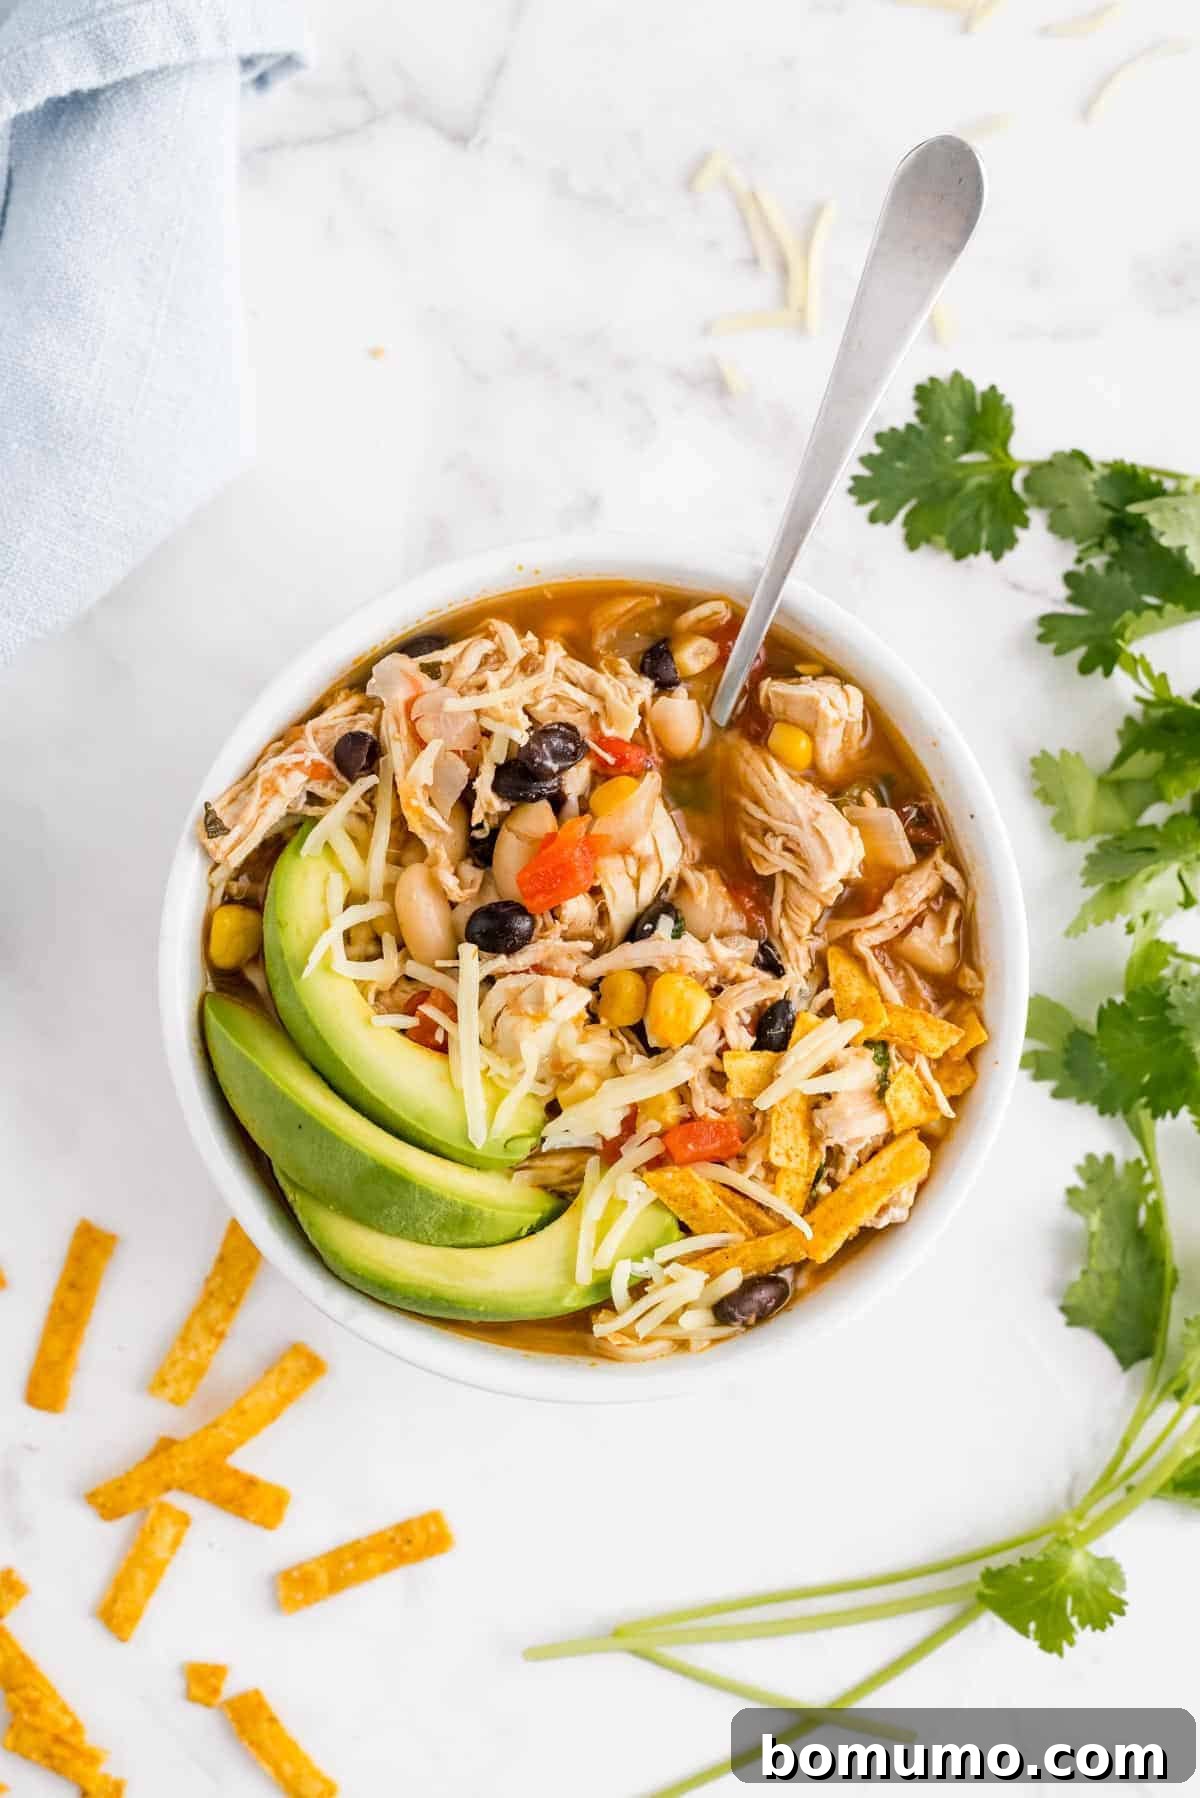
Discover the ultimate comfort food with this incredibly flavorful White Chicken Chili. Featuring tender chicken, a generous medley of Great Northern and black beans, diced tomatoes, sweet corn, creamy Monterey Jack cheese, and a mild yet vibrant blend of Southwest seasonings, this chili is a true culinary delight for any occasion. It’s particularly fantastic for casual gatherings, game days, or simply a cozy family dinner. Despite its gentle heat profile, it bursts with layers of rich taste that make it one of my most popular creations. One bite, and you’ll understand why it garners so much praise and requests!
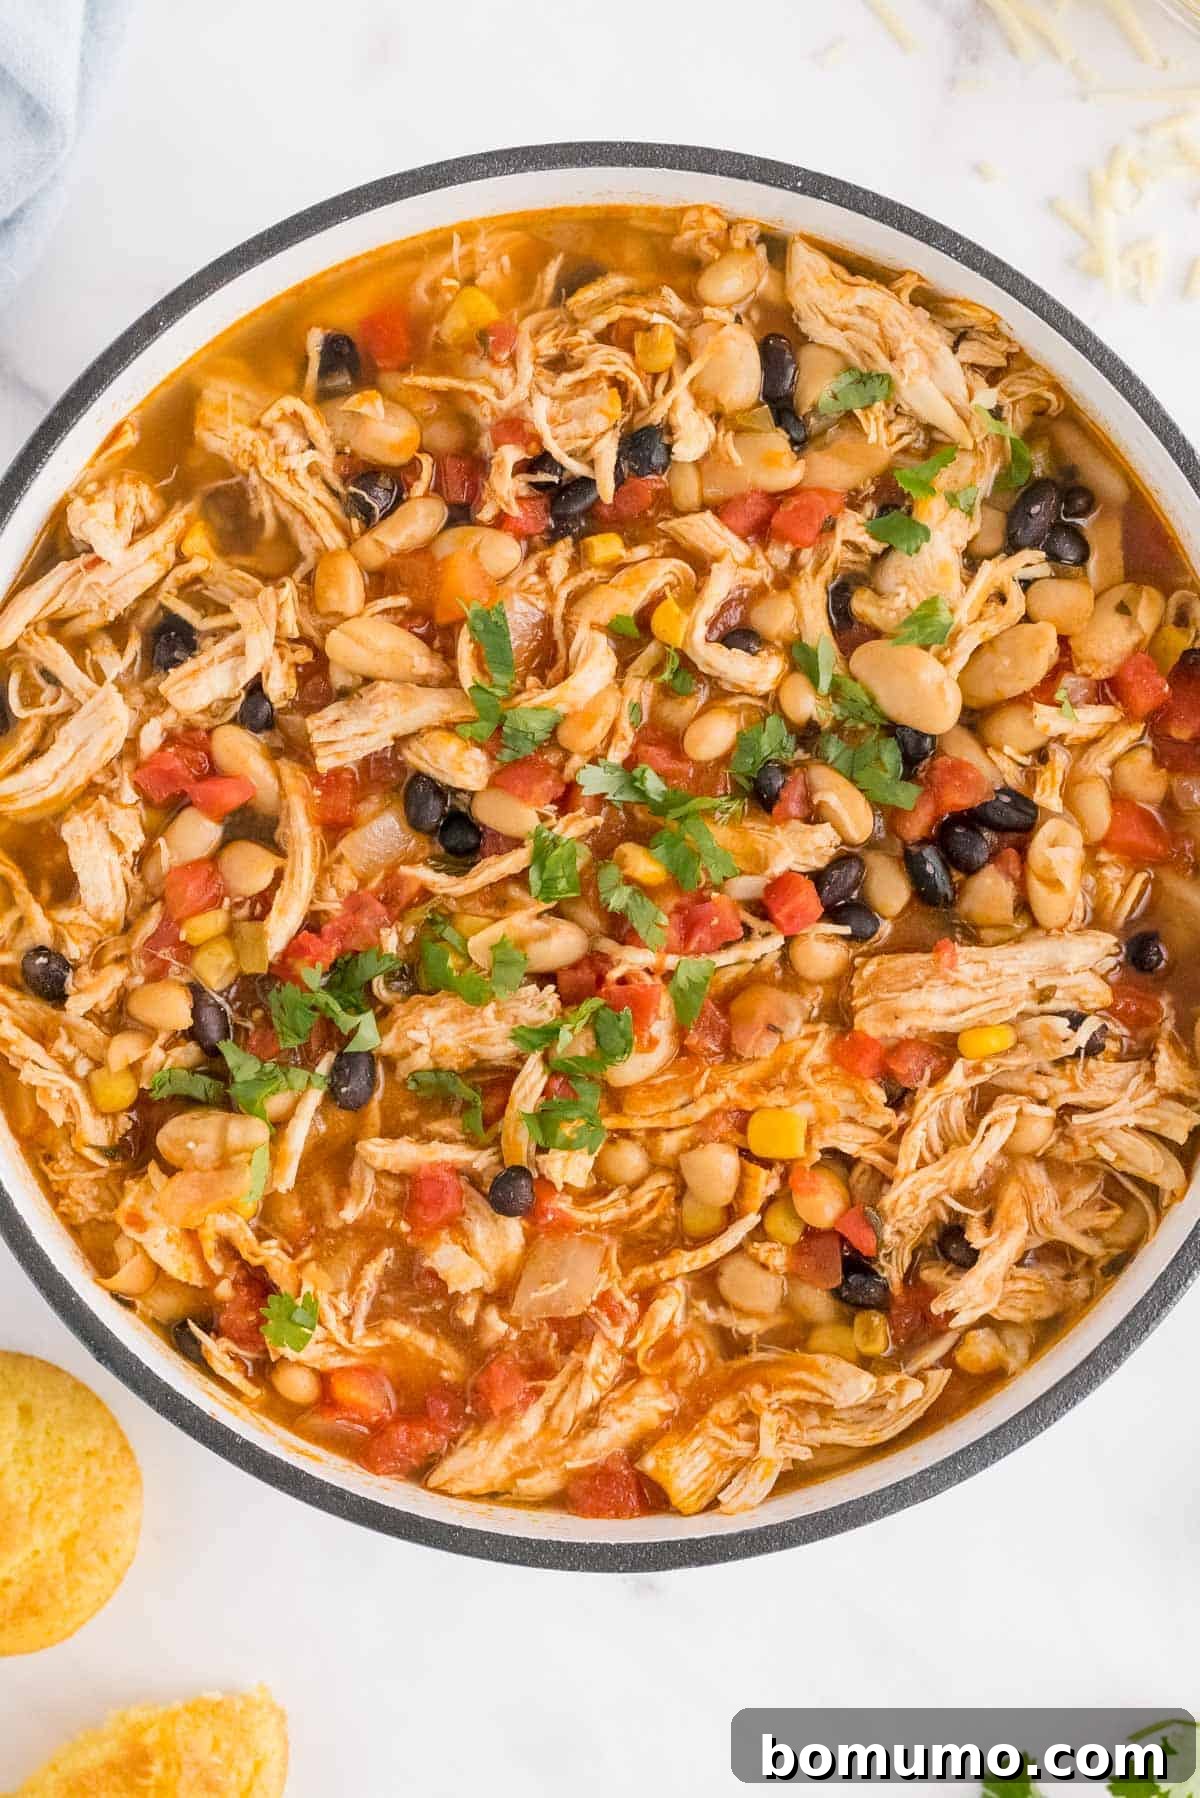
About This Unforgettable White Chicken Chili
This recipe truly has it all, making it a staple in countless homes. Its universal appeal means almost everyone will enjoy a bowl, whether they prefer a subtle warmth or a bit more kick. It’s renowned for its straightforward preparation, consistently excellent results, and the convenience of being a one-pan meal, which translates to minimal cleanup and maximum enjoyment. You have complete control over the spice level, allowing you to tailor it perfectly to your family’s preferences. Garnish it with melted Monterey Jack cheese and your favorite fresh toppings, and you have a bowl of white chicken chili that’s almost impossible to resist.
One of the brilliant aspects of this recipe is its adaptability regarding chicken preparation. To streamline your cooking process, I often opt for pre-cooked boneless, skinless chicken breasts, either diced or shredded. I find myself frequently having some on hand in the refrigerator or freezer, making dinner prep incredibly quick. Consider cooking a larger family pack of chicken breasts in advance; you can then shred or cube them and store them for several future meals. However, if you don’t have cooked chicken readily available, rest assured, the recipe includes clear instructions for cooking raw chicken directly in the pot, seamlessly integrating it into the chili. This flexibility ensures you can make this delicious dish regardless of your starting ingredients.
Another fantastic feature of this white chicken chili is its forgiving nature when it comes to cooking time. The active cooking steps are minimal: simply sauté the onions, incorporate the remaining ingredients, and let it simmer. While an hour of simmering is generally ideal for allowing the flavors to meld and deepen, this recipe is incredibly flexible. If you’re short on time, you can serve it after a shorter simmer without compromising on taste. Conversely, if you have the luxury of letting it gently bubble for two hours or even longer in a slow cooker, the flavors will only intensify and become even more profound. This makes it a perfect dish for busy weeknights or leisurely weekend cooking alike.

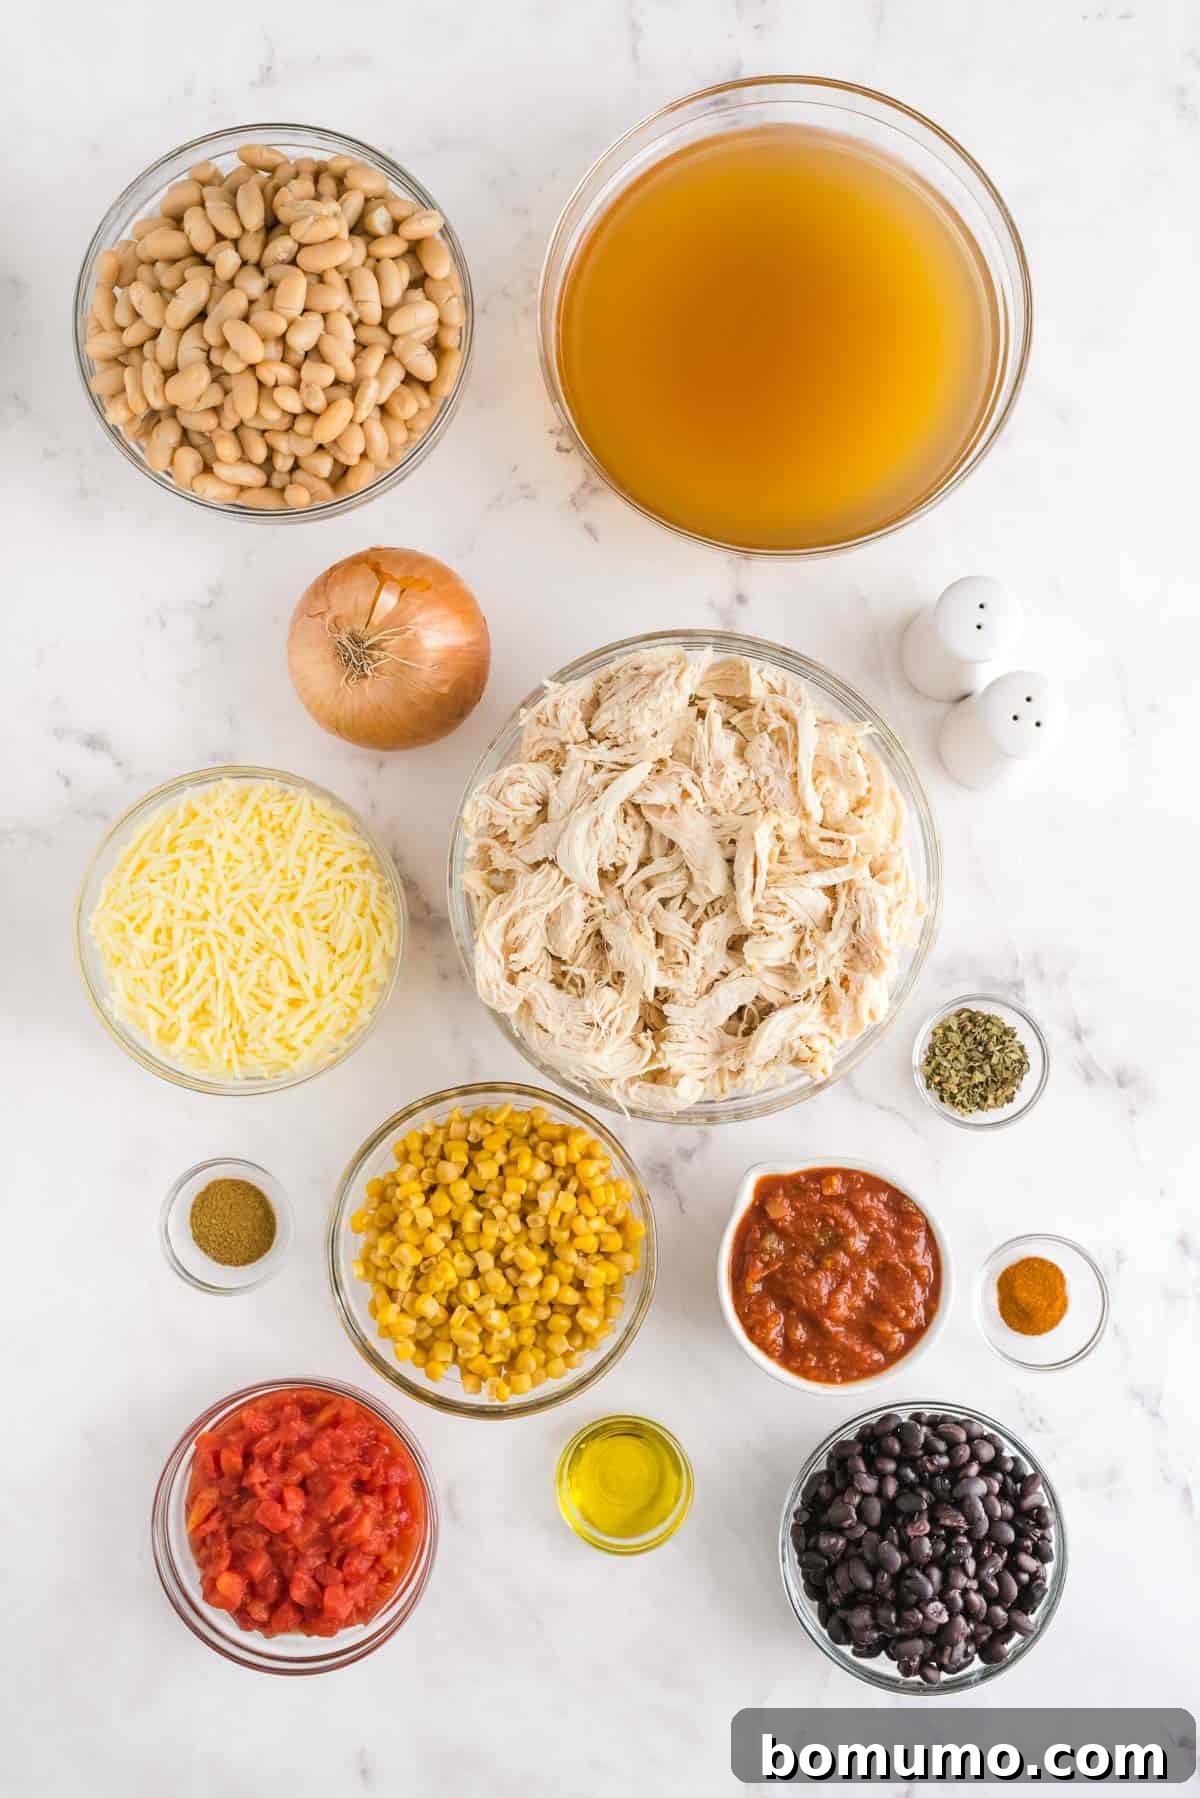
Essential Ingredients & Smart Substitutions
- Boneless Skinless Cooked Chicken: The star of our chili! Both chicken breasts and thighs work wonderfully, or you can use a combination for a richer flavor. If using raw chicken, you can cook it directly in the pot. Sauté until browned, then remove to cool slightly before shredding or cubing, and reintroduce it to the chili during the simmering stage. This allows the chicken to cook through and absorb the delicious chili flavors.
- Great Northern Beans & Black Beans (Canned): I’ve found that adding black beans over the years significantly enhances the chili’s heartiness and visual appeal, offering a pleasant textural contrast to the Great Northern beans. For a more classic, uniformly “white” chicken chili, you can omit the black beans and use only Great Northern beans. Always remember to rinse and drain canned beans thoroughly before adding them to remove excess sodium and improve their texture.
- Canned Diced Tomatoes: These add a subtle tang and essential moisture to the chili. There’s no need to drain them, as the liquid contributes to the broth. Opt for “no-salt-added” varieties when possible to better control the overall sodium content of your dish.
- Salsa: This ingredient acts as a fantastic flavor enhancer, contributing depth and a touch of heat. The choice of mild, medium, or hot salsa is entirely yours, depending on your preferred spice level. Jarred or canned salsa typically offers a more consistent texture and flavor profile for chili than fresh pico de gallo.
- Corn: Whether you choose canned (drained) or frozen corn, it brings a delightful sweetness and vibrant color to the chili. If using frozen, there’s no need to thaw it beforehand; it can be added directly to the pot.
- Onion: A foundational ingredient for building flavor. Any type of onion will work, but a standard yellow cooking onion is usually my go-to for its balanced sweetness and pungency when sautéed.
- Ground Cumin, Mexican Oregano, Salt, and Pepper: These pantry staples form the core seasoning blend for this chili. Cumin provides a warm, earthy, and slightly smoky flavor, while Mexican oregano adds a distinctive citrusy and savory note, different from Mediterranean oregano. Adjust salt and pepper to taste throughout the cooking process.
- Monterey Jack Cheese: This cheese melts beautifully, adding a lovely creaminess and mild flavor to the chili. If you enjoy a spicier kick, consider using Pepper Jack cheese for an extra layer of warmth.
- Toppings: Don’t underestimate the power of toppings! Sliced avocado, fresh cilantro, crispy tortilla strips, crumbled tortilla chips, a dollop of sour cream, or even a squeeze of fresh lime juice can elevate each serving, adding texture, freshness, and a burst of complementary flavors.
Crafting Your Delicious White Chicken Chili: A Step-by-Step Guide
Making this hearty white chicken chili is a wonderfully simple process. Follow these easy steps to create a comforting meal that’s bursting with flavor:
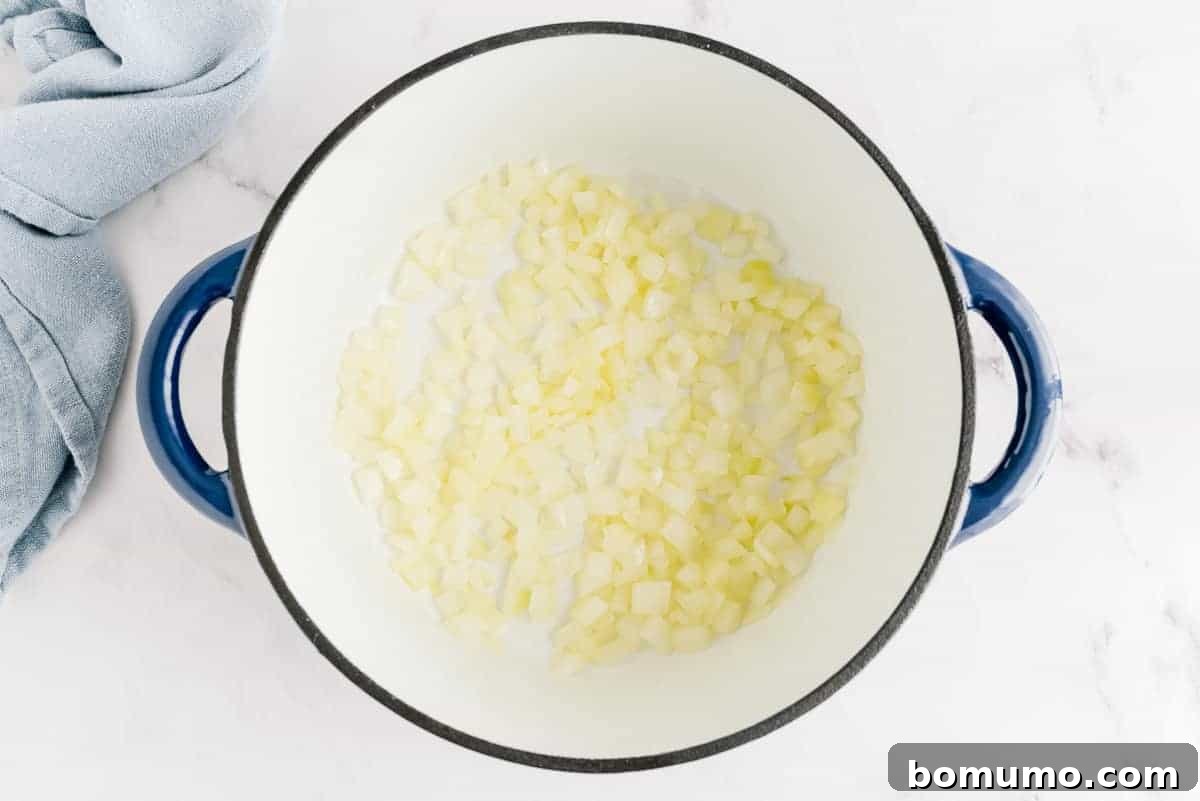
Step 1: Sauté the Aromatics. Begin by heating a tablespoon of olive oil in a large pot or Dutch oven over medium-high heat. Add your chopped yellow onion, season it gently with kosher salt and black pepper, and sauté until the onion becomes soft, translucent, and fragrant. This crucial first step lays the flavorful foundation for your chili.
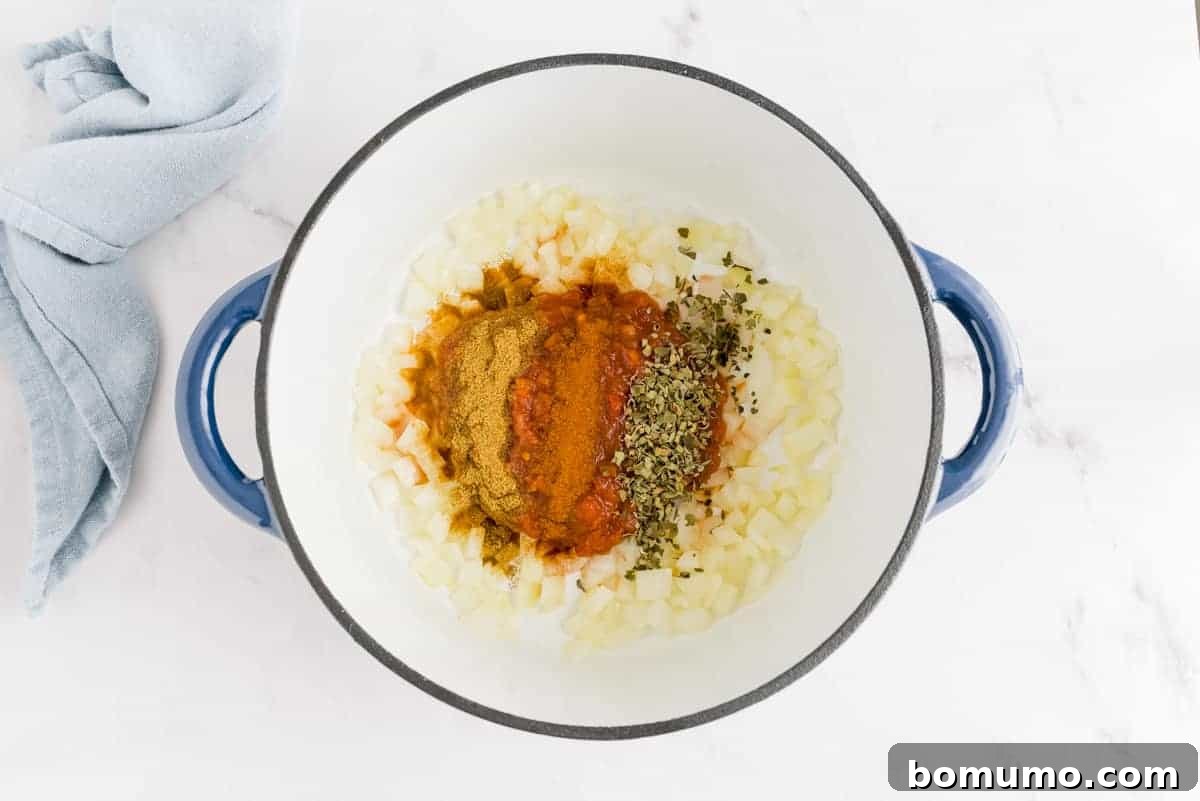
Step 2: Toast the Spices. Once the onions are perfectly tender, it’s time to awaken the spices. Stir in the salsa, Mexican oregano, ground cumin, and a pinch of cayenne pepper (if using). Cook these aromatic ingredients for just a minute or two, stirring continuously. This brief toasting period in the hot oil helps to release and intensify their essential oils, deepening the overall flavor profile of your chili significantly.
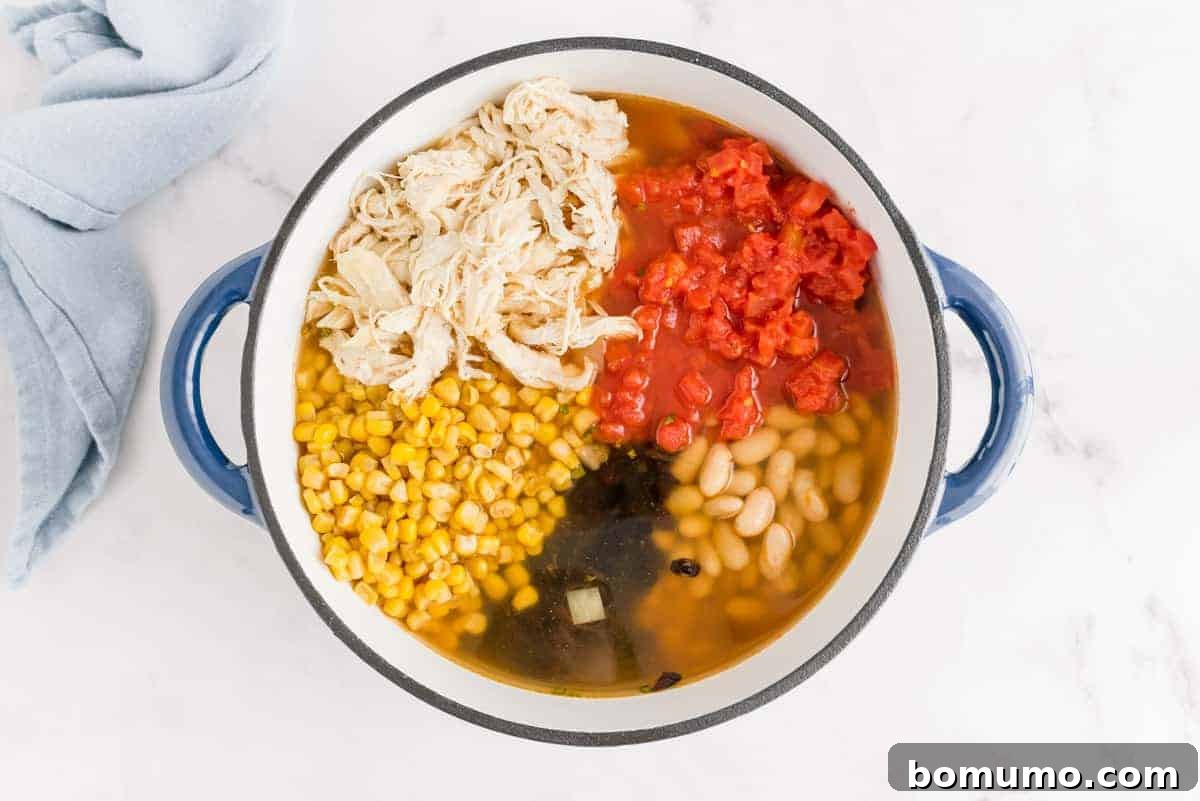
Step 3: Combine and Simmer. After the spices have toasted, add the remaining core ingredients: the rinsed and drained Great Northern beans, black beans, corn kernels, undrained diced tomatoes, cubed or shredded chicken, and chicken broth. Give everything a good stir to ensure all ingredients are well combined and coated in the flavorful base. Bring the mixture to a rolling boil, then reduce the heat to a gentle simmer. Allow the chili to simmer for at least 30 minutes, or for up to 2 hours for even deeper flavor development. This recipe is incredibly forgiving, so don’t stress about the exact timing!
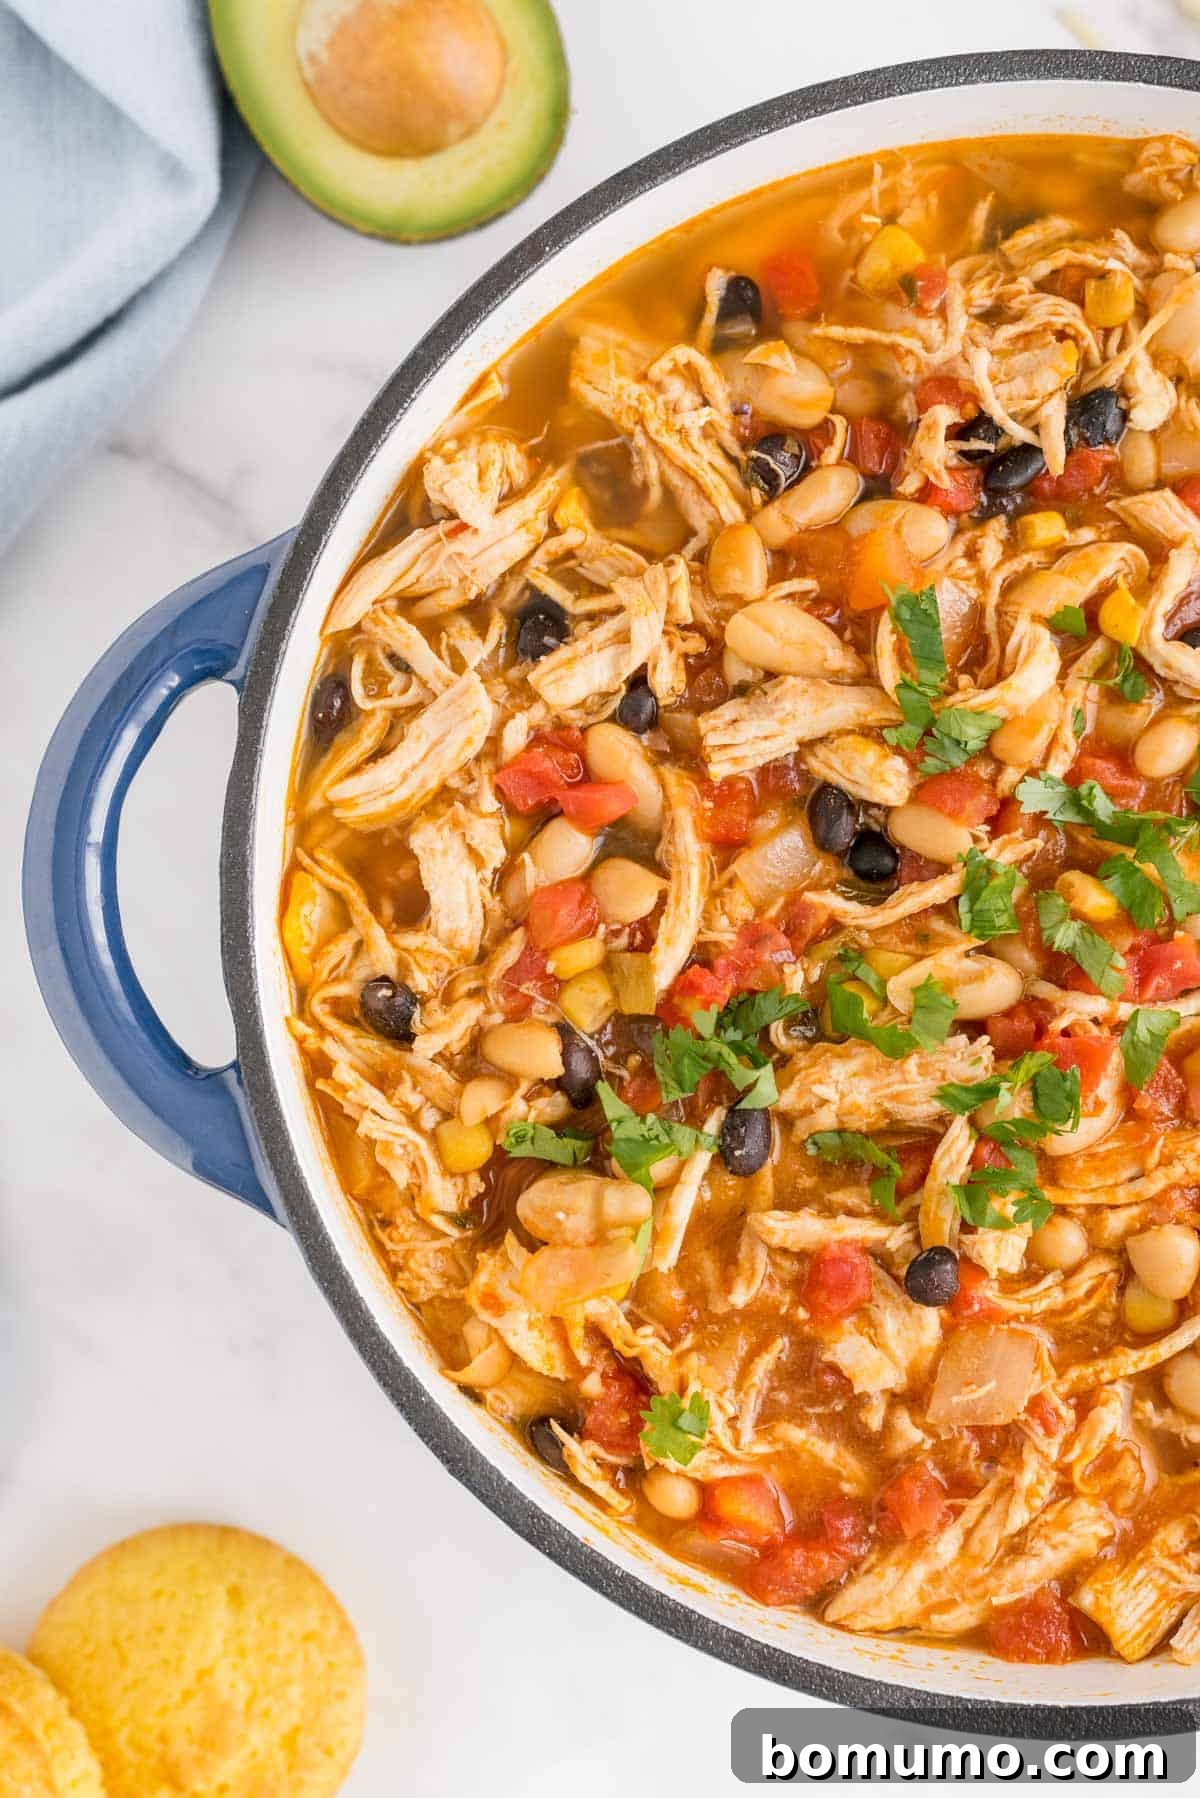
Step 4: The Cheesy Finish. Just before you’re ready to serve, you have two options for incorporating the Monterey Jack cheese. You can stir the shredded cheese directly into the simmering chili over very low heat, allowing it to melt slowly and create a wonderfully creamy consistency throughout the entire pot. Alternatively, for those who prefer individual customization, you can simply sprinkle a generous amount of shredded cheese over each serving just before it hits the table. Taste the chili at this stage and adjust any seasonings as needed—a little more salt, pepper, or a dash of cayenne can truly perfect the flavor. Serve hot and enjoy!
Mastering the Consistency: How To Thicken White Chicken Chili
This white chili recipe naturally boasts a delightful, chunky soup-like consistency. However, if you prefer a thicker, more stew-like texture for your chili, there are several effective methods to achieve your desired richness. Experiment with these techniques to find your perfect consistency:
- Mash Some of the Beans: This is a fantastic way to naturally thicken your chili without adding any dairy or extra ingredients. Before adding all the canned beans to the pot, set aside about one to two cups. Use a fork or a potato masher to thoroughly mash these reserved beans until they form a coarse paste. Incorporate the mashed beans back into the chili during the simmering stage. As they cook, they will dissolve slightly and release their starches, lending a wonderfully creamy and naturally thickened consistency to your chili.
- Introduce a Starch Thickener: For a quick and reliable thickening solution, consider using masa harina (corn flour) or fine cornmeal. Begin by adding just 1 tablespoon of your chosen thickener to the simmering chili at a time. Stir continuously and vigorously to prevent any lumps from forming. Allow it to simmer for a few minutes after each addition to give the starch time to hydrate and thicken the liquid. You can repeat this process, adding small amounts and stirring, until you reach your desired consistency.
- Create a Cornstarch Slurry: A classic method for thickening soups and stews. In a small bowl, whisk together a quarter cup of extra chicken broth or cold water with 1 to 2 tablespoons of cornstarch until a smooth slurry forms. Slowly pour this mixture into the simmering chili while stirring constantly. The chili will begin to thicken almost immediately. Continue to simmer for another minute or two to cook out any starchy taste.
- Incorporate Cheese or Cream Cheese: For a richer, dairy-infused thickening, stir in 4 ounces of softened cream cheese or an additional 2 cups of shredded Monterey Jack cheese (or a combination of both!). Add the dairy over very low heat, stirring continuously until it is completely melted and smoothly incorporated into the chili. This method not only thickens but also adds a luxurious creaminess and depth of flavor.
- Extend Cooking Time: Sometimes, the simplest solution is the best. If your chili is a bit too thin, simply continue to simmer it with the lid off. This allows more liquid to evaporate naturally, concentrating the flavors and gradually reducing the volume until the chili reaches your preferred, thicker consistency. Keep an eye on it and stir occasionally to prevent sticking.
Creative Recipe Variations & Customization
One of the true joys of this white chicken chili recipe is its incredible versatility. It’s truly difficult to “mess up” this dish, making it a perfect canvas for your culinary creativity. Feel free to customize it based on your preferences or what you have on hand:
- Protein Power: While chicken breasts are specified, you can easily use dark meat chicken (thighs) for an even richer flavor. Leftover rotisserie chicken or even shredded turkey from Thanksgiving can be fantastic substitutes, adding a shortcut to your prep time.
- Spice It Up (or Down): Adjust the seasoning to your liking. Add an extra pinch of cayenne for more heat, or incorporate a diced jalapeño or serrano pepper when sautéing the onions. For a milder version, simply reduce or omit the cayenne pepper.
- Aromatic Boost: Introduce minced garlic during the onion sauté for an extra layer of savory depth. A can of mild green chiles, undrained, added with the tomatoes, will lend a subtle tang and authentic Southwest flavor without overwhelming heat.
- Bean Bonanza: Don’t be limited to Great Northern and black beans. Cannellini beans, pinto beans, or even a mix of your favorite white beans can be used interchangeably. Just remember to rinse and drain them well.
- Creamy or Classic: For an extra creamy chili, stir in some cream cheese or additional shredded Monterey Jack cheese directly into the pot before serving. Alternatively, serve it as a lighter, broth-based chili and let guests add cheese to their individual bowls.
- Veggie Boost: Enhance the nutritional value and texture by adding other vegetables. Diced bell peppers (any color), zucchini, or even a handful of spinach can be stirred in during the last 15-20 minutes of simmering.
- Smoky Undertones: A tiny dash of liquid smoke or a pinch of smoked paprika can add a wonderful depth to the chili, mimicking flavors achieved from slow-cooking.
You get the idea! This white chicken chili is remarkably forgiving and consistently turns out delicious, no matter how you tweak it. For even more cooking convenience, explore these alternative preparation methods:
- Instant Pot White Chicken Chili: For a super-fast version that doesn’t compromise on flavor.
- Slow Cooker White Chicken Chili: Perfect for busy days, allowing the flavors to meld beautifully over several hours with minimal effort.
- Easy Chicken Chili Recipe: A brilliant shortcut version using only FIVE key ingredients for when you need dinner on the table in a flash!
Host Your Own Engaging Chili Buffet
For larger gatherings, parties, or game day celebrations, creating a self-serve chili buffet is an absolute crowd-pleaser and simplifies entertaining immensely. My preferred strategy is to prepare two distinct types of chili – a classic red chili and this delightful white chicken chili – and keep them warm and ready in separate slow cookers. This offers variety and caters to different taste preferences. The real fun, however, comes with an abundant array of toppings, allowing each guest to customize their bowl to perfection.
To complement the chili, I typically offer a selection of satisfying side dishes. Homemade cornbread is a must, providing a wholesome and comforting accompaniment. A fresh vegetable platter with a creamy dill vegetable dip adds a refreshing contrast. For dessert, a couple of different kinds of cookies always hit the spot, rounding out an easy yet impressive party menu. To truly elevate the appetizer spread, consider adding some popular dips. Queso dip and a savory sausage dip are always big hits, as is a vibrant 7-layer dip served alongside crispy tortilla chips. And for a warm, hearty option, a rich refried bean dip is always a crowd favorite. With such a spread, your guests will be raving about your chili buffet for weeks!
Storing & Reheating Leftovers
Storing & Reheating Leftovers
This white chicken chili is not only delicious freshly made but also fantastic as leftovers. It often tastes even better the next day as the flavors continue to meld and deepen. This makes it an ideal candidate for meal prepping or enjoying throughout the week.
Refrigerate: For immediate enjoyment, store any leftover chili in an airtight container in the refrigerator for up to 3 to 4 days. It’s perfect for a quick, satisfying lunch or another easy dinner.
Freeze: For longer storage, this chili freezes exceptionally well. Transfer cooled chili into freezer-safe containers or heavy-duty freezer bags, leaving a little headspace. It can be stored in the freezer for up to one month without significant loss of quality. For optimal results and texture, always thaw frozen chili overnight in the refrigerator before proceeding to reheat.
Reheat: To reheat individual portions, simply place the chili in a microwave-safe container and heat on high, stirring occasionally, until it is thoroughly warmed through. For larger quantities, transfer the leftover chili to a saucepan or pot and gently heat it on the stovetop over medium-low heat, stirring frequently to prevent sticking, until it reaches your desired temperature. Add a splash of broth or water if it seems too thick after reheating.
Make-Ahead & Meal Prep Ideas
Make-Ahead & Meal Prep Ideas
This white chicken chili is a fantastic candidate for make-ahead meals, helping you save time during busy weekdays. One of the best strategies is to prepare a double batch: enjoy one portion now and freeze the other for a convenient meal on a future date. When you’re ready to enjoy the frozen chili, simply transfer it to the refrigerator to thaw overnight. For reheating, you can gently warm it on the stovetop over low heat, or for a hands-off approach, transfer it to a slow cooker and heat on low for a couple of hours until it’s piping hot and ready to serve. This thoughtful planning ensures you always have a comforting, homemade meal within reach, reducing stress and increasing deliciousness!

Unlock Your Free Meal Plan
Are you looking for inspiration to simplify your weekly cooking routine? Explore our thoughtfully curated meal plans designed to bring delicious, wholesome meals to your table with ease. If you’re interested in a comprehensive weekly meal plan that thoughtfully incorporates this very recipe, you’re in luck! Take a moment to browse Meal Plan #89. Within it, you’ll discover a wholesome and satisfying recipe for each weekday, accompanied by a perfectly categorized grocery list to make your shopping trips effortless. We are constantly expanding our collection, adding a brand new, fresh meal plan every single week to keep your menu exciting and varied. Dive in and discover new favorites!
Explore More Hearty Chili Recipes
Wholesome Vegetarian Chili – Stovetop or Slow Cooker
Indulgent Creamy Queso Chili
Authentic Slow Cooker Texas Chili – The Best Crockpot Chili!
Classic Beef Chili with Beans
Stovetop White Chicken Chili

Print Recipe
Ingredients
- 1 tablespoon olive oil
- 1 medium yellow onion, chopped
- ½ teaspoon kosher salt, more if needed
- ½ teaspoon coarse ground black pepper, more if needed
- 1 cup salsa (mild, medium, or hot, your choice)
- 1 ½ teaspoons dried Mexican oregano
- 1 teaspoon ground cumin
- ¼ teaspoon cayenne pepper (optional, for heat)
- 1 jar (48 oz.) Great Northern beans, rinsed and drained
- 1 can (15 oz.) black beans, rinsed and drained
- 1 can (15.25 oz.) corn kernels, drained (or 1 ½ cups frozen corn)
- 1 can (14.5 oz.) diced tomatoes, undrained (look for no-salt-added)
- 4 chicken breasts, cooked and shredded or cubed (about 3 cups)
- 4 cans (15 oz. each) reduced sodium chicken broth (or 5 cups homemade broth)
- 2 cups (8 oz.) shredded Monterey Jack cheese
- Optional toppings: tortilla strips or chips, fresh cilantro, sour cream, sliced avocado, lime wedges.
Instructions
-
Heat 1 tablespoon of olive oil in a large pot or Dutch oven over medium-high heat. Add the chopped yellow onion and season with ½ teaspoon kosher salt and ½ teaspoon black pepper. Sauté the onion until it is tender and translucent, about 5-7 minutes.
-
Stir in 1 cup of salsa, 1 ½ teaspoons dried Mexican oregano, 1 teaspoon ground cumin, and ¼ teaspoon cayenne pepper. Cook for an additional 1-2 minutes, stirring frequently, to allow the spices to toast and become fragrant.
-
Add the rinsed and drained Great Northern beans, black beans, drained corn kernels, undrained diced tomatoes, cooked and shredded chicken, and 4 cans of reduced-sodium chicken broth. Stir all ingredients thoroughly to combine. Bring the mixture to a boil, then reduce the heat to low, cover, and let it simmer for at least 1 hour. (See note for simmering time flexibility).
-
Just before serving, over very low heat, slowly stir in the 2 cups of shredded Monterey Jack cheese until it is completely melted and creamy. Alternatively, you can sprinkle the cheese over individual servings if preferred. Taste the chili and adjust seasonings (salt, pepper, cayenne) as needed. Serve hot with your desired toppings.
Notes
- Salsa Choice: For the best results in this chili, canned or jarred salsa typically works better than fresh varieties like pico de gallo, as its texture and consistency are ideal for simmering. You can choose mild, medium, or hot salsa based on your desired spice level.
- Using Raw Chicken: If you prefer to use raw boneless, skinless chicken breasts, add them to the pot along with the broth and tomatoes. Simmer the chili for at least 30-40 minutes, or until the chicken is thoroughly cooked through. Carefully remove the cooked chicken from the pot, shred it using two forks, and then return the shredded chicken to the chili to continue simmering until you are ready to serve.
- Adjusting Consistency: To achieve a thicker, stew-like chili, consider these methods: mash 1-2 cups of the beans before adding them to the pot for natural thickening; slowly stir in 1-2 tablespoons of masa harina or fine cornmeal; or create a cornstarch slurry by whisking 1-2 tablespoons of cornstarch with ¼ cup cold broth/water and stirring it into the simmering chili. For a richer, creamier chili, slowly stir in 4 oz. of softened cream cheese over very low heat until melted. You can also simmer the chili longer with the lid off to allow more liquid to evaporate.
- Simmer Time Flexibility: This chili is incredibly forgiving. While an hour of simmering is recommended for optimal flavor development, it can be served after a shorter simmer if you’re pressed for time, or simmered for up to 2 hours for deeper, more robust flavors. If simmering for an extended period, you might consider adding the corn during the last 30 minutes to ensure it remains tender and doesn’t become too tough.
- Storage: Leftover white chicken chili can be stored in an airtight container in the refrigerator for up to 3 to 4 days. It also freezes exceptionally well for longer storage, up to one month. For best results when reheating from frozen, thaw overnight in the refrigerator before gently warming on the stove or in the microwave.
Nutrition Information
Calories: 592 kcal
Carbohydrates: 63 g
Protein: 53 g
Fat: 16 g
Saturated Fat: 7 g
Polyunsaturated Fat: 2 g
Monounsaturated Fat: 5 g
Cholesterol: 98 mg
Sodium: 971 mg
Potassium: 1380 mg
Fiber: 15 g
Sugar: 6 g
Vitamin A: 632 IU
Vitamin C: 13 mg
Calcium: 373 mg
Iron: 6 mg
Nutrition information is automatically calculated and should be used as an approximation.
Did You Make This Recipe?
Share your thoughts and a rating below! I love hearing from you!