
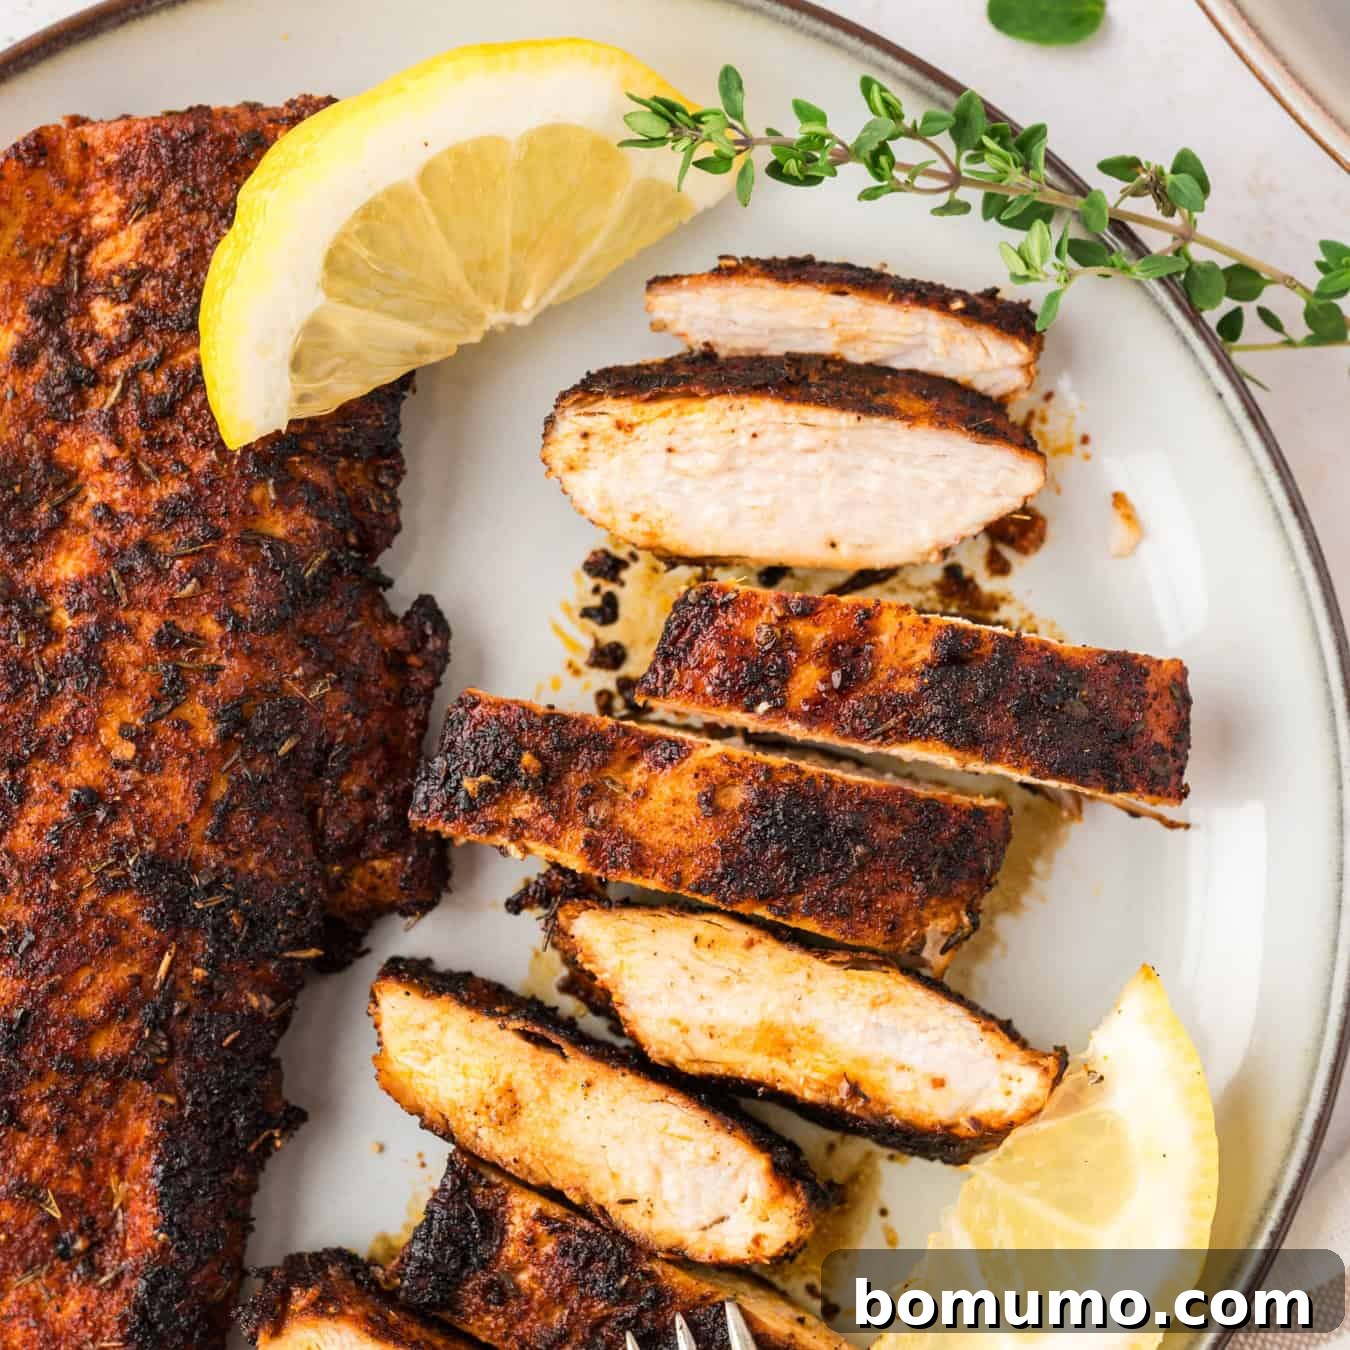
Recipe Overview: Effortless Blackened Chicken
Why you’ll adore this recipe: Dive into a world of vibrant flavor with this blackened chicken recipe. It’s astonishingly simple to prepare, yet delivers a taste experience far superior to your average chicken breast dinner. What truly sets it apart from many other blackened chicken recipes is the complete absence of oven time, making it a perfect stovetop sensation!
Time commitment: Ready in under 25 minutes from start to finish.
Essential equipment: A reliable, heavy skillet or cast-iron pan.
Servings: Designed for 4 people.
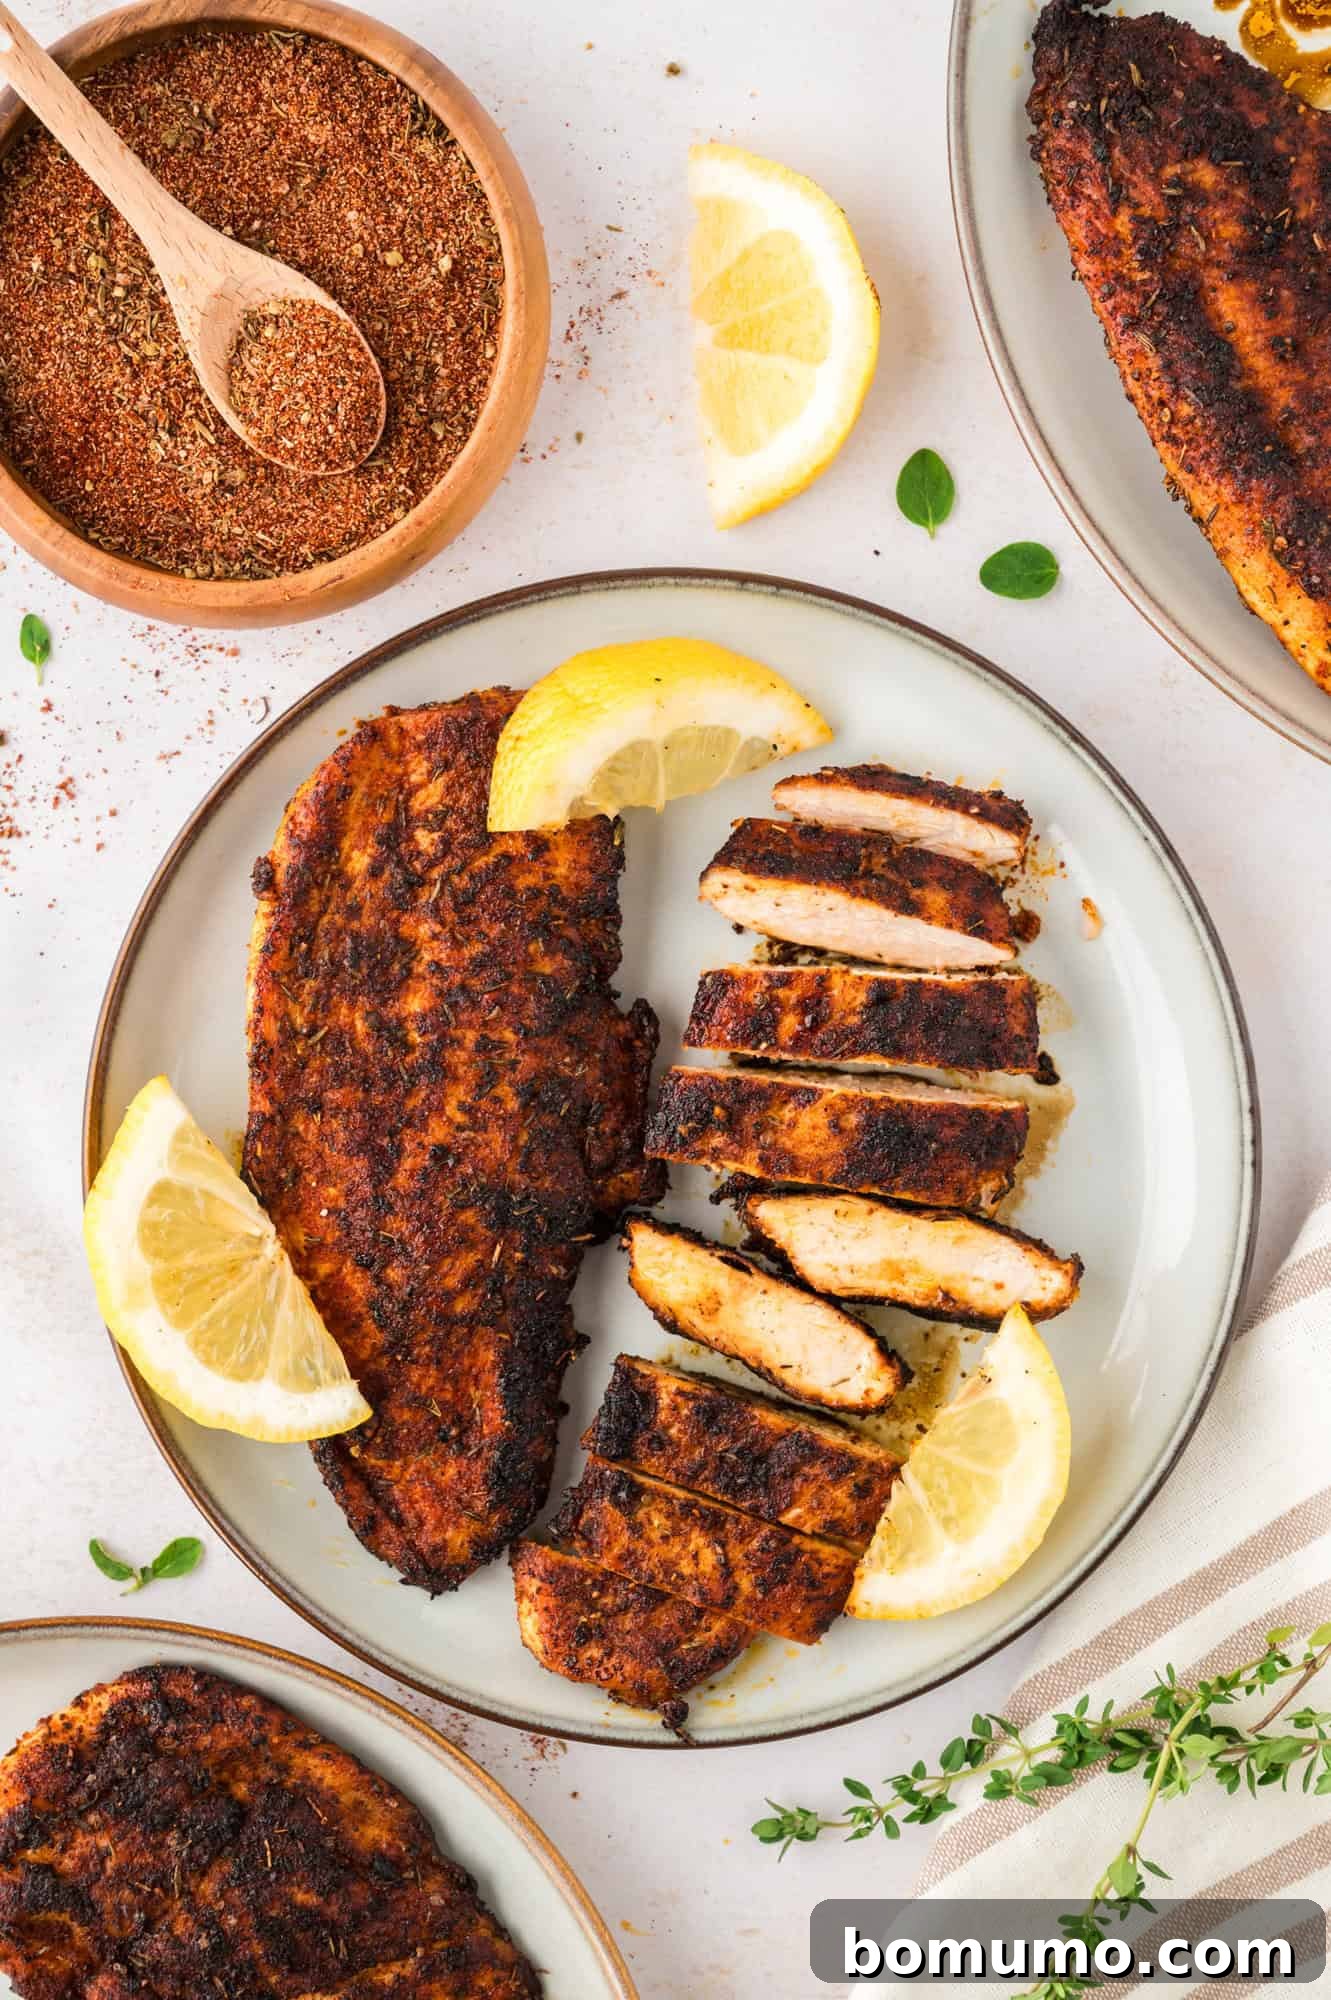
Cajun and Creole cooking styles are renowned for their philosophy of “more is more,” a principle that genuinely captivates the palate. This approach to layering robust flavors ensures that every single bite is a delicious journey, whether you’re enjoying a hearty Cajun chicken pasta, a classic jambalaya, or this incredibly flavorful blackened chicken recipe.
The secret to truly exceptional blackened chicken lies in its signature blackening seasoning. This isn’t just any spice mix; it’s a meticulously crafted blend of herbs and spices generously rubbed onto chicken or fish before it hits the heat. The seasoning is applied in abundance, creating a thick, aromatic crust as the chicken cooks in a blazing hot skillet. And yes, this crust does indeed turn quite dark, appearing almost black! But don’t be alarmed—this isn’t the unpleasant black of burnt food. Instead, it’s a rich, deeply browned, intensely flavorful black that promises a delicious, smoky depth, far from the bitter taste of charcoal.
While the ingredient list for this recipe might seem extensive at first glance, you’ll find that most of what you need are common pantry staples. Chances are, your kitchen is already stocked with all the necessary spices, making this a convenient and accessible meal to prepare any day of the week.
Why Blackened Chicken Deserves a Spot in Your Weekly Rotation
Transform Your Weeknight Chicken Breasts. Boneless, skinless chicken breasts are an undeniable staple in many households, offering a lean and versatile protein option. However, preparing them the same way repeatedly can quickly lead to culinary boredom. This blackened chicken recipe offers a fantastic solution, infusing an ordinary ingredient with extraordinary flavor and excitement, turning a mundane meal into a vibrant dining experience.
Remarkably Quick and Effortless to Master. One of the greatest advantages of this recipe is its speed and simplicity. By utilizing stovetop cooking, the chicken is ready in a mere 10 minutes, and the overall prep time is minimal. This makes it an ideal candidate for a quintessential quick weeknight dinner, allowing you to enjoy a gourmet-quality meal without spending hours in the kitchen.
Unmatched Versatility for Any Meal. Beyond its delicious taste, blackened chicken stands out for its incredible adaptability. It can be served in a multitude of ways, effortlessly fitting into various meal contexts. Slice it thinly and scatter it over a crisp salad for a light yet satisfying lunch, tuck it into warm bread for a robust sandwich, plate it alongside your favorite side dishes for a complete dinner, or shred it and fill tortillas for zesty, flavorful tacos. The possibilities are truly endless, ensuring you’ll never tire of this dynamic dish.
Mastering the Art of Thin Chicken Cutlets
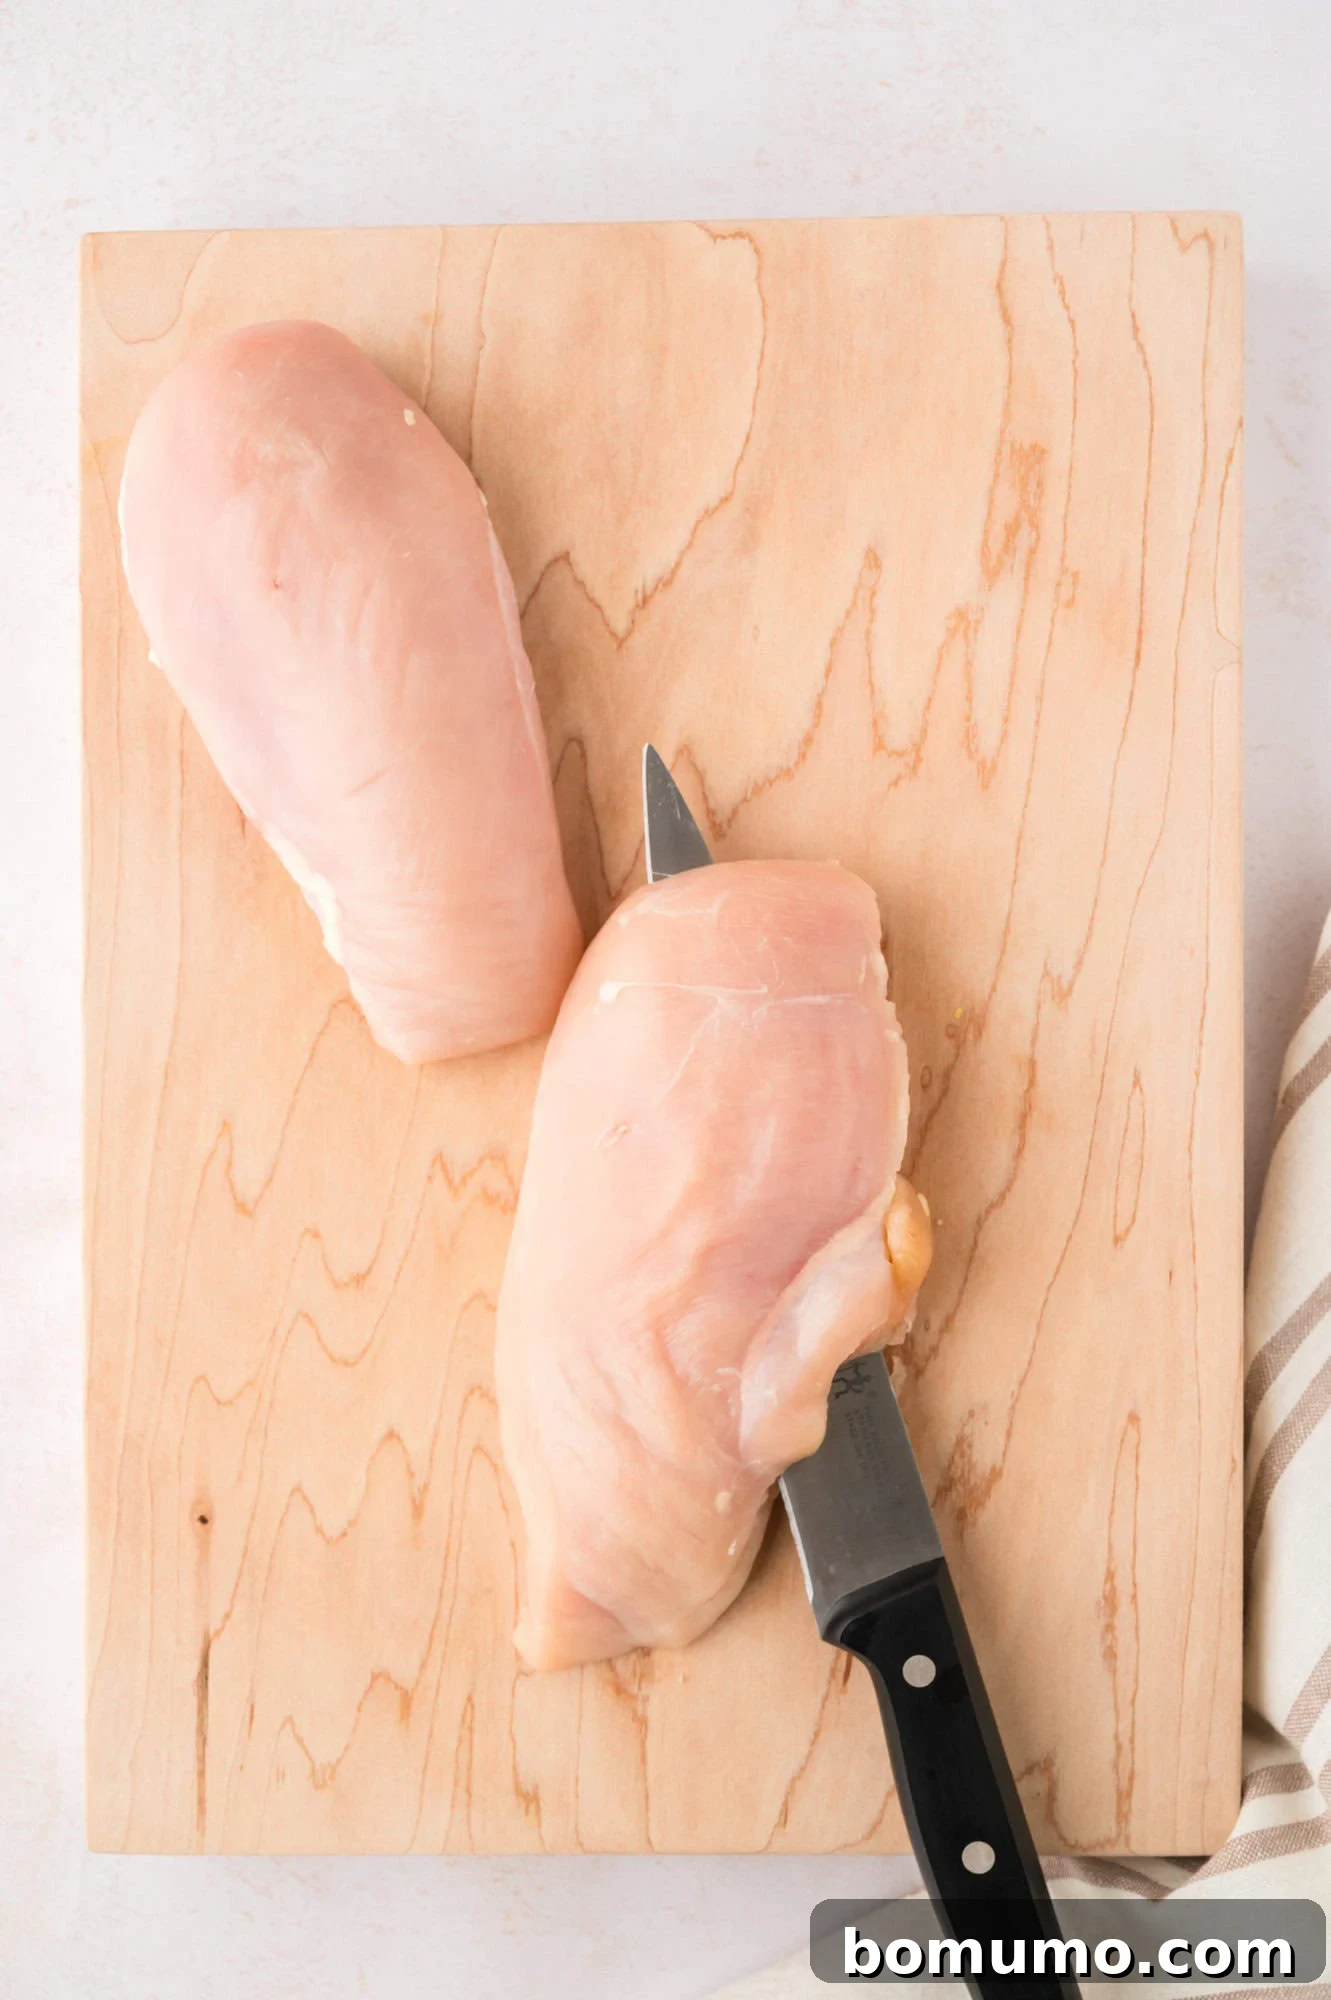
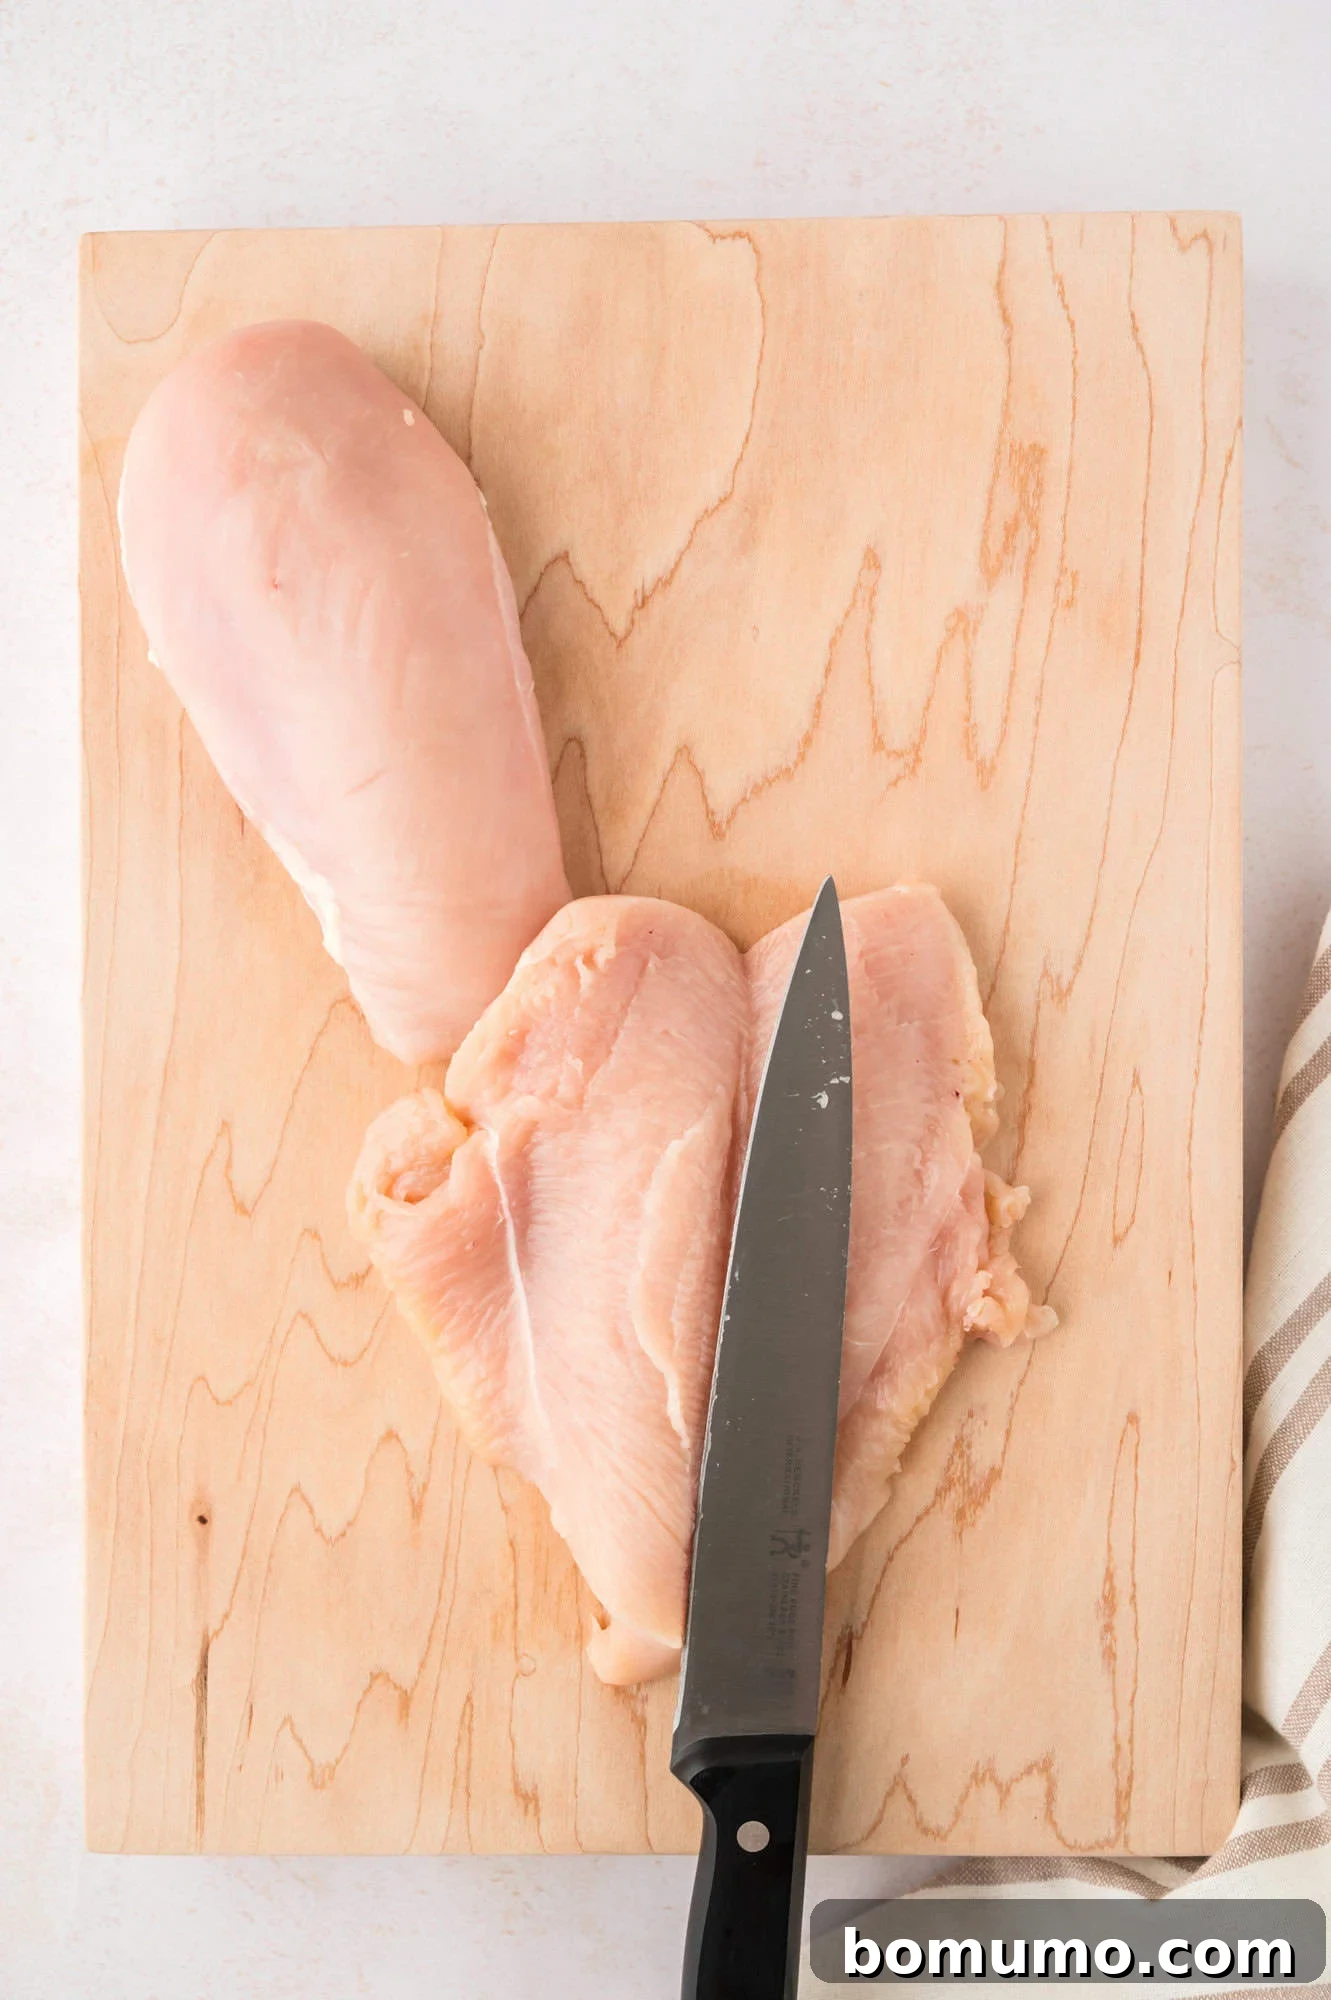
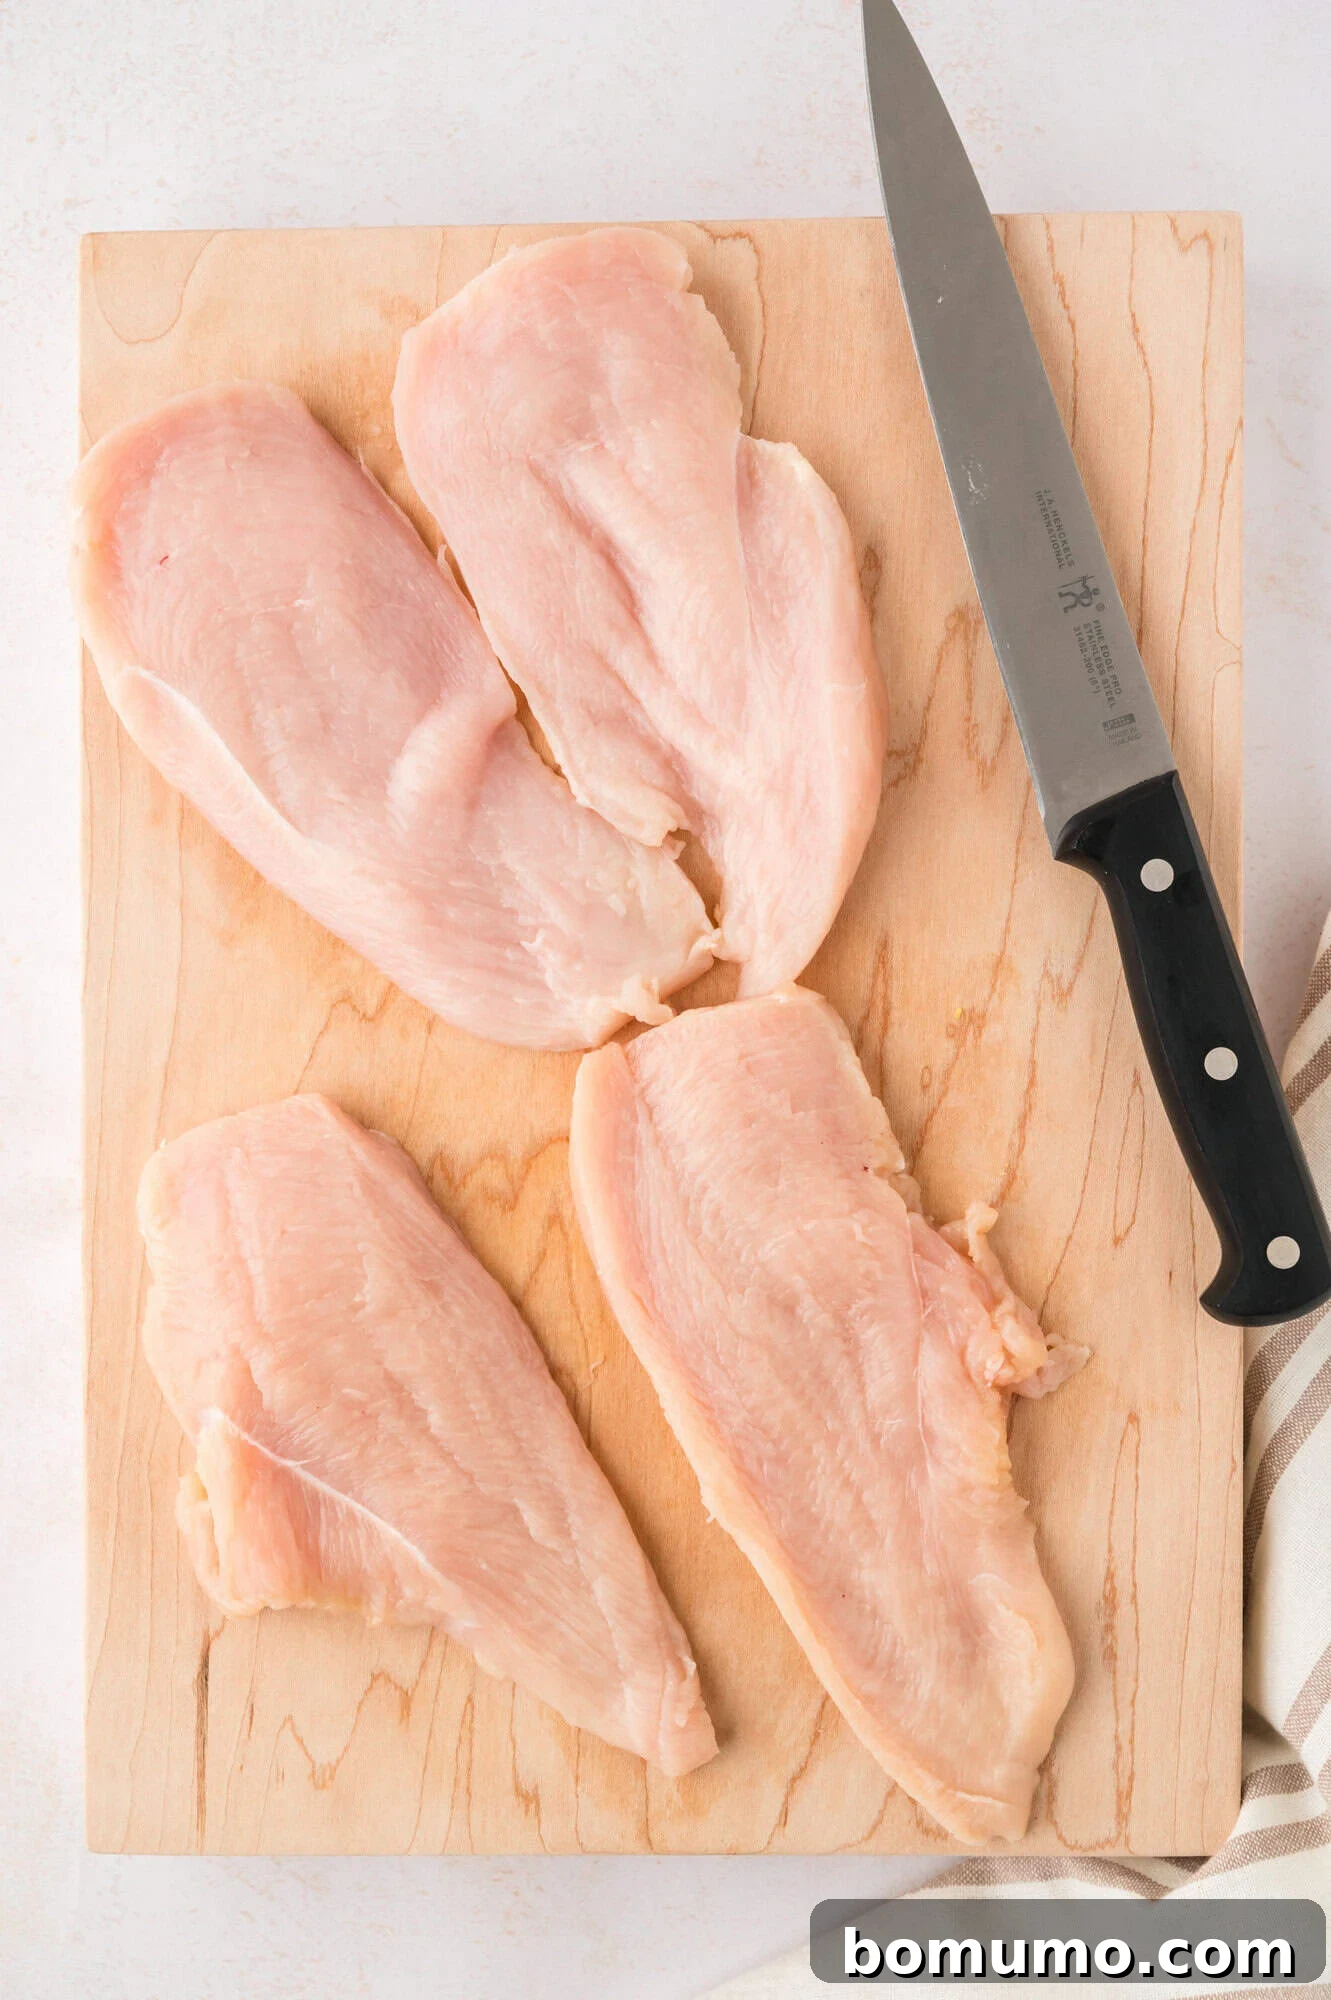
For this exceptional blackened chicken recipe, creating thin cutlets is a crucial step. This technique involves slicing each chicken breast horizontally to yield a thinner, more even piece of meat, much like butterflying it. To achieve this, place your hand firmly on top of the chicken breast to stabilize it. Using a sharp knife, begin slicing from the thicker side, working your way through until you have two uniform, thinner slices of chicken. This ensures even cooking and maximum surface area for that delicious blackened crust.
Ingredient Spotlight: What You’ll Need
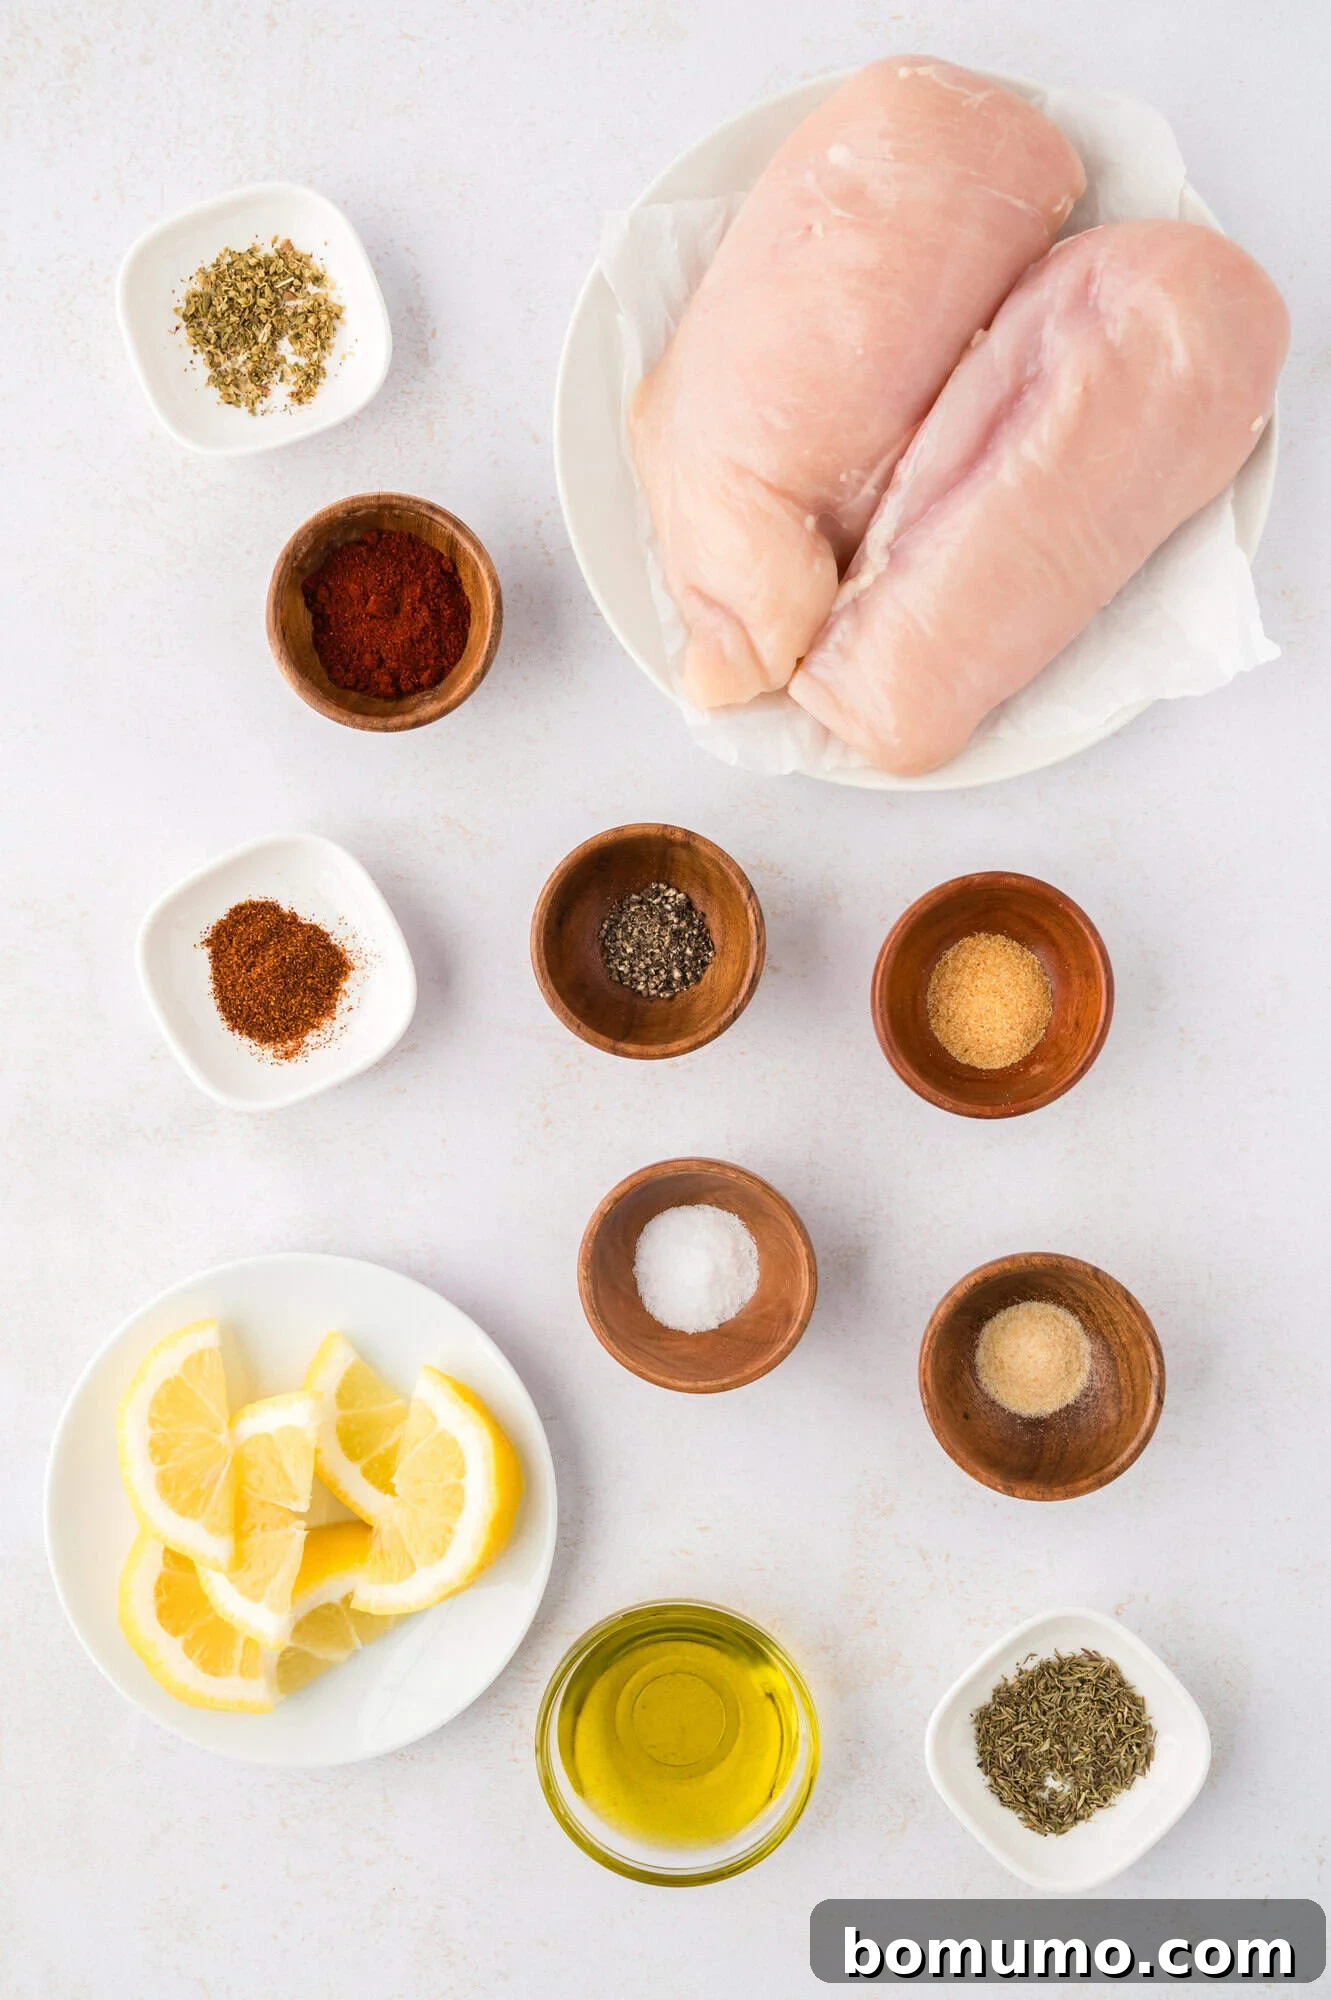
- Boneless, Skinless Chicken Breasts: These lean cuts are ideal for quickly searing into tender, flavorful blackened chicken. If you prefer the richer taste and moist texture of dark meat, boneless, skinless chicken thighs can be used as a delicious alternative, though be mindful that they may require a slightly longer cooking time to reach perfection.
- Blackening Seasoning Blend: This potent mix is the heart and soul of the recipe. It typically comprises smoked paprika for a deep, smoky undertone, robust garlic powder and onion powder for foundational aromatics, fragrant dried thyme and oregano for their earthy notes, a kick of cayenne pepper for customizable heat, and coarse ground black pepper to round out the spice profile. You can either use a store-bought blend or easily create your own with these common spices.
- Olive Oil: When selecting an oil for blackening, opt for a “regular” olive oil or a general cooking olive oil. Extra-virgin olive oil has a lower smoke point, which can cause it to burn and impart an undesirable taste at the high temperatures required for blackening. Alternatively, any other high smoke point cooking oil you favor, such as canola, grapeseed, or avocado oil, will work beautifully for achieving that perfect crust.
- Fresh Lemon: A squeeze of fresh lemon juice is not just a garnish; it’s a vital component that brightens and elevates the rich, spicy flavors of the blackened chicken. Serving lemon wedges alongside the dish allows each diner to add a burst of zesty freshness to their liking, cutting through the richness and creating a balanced taste sensation.
Step-by-Step Guide: Crafting Perfect Blackened Chicken
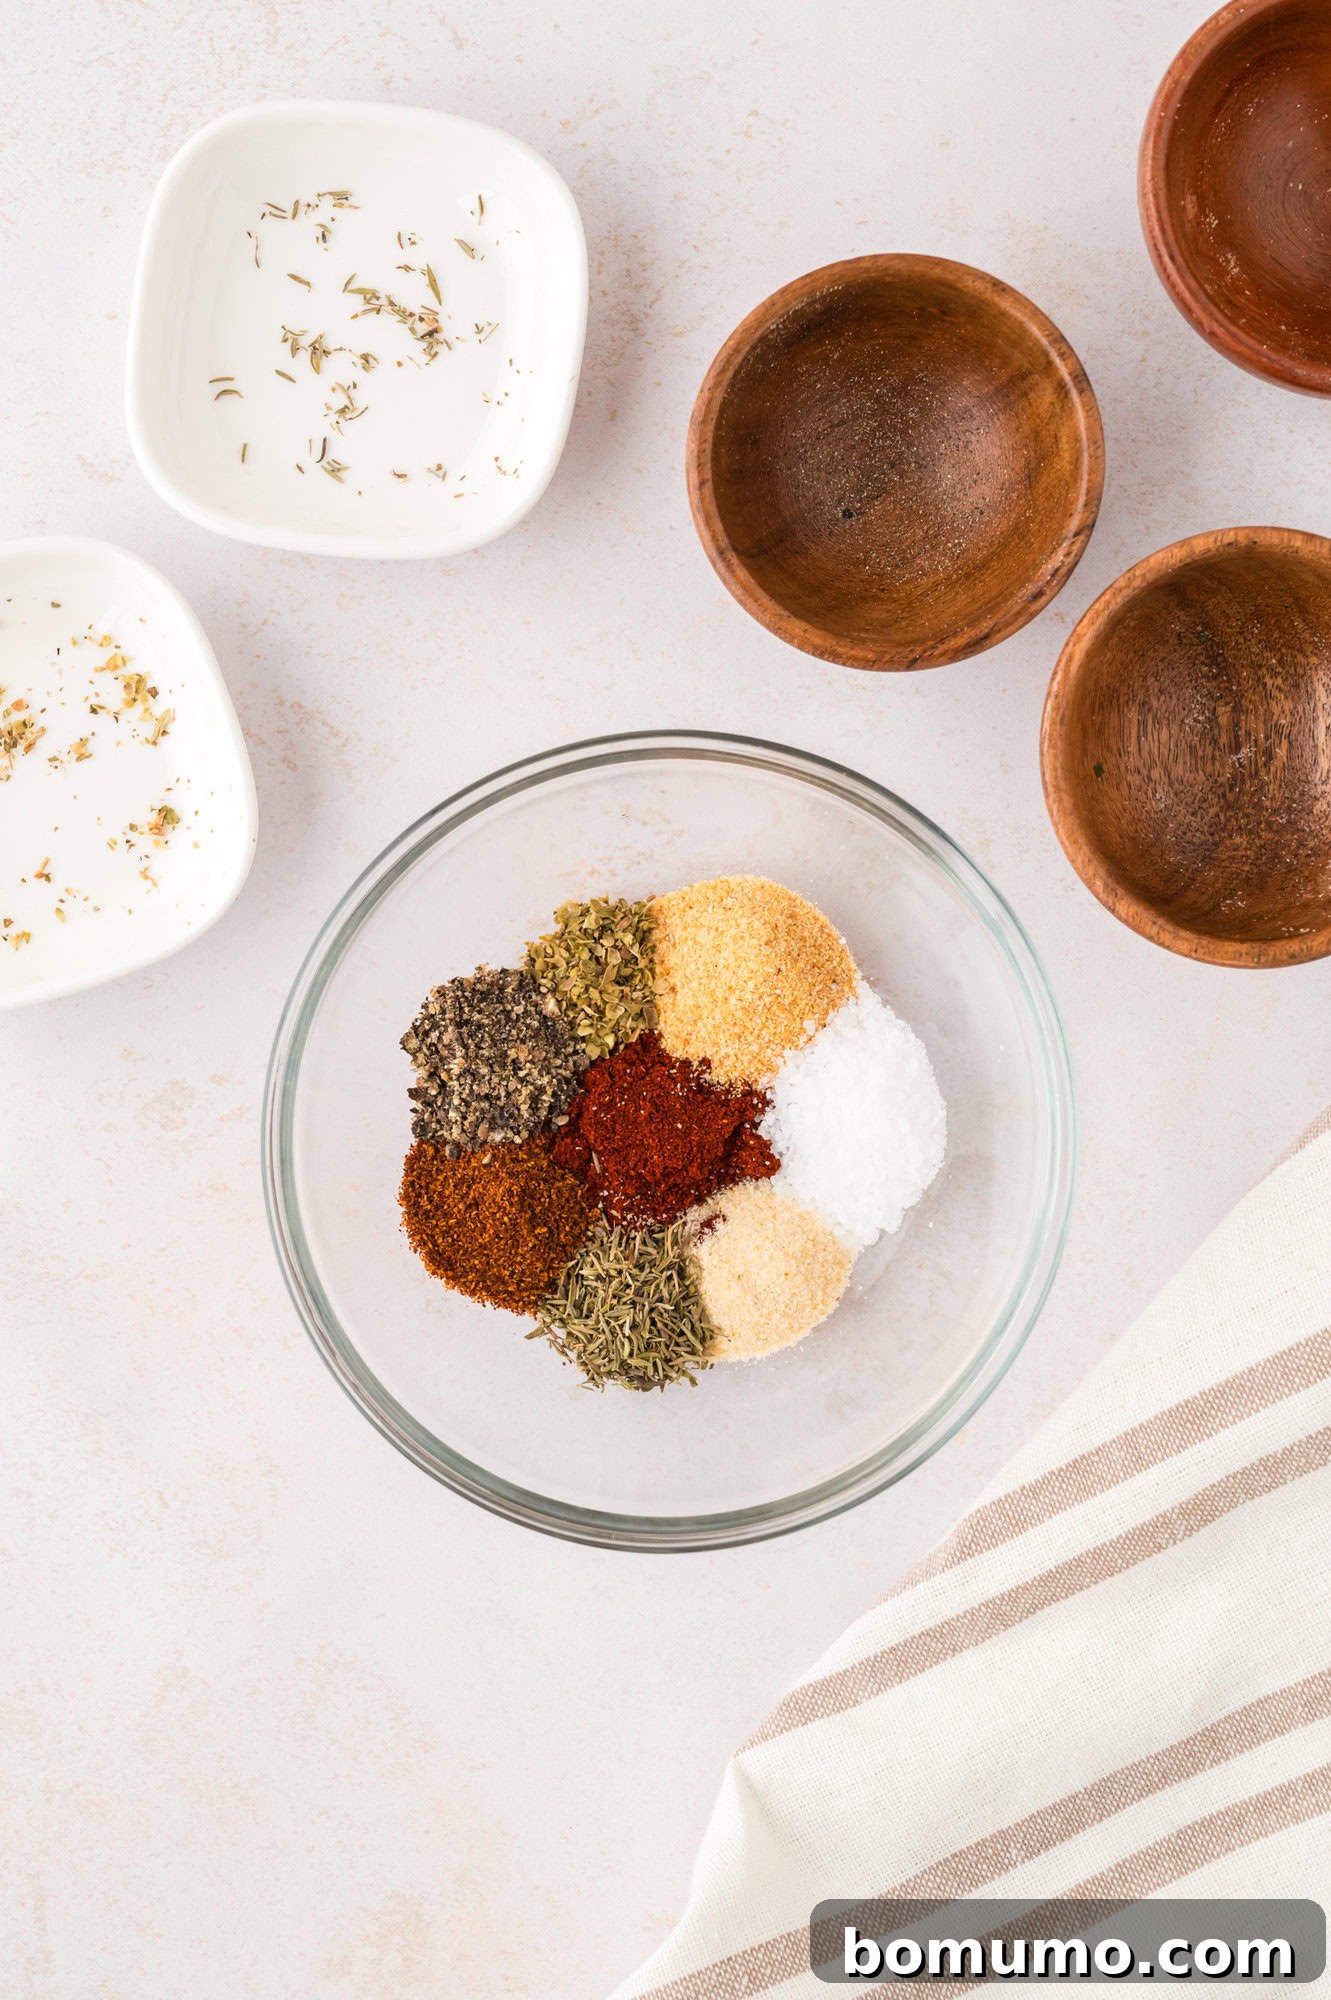
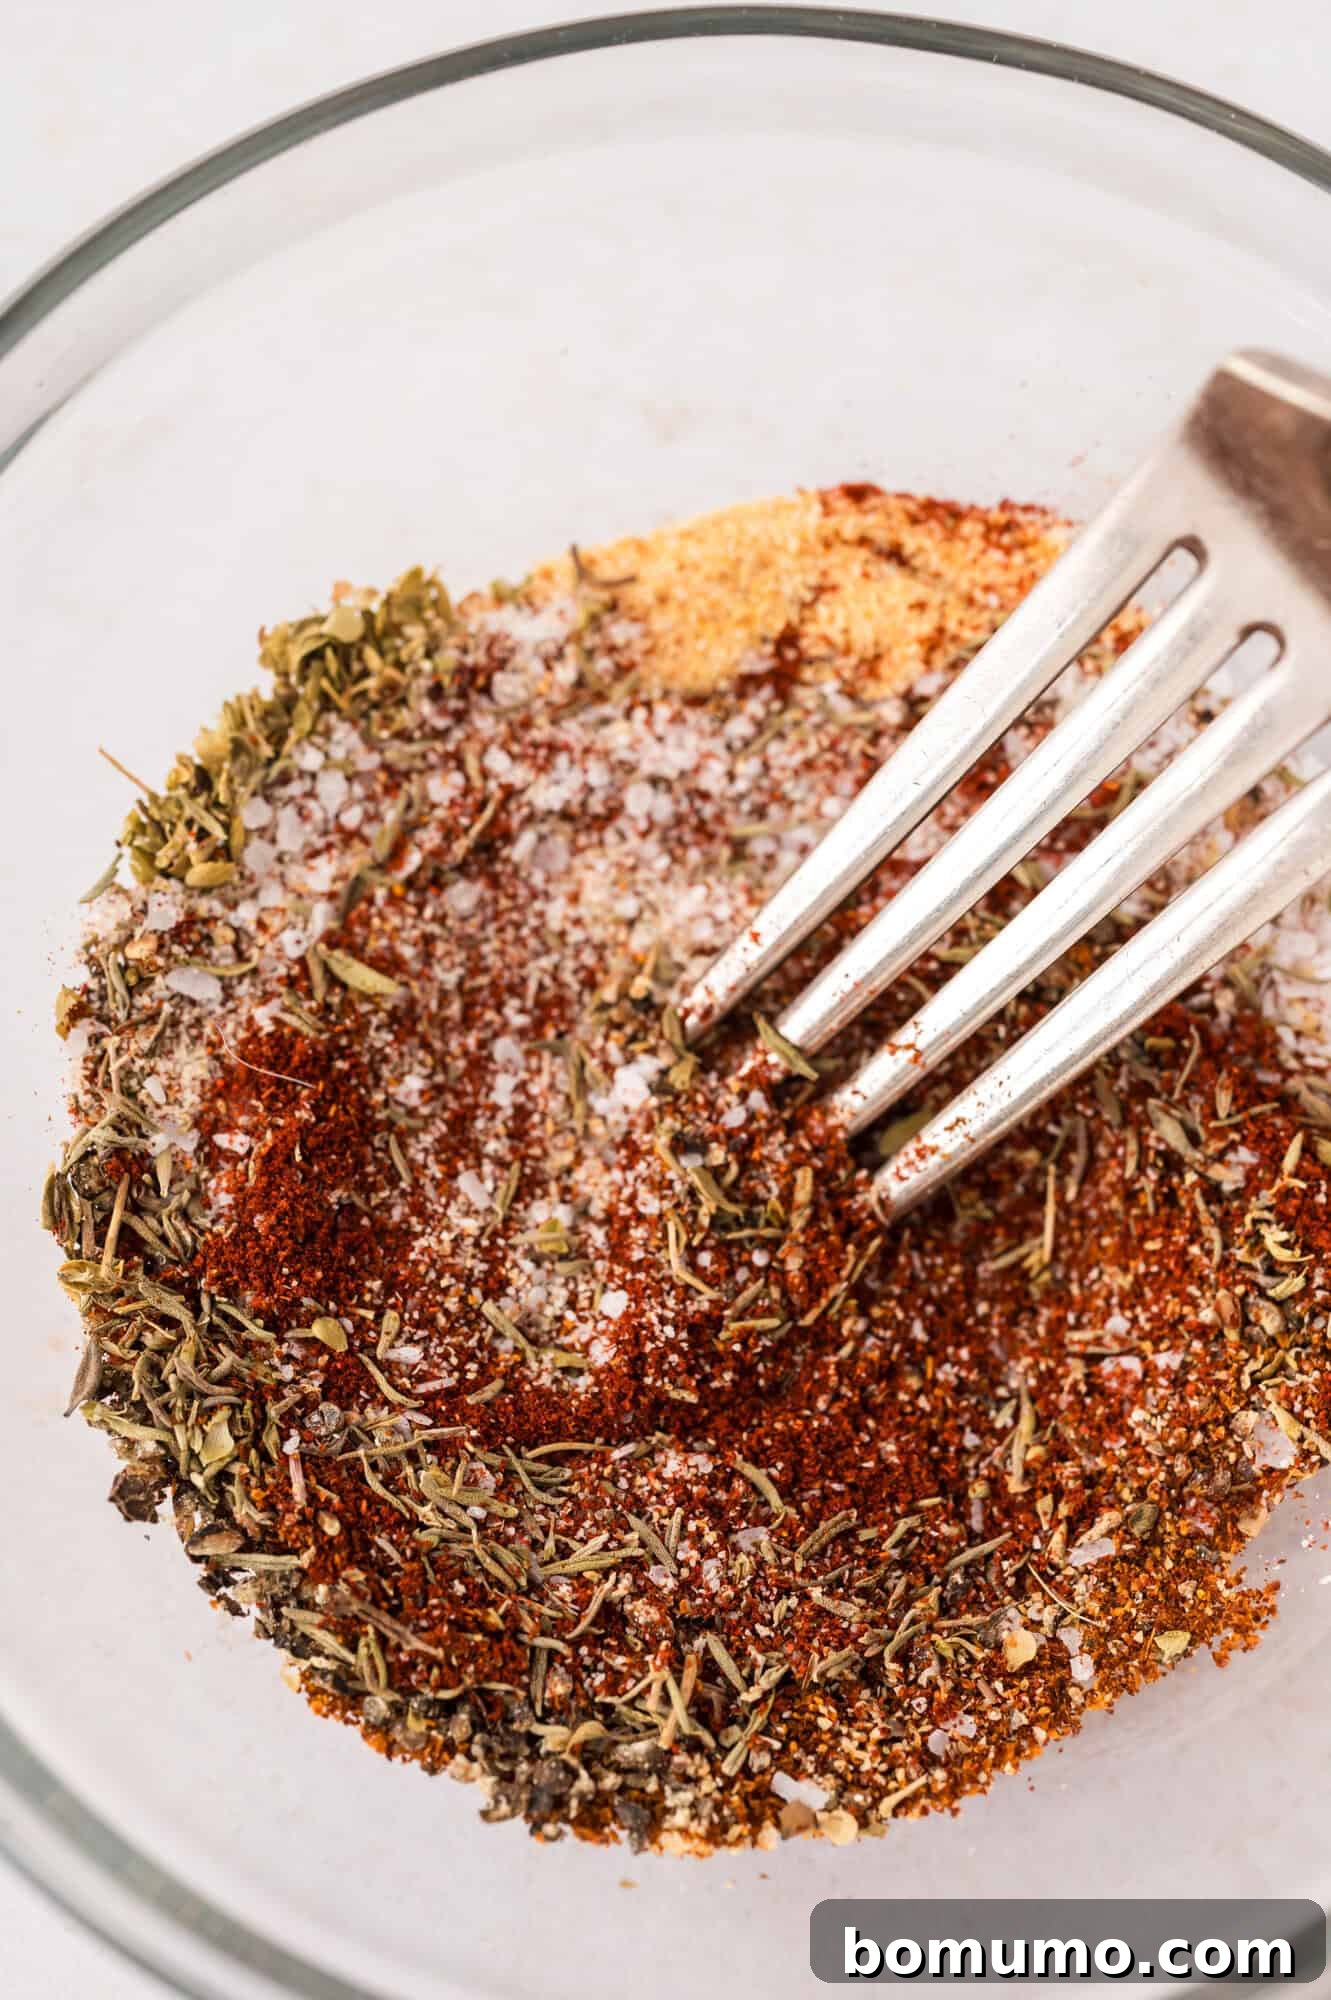
1. Prepare the Aromatic Seasoning Blend. In a small bowl, combine all the individual spices – smoked paprika, garlic powder, kosher salt, onion powder, dried thyme, cayenne pepper, coarse ground black pepper, and dried oregano. Stir them thoroughly until they are uniformly mixed. This ensures every piece of chicken gets a balanced burst of flavor.
2. Achieve Optimal Skillet Heat. Place a heavy-bottomed skillet or, ideally, a cast-iron pan over medium-high heat. Allow it to preheat thoroughly until it’s sizzling hot. This intense heat is critical for successful stovetop blackening, ensuring that the thin chicken pieces cook rapidly and develop that desirable, crispy, flavorful crust without becoming rubbery. A properly hot pan kickstarts the Maillard reaction, creating complex flavors and a beautiful char.
3. Season the Chicken to Perfection. Using paper towels, thoroughly pat the chicken cutlets dry. This step is essential as it removes surface moisture, allowing the seasoning to adhere better and promoting a superior crust. Once dry, generously rub both sides of each chicken cutlet with your prepared blackening seasoning blend, ensuring an even and complete coating.
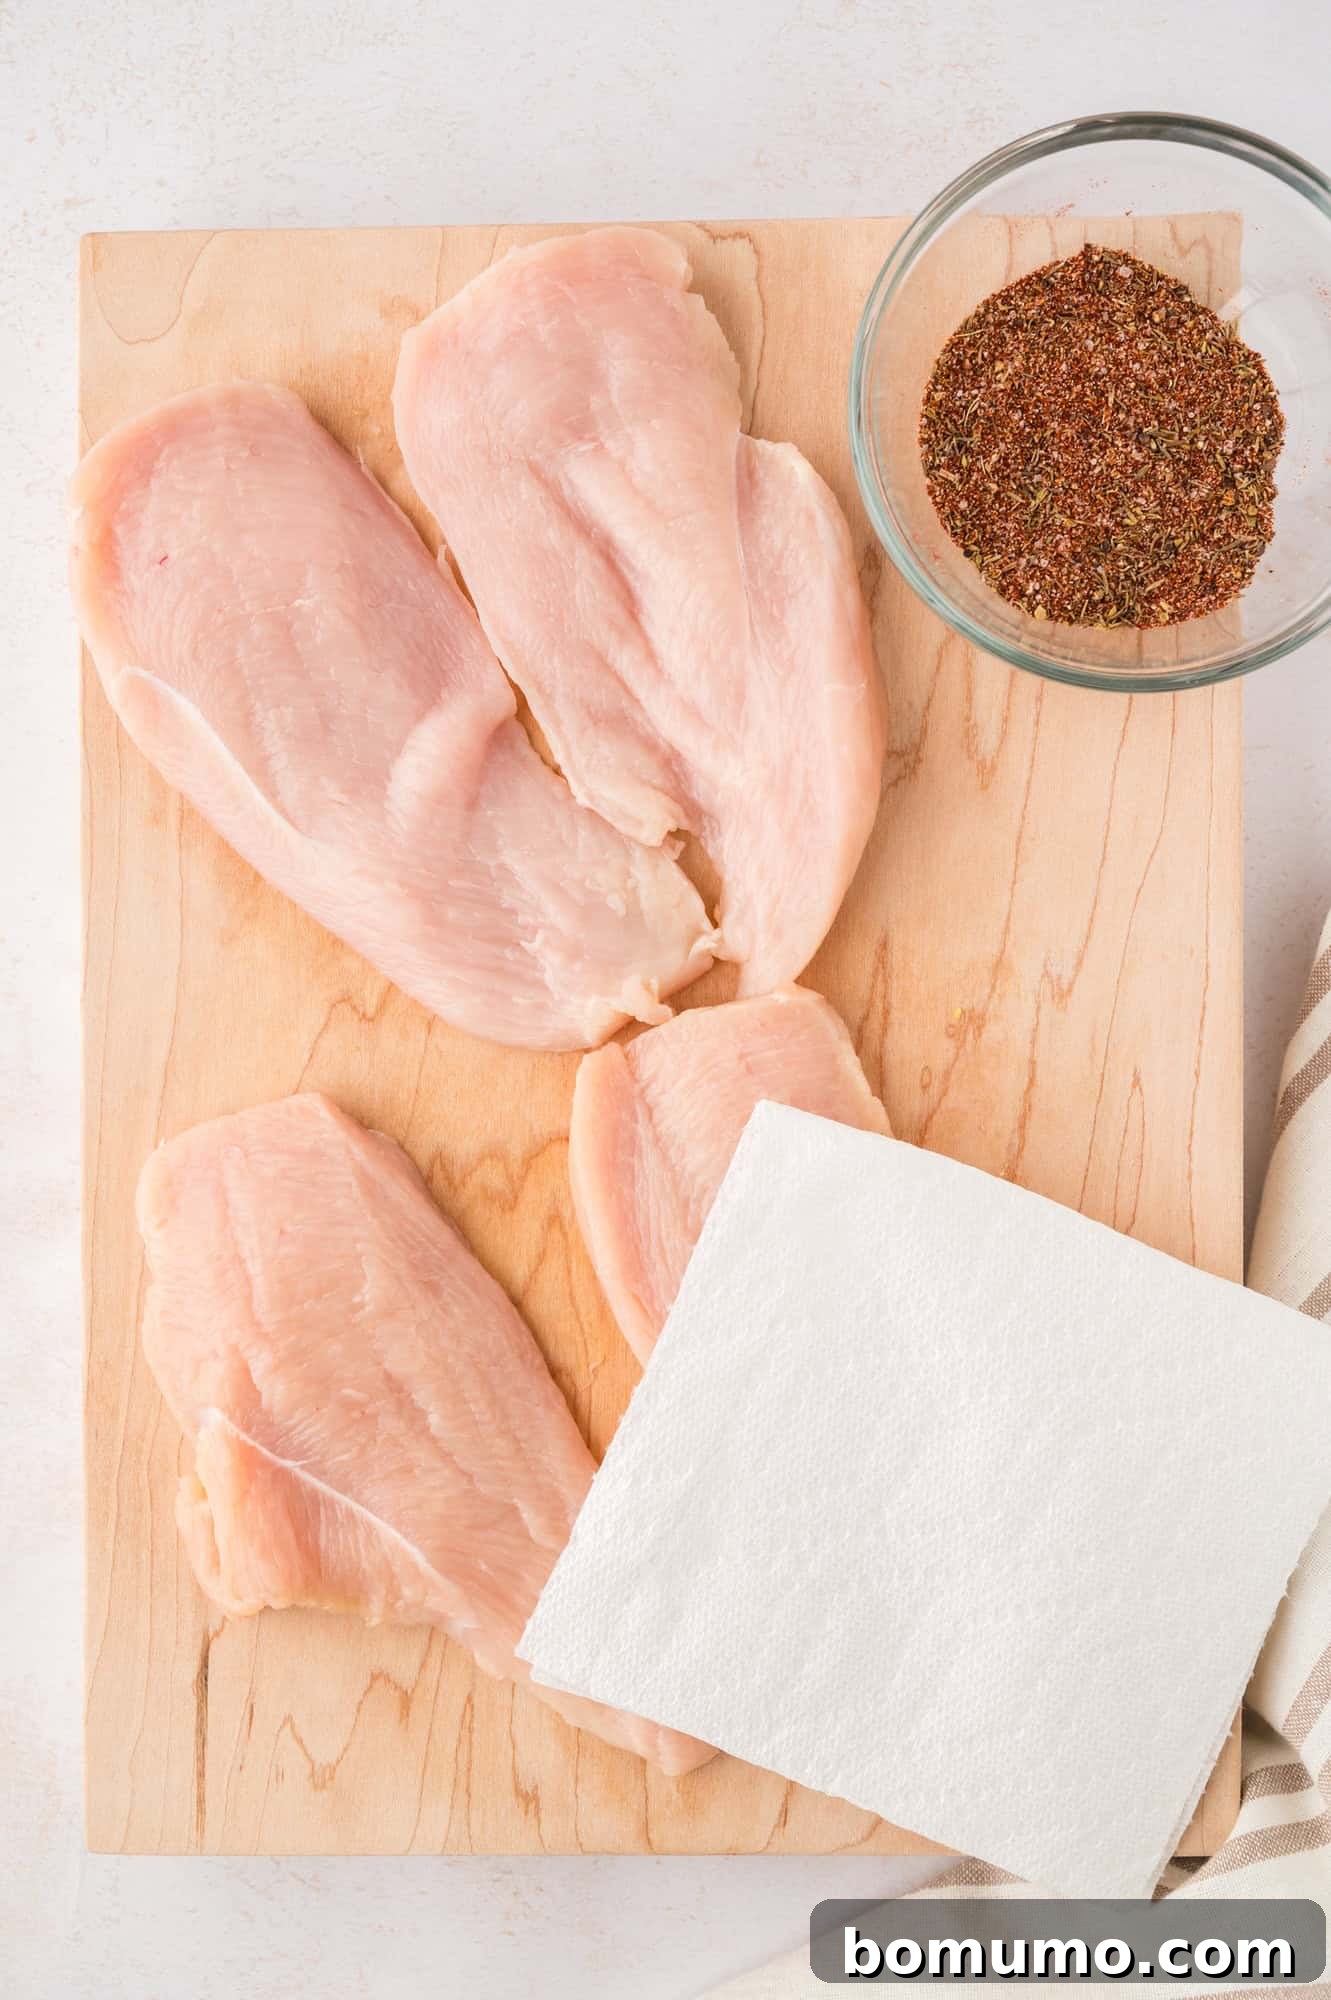
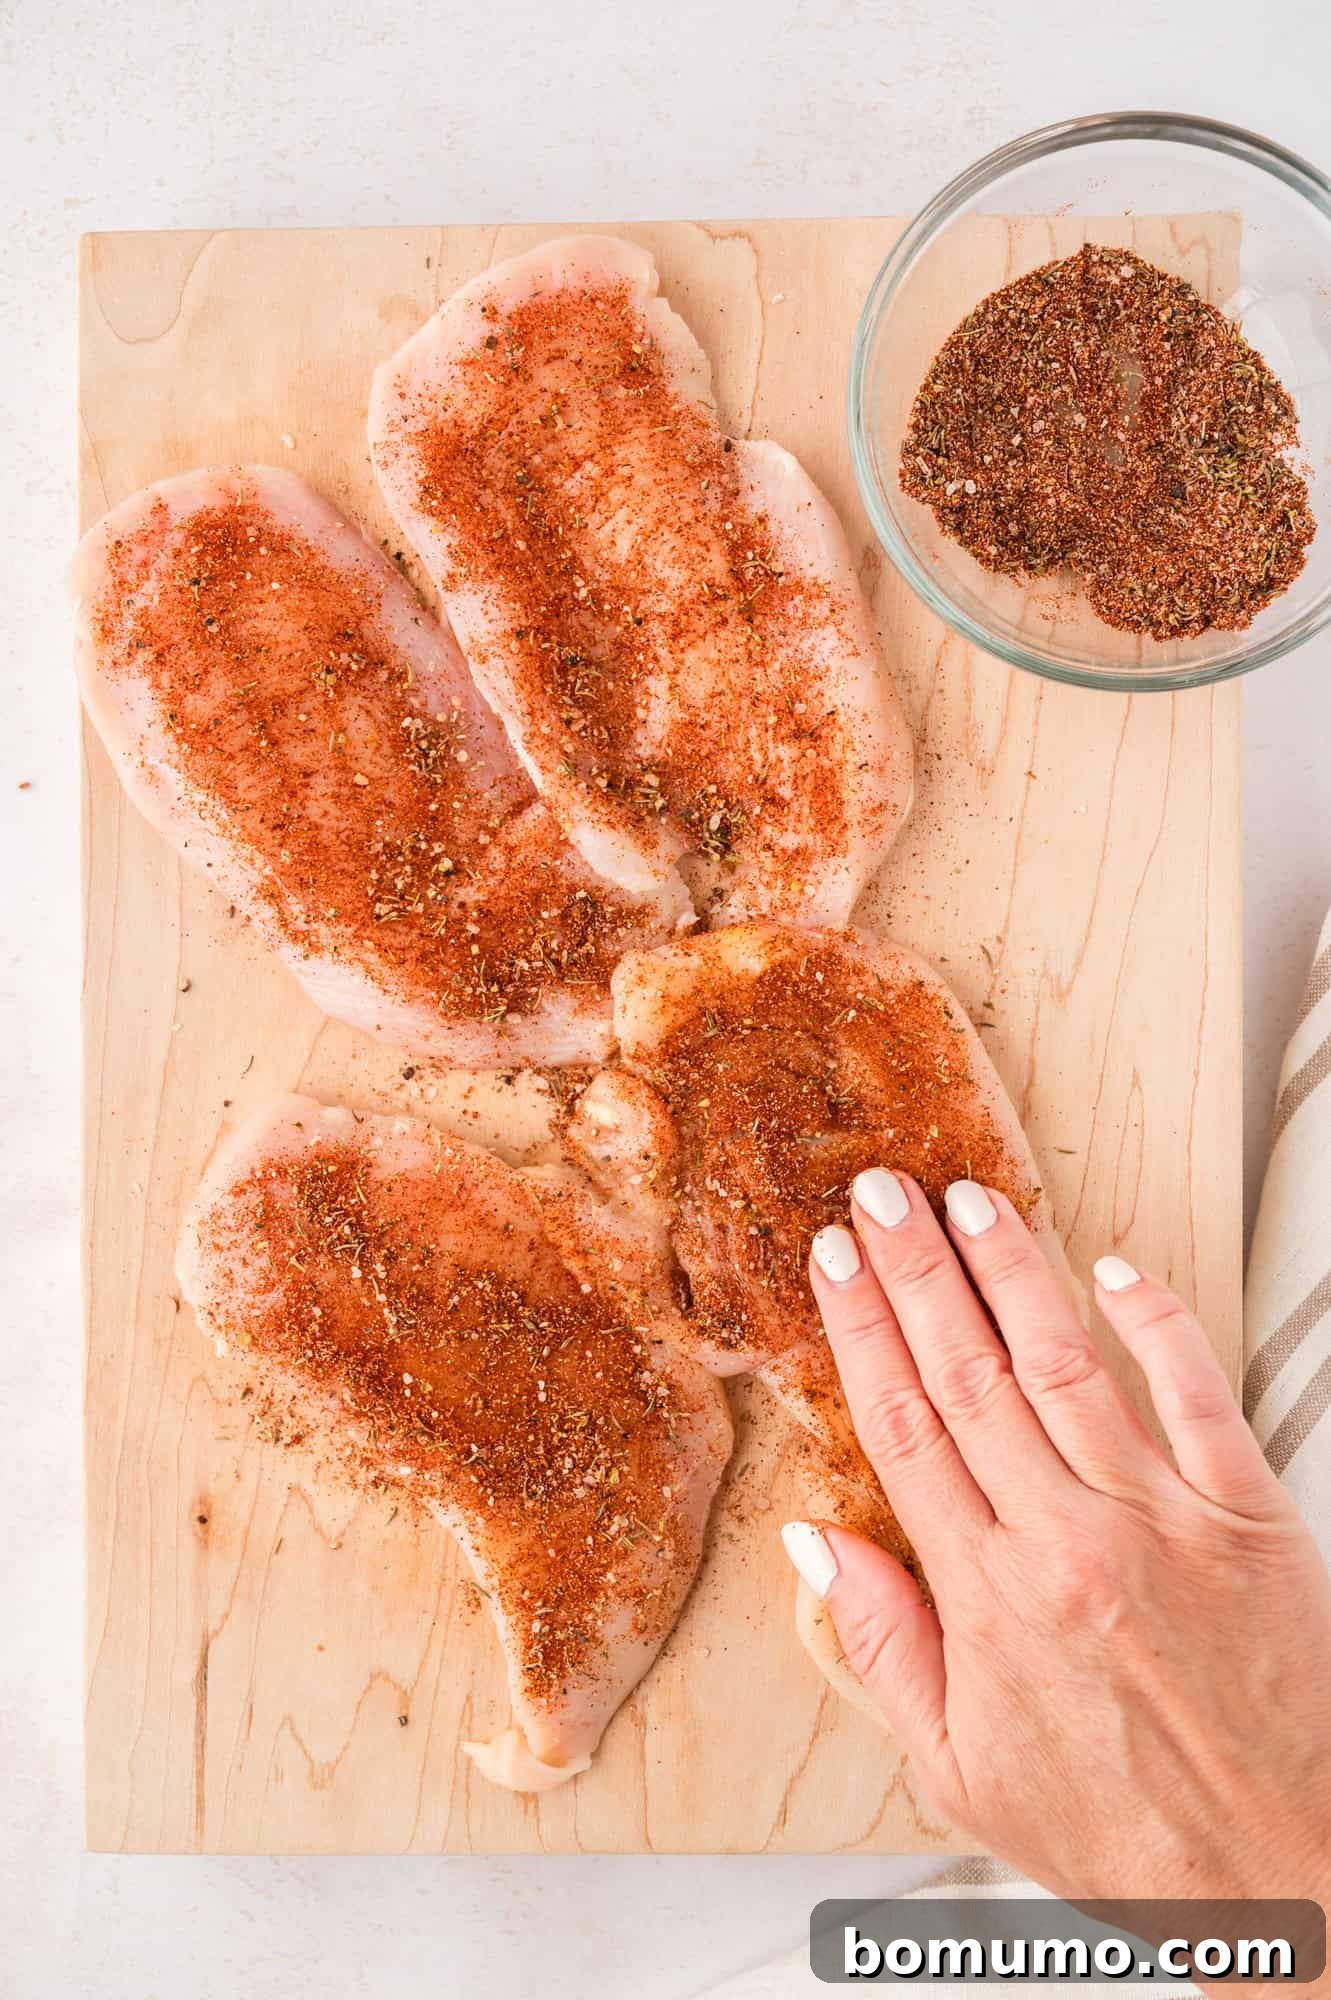
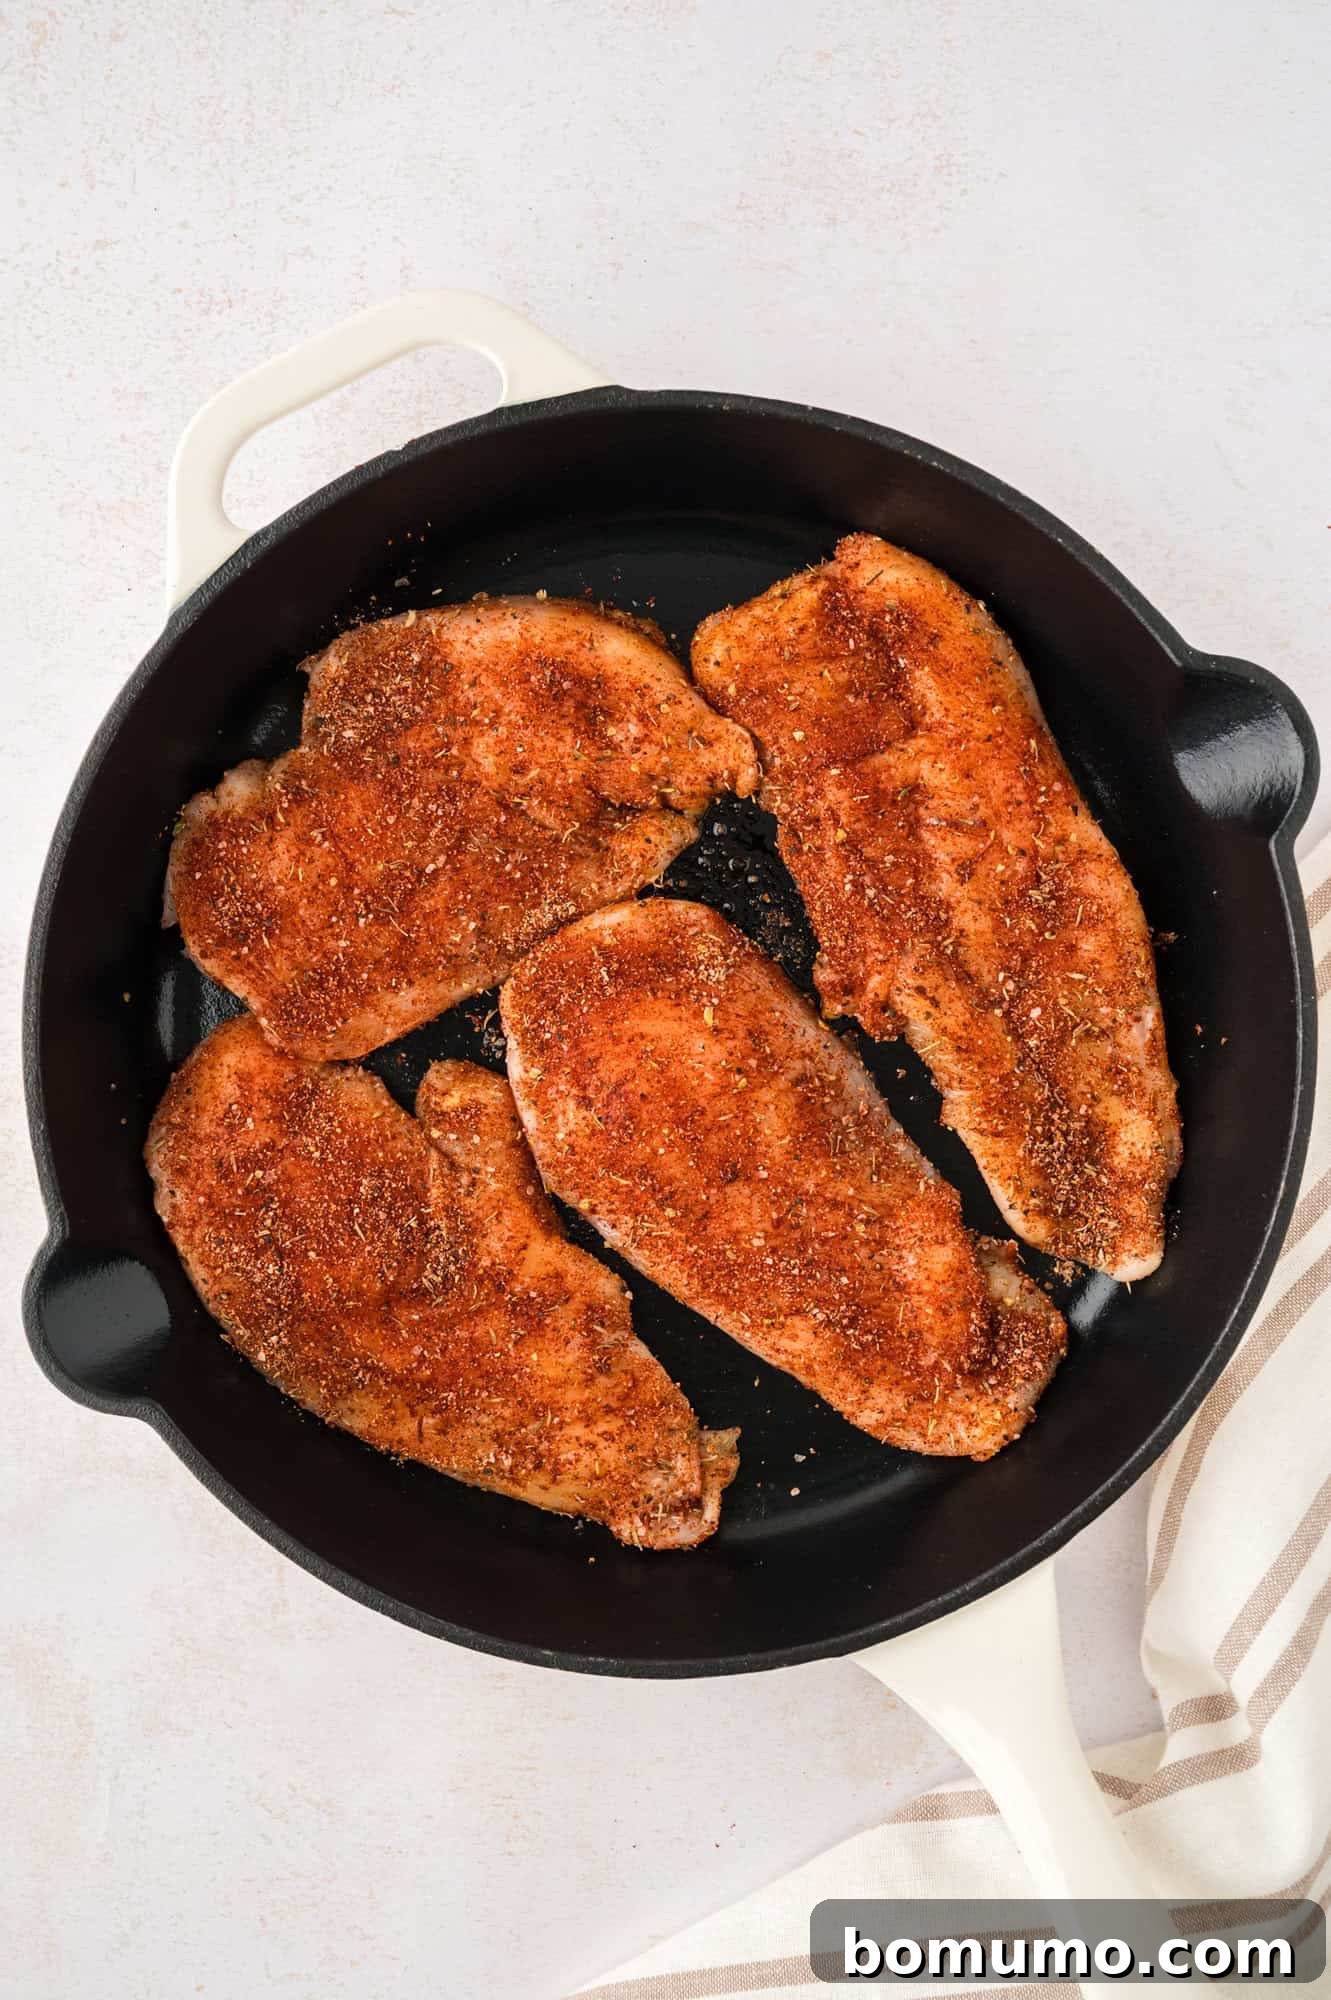
4. Sear to Blackened Perfection. Pour the olive oil into the sizzling hot pan. Once the oil begins to shimmer, carefully add the four seasoned chicken breast slices. Ensure there’s ample room for each piece to lie flat without overlapping. If your skillet is not large enough, cook the chicken in batches to prevent overcrowding, which can lead to steaming rather than searing. Cook for approximately 5 minutes on each side. As previously mentioned, it is perfectly acceptable and desired for the exterior to appear black or at least a very deep, dark brown, as this signifies the flavorful blackened crust has formed.
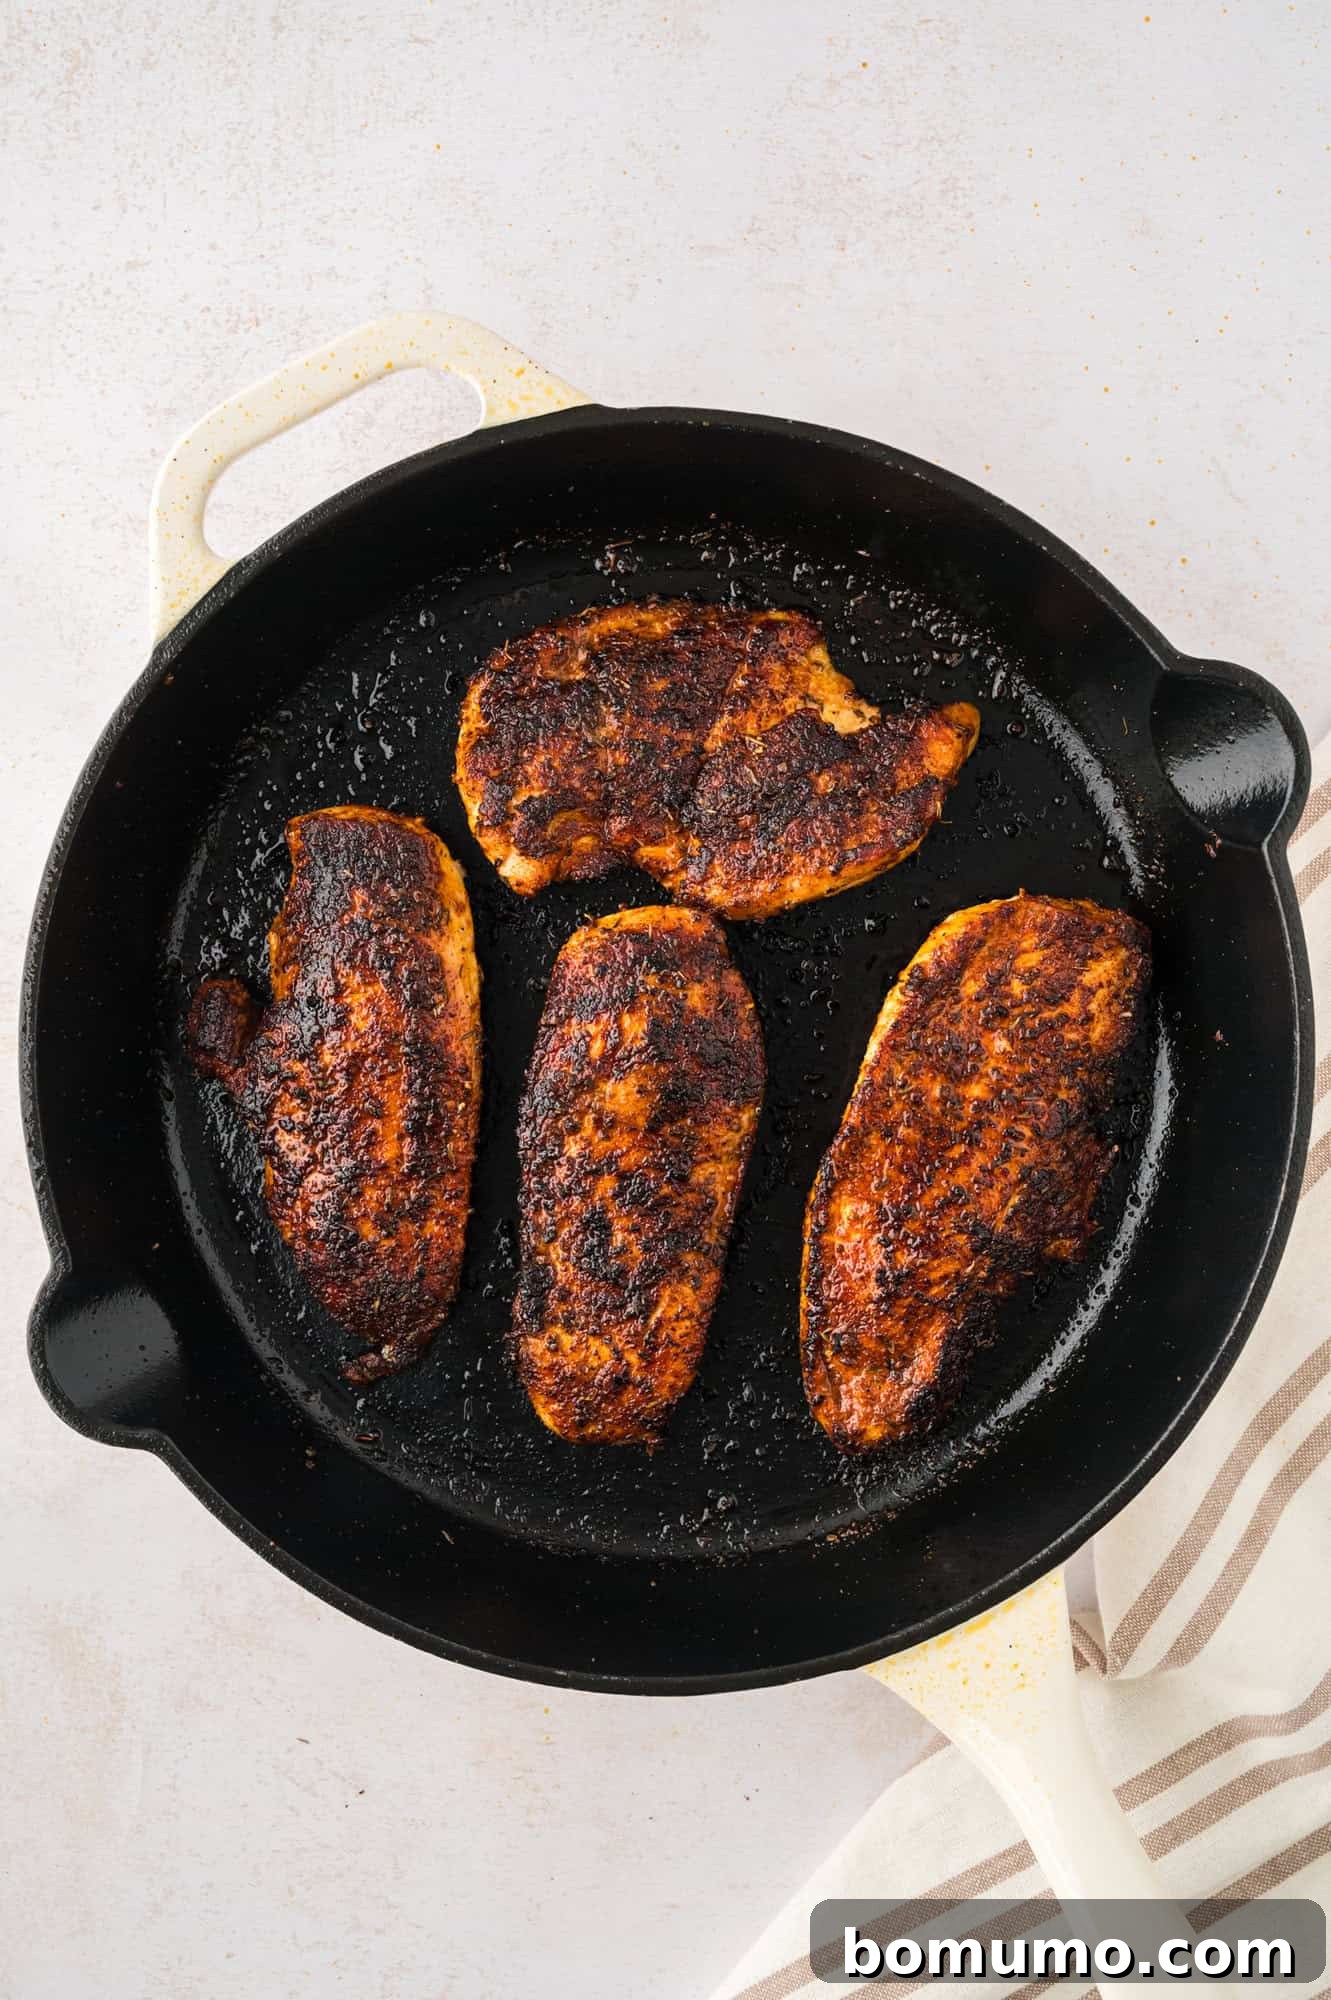
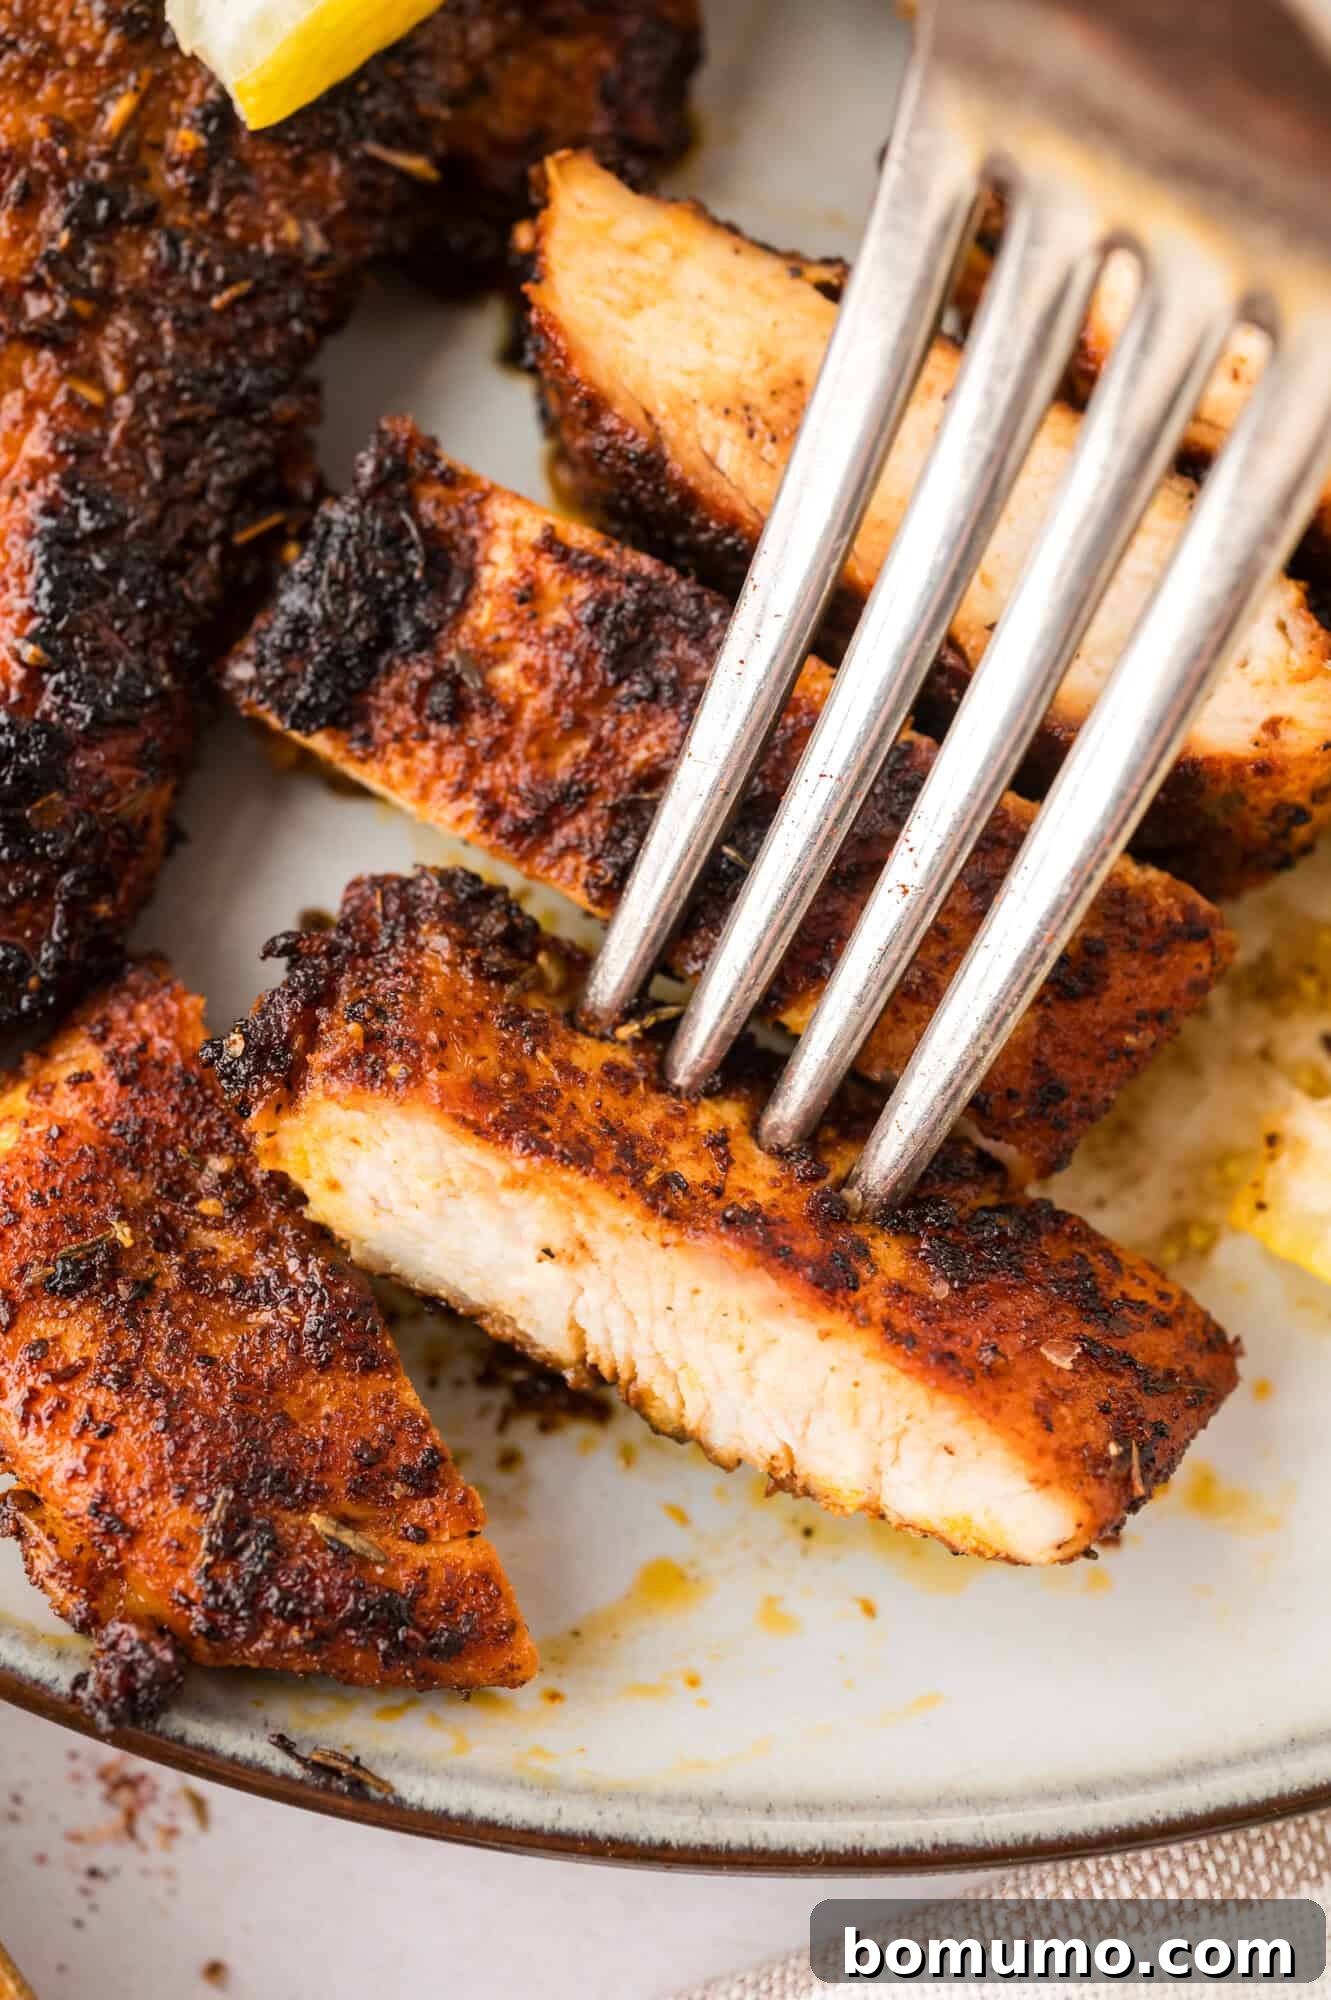
5. The Essential Resting Phase. Once cooked, transfer the blackened chicken to a clean plate and allow it to rest undisturbed for 3 to 5 minutes. This resting period is critical for several reasons: the residual heat within the chicken continues to cook it gently, bringing the internal temperature up to a perfect 165°F (74°C). More importantly, resting allows the juices, which have migrated to the center during cooking, to redistribute throughout the meat. This ensures your chicken will be incredibly juicy and tender on the inside, beautifully complementing its crisp, flavorful exterior.
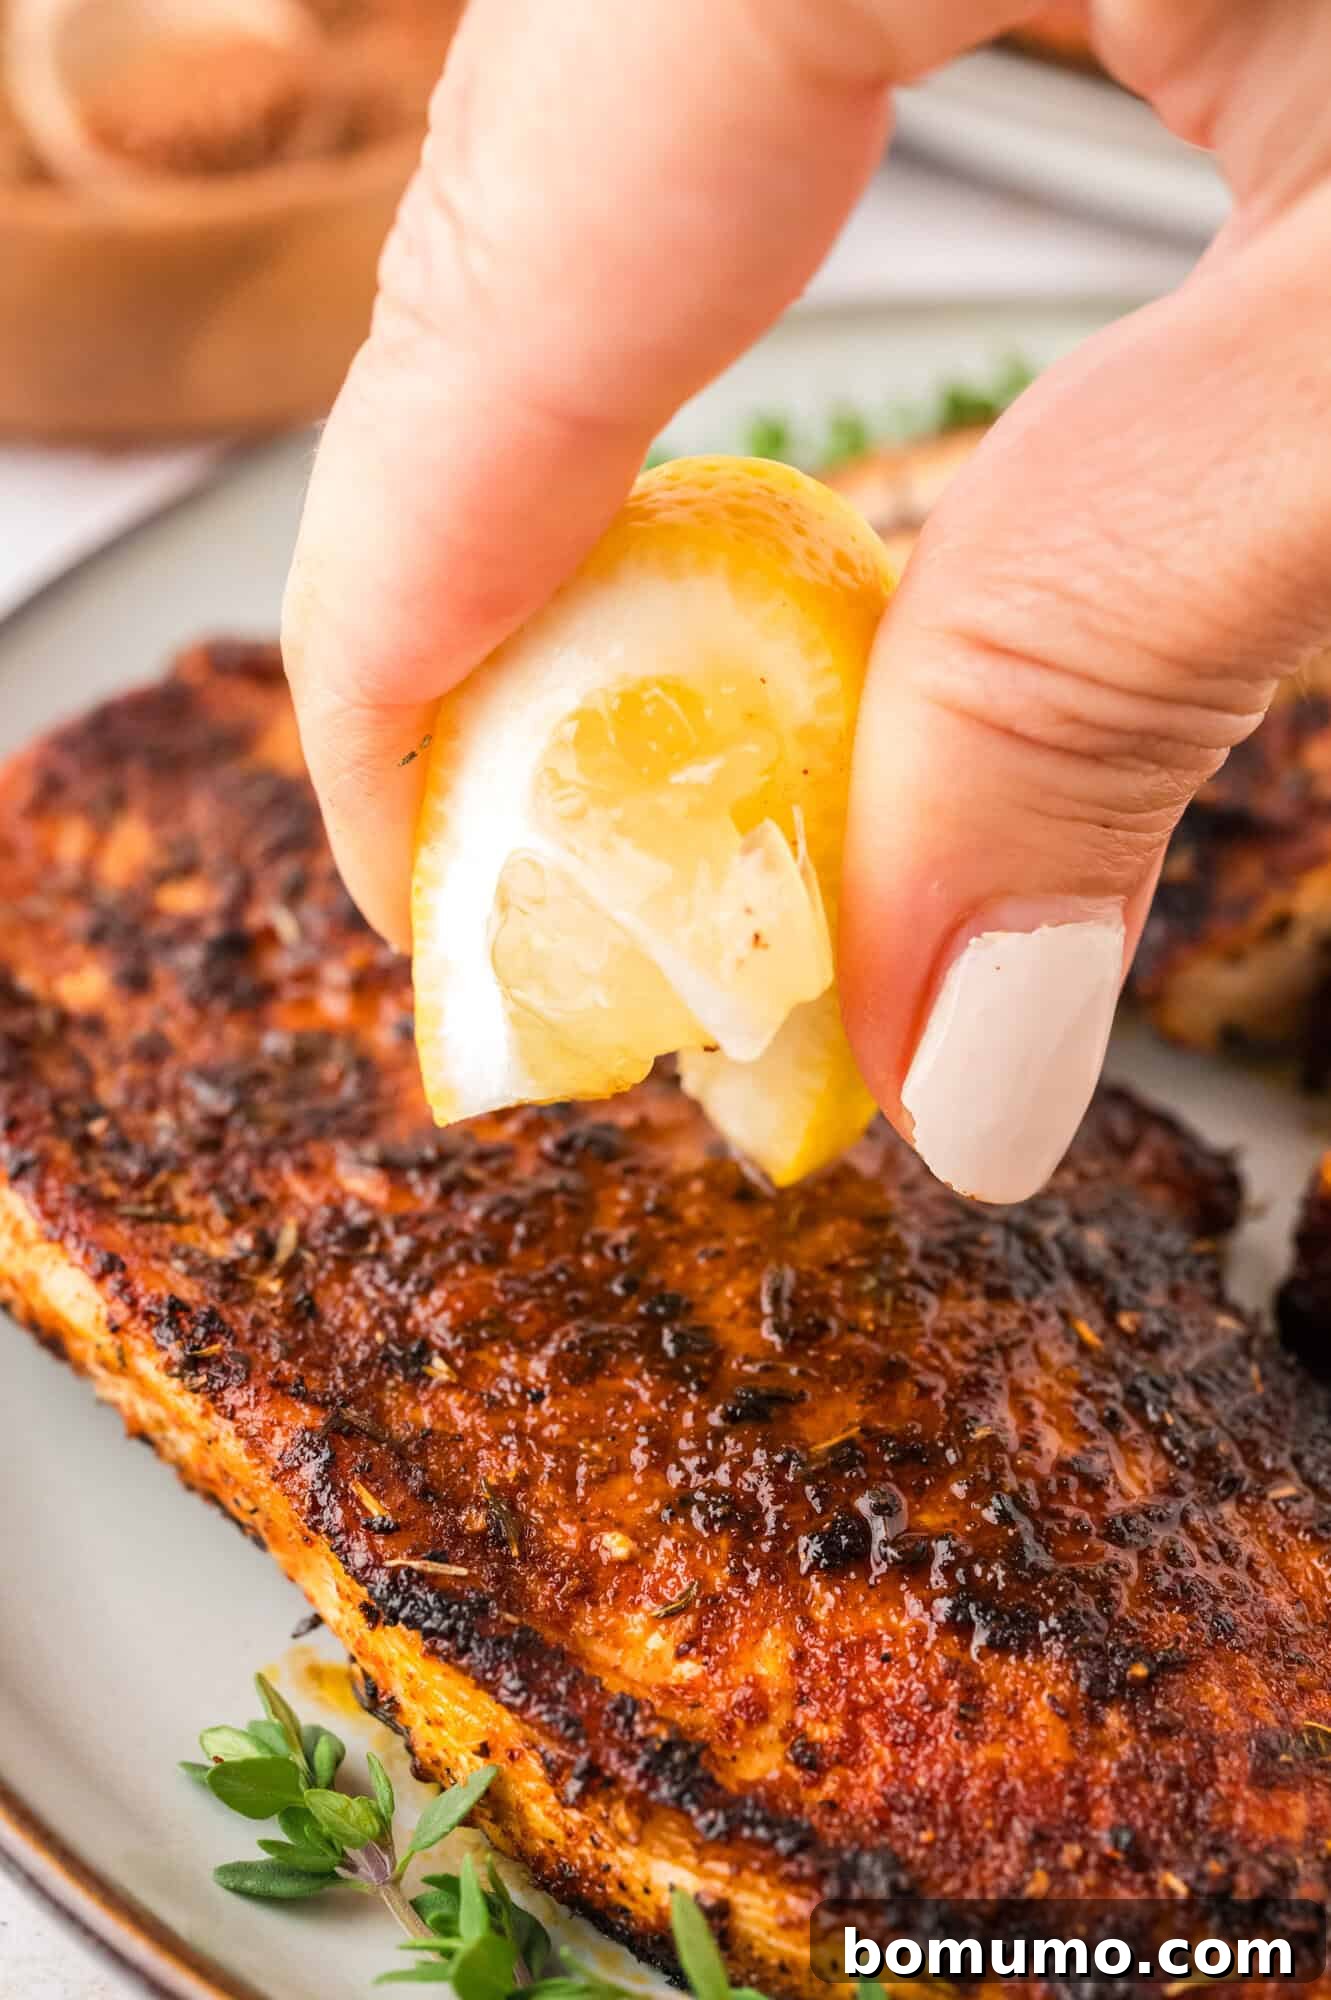
6. Serve and Savor. Once rested, the blackened chicken is ready to be enjoyed. You can slice it into elegant strips for serving or present the cutlets whole. For an added burst of freshness and to enhance the spice, do not forget to finish with a generous squeeze of fresh lemon juice over the top.
Expert Tips for Blackened Chicken Success
- Ensure Your Spices Are Fresh and Potent: The success of blackened chicken heavily relies on vibrant, aromatic spices. Old or stale spices will result in a dull, uninspired flavor profile. While checking expiration dates is a good start, the best test for freshness is to give them a sniff; if they lack a strong aroma or smell dusty, it’s time to replace them for optimal flavor.
- Customize the Spicy Heat to Your Preference: The amount of cayenne pepper in the blackening seasoning is entirely adjustable. Feel free to use as much or as little as you like to match your personal heat tolerance. For a milder version, reduce the cayenne; for a fiery kick, increase it.
- Avoid Overcrowding the Pan at All Costs: This is a critical rule for blackening. Placing too many chicken pieces in the pan at once lowers the pan’s temperature and traps steam, preventing the chicken from searing properly. This results in steamed chicken rather than the desired crispy, blackened crust. Always cook in batches if necessary, ensuring each piece has enough space to cook evenly.
- Utilize a Meat Thermometer for Perfect Doneness: The most reliable way to ensure chicken is safely cooked and to prevent it from becoming dry and rubbery is to use an instant-read meat thermometer. The internal temperature of the thickest part of the chicken should reach 165°F (74°C). While thin cutlets can be tricky, precision prevents overcooking. Alternatively, if a thermometer isn’t available, make a small cut into the thickest part; the juices should run clear, and the meat should be opaque white, with no dark pink remaining (a very light pink hue is generally acceptable).
- Maintain Good Ventilation: Blackening creates a fair amount of smoke due to the high heat and searing of spices. Ensure your kitchen is well-ventilated by opening windows or using a powerful range hood to prevent smoke alarms from going off and to keep your kitchen air clear.
- Choose the Right Cooking Oil: As mentioned in the ingredient notes, a high smoke point oil is crucial. Oils like regular olive oil, grapeseed, canola, or avocado oil are excellent choices as they can withstand the high temperatures needed for blackening without breaking down or burning.
Inspiring Serving Ideas for Blackened Chicken
- Accompany with Grains: Grains such as light and fluffy quinoa or wholesome brown rice serve as excellent neutral backdrops. They not only absorb any delicious extra juices from the chicken but also allow the bold flavors of the blackened chicken to truly take center stage. For an elevated twist, consider cilantro lime rice, or for a low-carb option, cauliflower rice is a fantastic choice.
- Fresh Vegetable Sides: Complement the richness of the chicken with simple, fresh vegetable side dishes. Lightly sautéed zucchini or crispy air fryer green beans would be perfect pairings. Keep the seasoning on the vegetables minimal to avoid clashing with the vibrant, spicy chicken.
- Vibrant Salads: A crisp salad, tossed with a delicate vinaigrette, offers a refreshing contrast to the blackened chicken. Our balsamic vinaigrette paired with a bag of fresh spring mix makes for an effortlessly elegant side. For a complete meal, simply slice the chicken and serve it directly on top of the salad.
- Comforting Potatoes: For a truly comforting meal, creamy Instant Pot mashed potatoes or rich, homemade polenta are superb choices. These starchy sides provide a wonderful balance to the chicken’s spice. Don’t forget a side of tender sautéed spinach for added greens.
- Southern-Style Cornbread: Embrace a classic Southern tradition by serving your blackened chicken with a warm, buttery slice of cornbread. Its slightly sweet and savory notes make it an ideal companion to the spicy chicken.
Storage & Reheating Guidelines
Storage & Reheating Guidelines
Refrigerator Storage: To enjoy your blackened chicken another day, simply transfer any leftovers to an airtight container. It can be safely refrigerated for up to 4 days, maintaining much of its delicious flavor and texture.
Freezer Storage: For a longer-term storage solution, blackened chicken freezes exceptionally well for up to 3 months. Wrap the chicken tightly in plastic wrap, then place it into a freezer-safe bag or container, removing as much air as possible to prevent freezer burn. When you’re ready to enjoy it, thaw the chicken in the refrigerator overnight before proceeding with reheating.
Reheating Instructions: For best results when reheating, warm the chicken in a preheated 350ºF (175°C) oven or an air fryer until it’s thoroughly heated through and the crust regains some crispness. Alternatively, you can reheat it in a skillet over medium heat with a splash of oil, which can also help restore its texture. While the microwave is an option for quick reheating, it tends to make chicken rubbery, so it’s generally recommended as a last resort to preserve the quality of your dish.

Unlock Your Free Meal Plan
Intrigued by the idea of a structured weekly meal plan that thoughtfully incorporates delicious recipes like this one? We invite you to explore Meal Plan #86. Within it, you’ll discover a wholesome, balanced recipe curated for each weekday, complete with a meticulously categorized grocery list to simplify your shopping experience. We consistently update our collection with a fresh new meal plan every single week, ensuring endless culinary inspiration.
Discover More Delicious Chicken Recipes
Perfect Air Fryer Chicken Breasts
Sweet and Sour Chicken Stir Fry
Instant Pot Chicken Thighs
Irresistible Chicken Bites
Save this recipe for later inspiration!
Pin It Now
Blackened Chicken
Rachel Gurk
10 minutes
10 minutes
3 minutes
23 minutes
4
Print Recipe
Ingredients
-
2
boneless, skinless chicken breasts
(about 1.25 pounds) -
2
teaspoons
smoked paprika
-
1
teaspoon
garlic powder
-
¾
teaspoon
kosher salt
-
½
teaspoon
onion powder
-
½
teaspoon
dried thyme
-
½
teaspoon
cayenne pepper, or to taste -
½
teaspoon
coarse ground black pepper
-
¼
teaspoon
dried oregano
-
2
tablespoons
olive oil
-
Fresh lemon wedges for serving
Instructions
-
Carefully butterfly each chicken breast, creating two thin cutlets from each breast. This technique ensures faster and more even cooking. If you purchased pre-cut thin chicken cutlets, you can skip this step entirely.2 boneless, skinless chicken breasts
-
In a small bowl, thoroughly combine the smoked paprika, garlic powder, kosher salt, onion powder, dried thyme, cayenne pepper, coarse ground black pepper, and dried oregano. Mix until all spices are evenly distributed to form your homemade blackening spice mix.2 teaspoons smoked paprika,
1 teaspoon garlic powder,
¾ teaspoon kosher salt,
½ teaspoon onion powder,
½ teaspoon dried thyme,
½ teaspoon cayenne pepper, or to taste,
½ teaspoon coarse ground black pepper,
¼ teaspoon dried oregano -
Place a heavy skillet or a cast-iron pan over medium-high heat. Allow it to heat up until it is very hot and just beginning to smoke slightly, indicating it’s ready for searing.
-
Using paper towels, gently pat the butterflied chicken breasts dry. This step is crucial for achieving a crispy crust. Then, generously rub each side of the chicken breasts with the blackening spice mix, ensuring they are thoroughly coated.
-
Add the olive oil to the preheated pan. Once the oil shimmers, carefully place the seasoned chicken breasts into the pan. Cook for approximately 5 minutes per side, or until the internal temperature of the chicken reaches 165°F (74°C) when checked with an instant-read thermometer. The exterior should be beautifully blackened and crusty, indicating proper searing. Remember to cook in batches if your pan is too small to avoid overcrowding.2 tablespoons olive oil
-
Once cooked, remove the chicken from the pan and transfer it to a clean plate. Allow it to rest for 3 to 5 minutes. This resting period helps the juices redistribute throughout the meat, resulting in incredibly tender and moist chicken.
-
Finally, slice the blackened chicken into strips or serve the cutlets whole, depending on your preference. For a bright, zesty finish that truly complements the rich spice, squeeze fresh lemon juice over the top just before serving.Fresh lemon wedges for serving
Chef’s Notes
- If you prefer to skip the step of butterflying chicken breasts yourself, you can easily purchase pre-cut thin chicken cutlets from your butcher or grocery store. This will save you time and ensure uniform thickness.
- The level of heat in this recipe is entirely customizable. Feel free to adjust the amount of cayenne pepper according to your personal spice preference. If you enjoy a bolder kick, don’t hesitate to add a little extra; for a milder flavor, reduce it.
Nutrition Information
Serving:
1
cutlet
,
Calories:
232
kcal
,
Carbohydrates:
2
g
,
Protein:
30
g
,
Fat:
11
g
,
Saturated Fat:
2
g
,
Polyunsaturated Fat:
1
g
,
Monounsaturated Fat:
6
g
,
Trans Fat:
0.02
g
,
Cholesterol:
91
mg
,
Sodium:
602
mg
,
Potassium:
570
mg
,
Fiber:
1
g
,
Sugar:
0.2
g
,
Vitamin A:
647
IU
,
Vitamin C:
2
mg
,
Calcium:
17
mg
,
Iron:
1
mg
Nutrition information is automatically calculated and should be considered an approximation.
Did You Make This Recipe?
Share your thoughts and a rating below! I always appreciate hearing your feedback!