
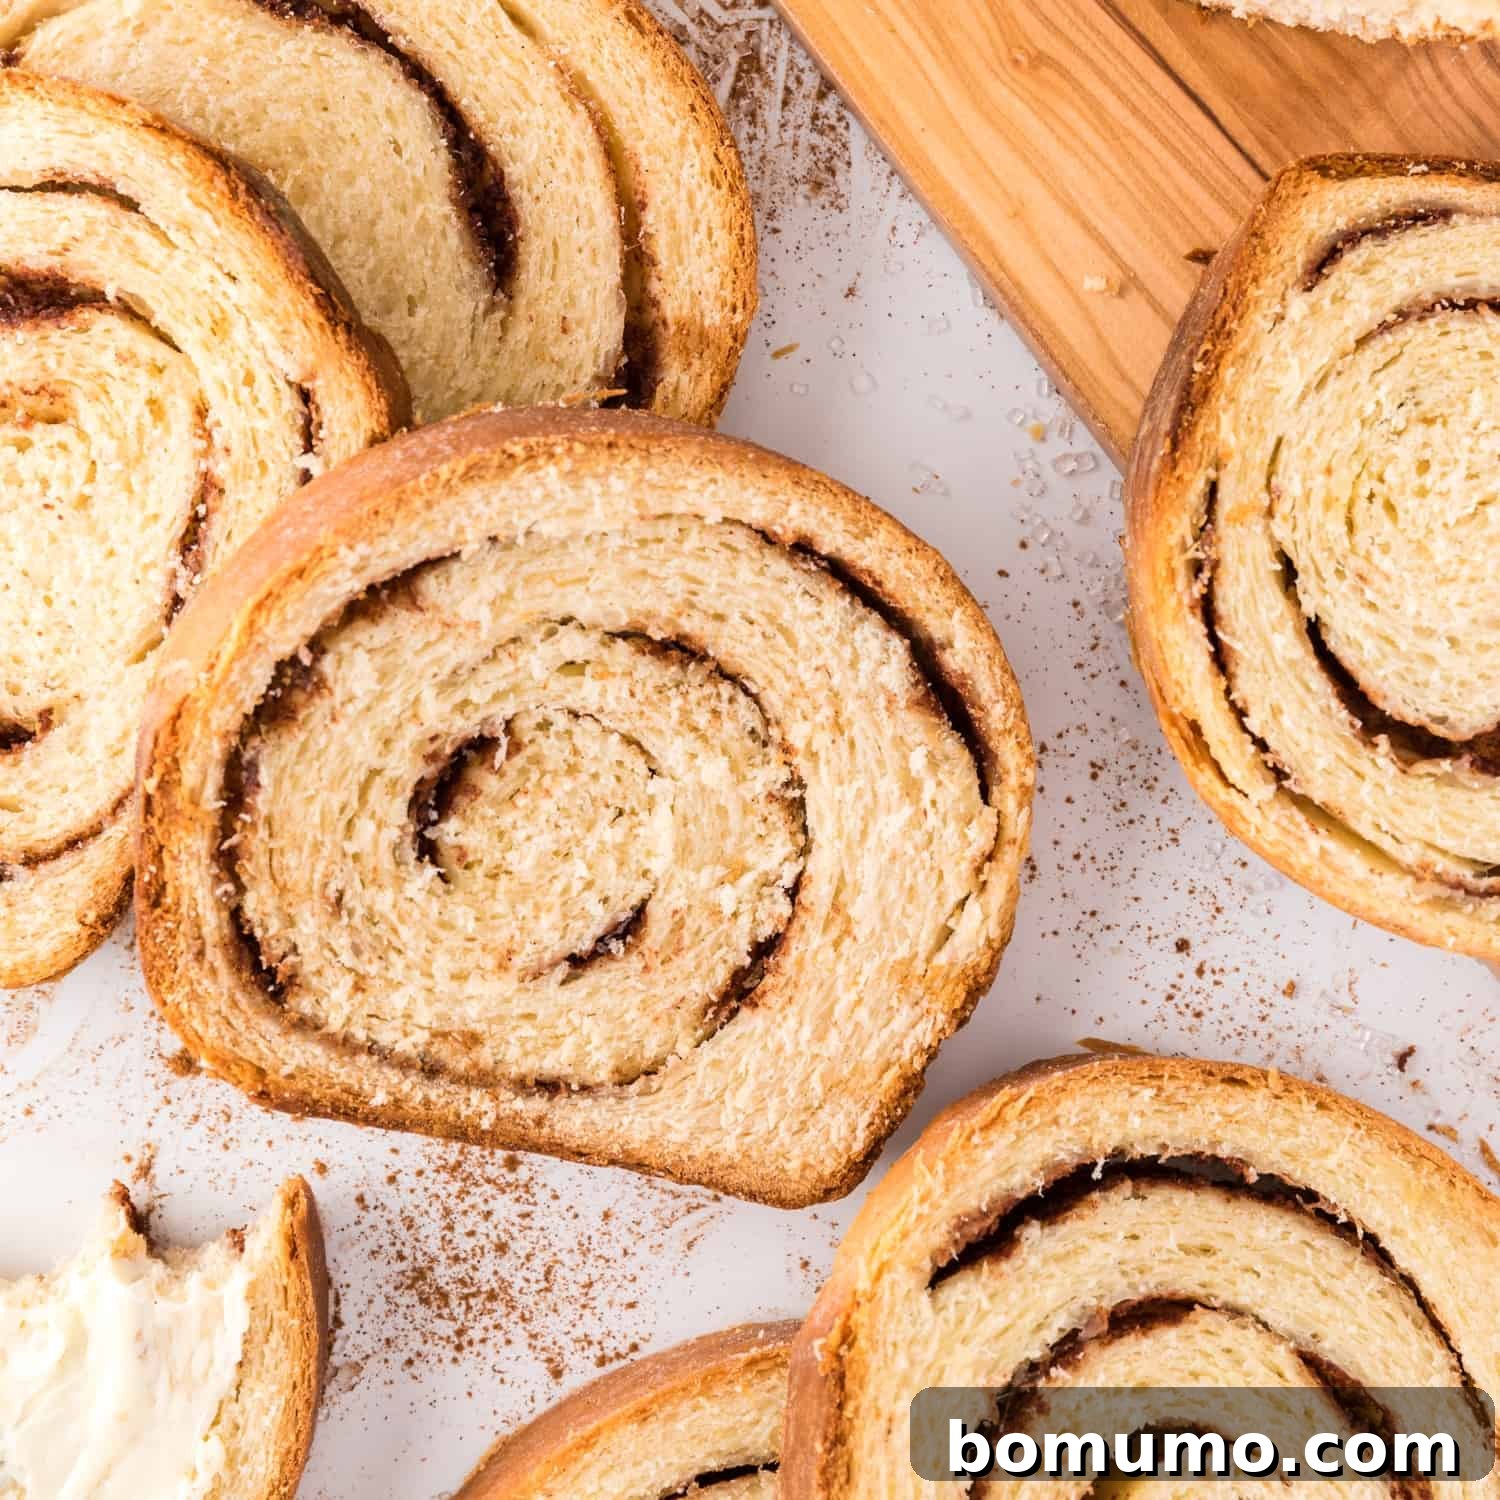
Recipe Overview: Your Guide to Perfect Cinnamon Swirl Bread
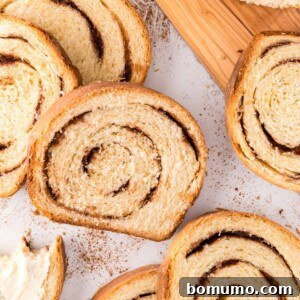
Why You’ll Love This Cinnamon Swirl Bread: Prepare to fall in love with this homemade cinnamon swirl bread. Each slice reveals a gorgeous, rich vein of sweet, aromatic cinnamon sugar, making it an irresistible treat. Whether you’re a seasoned baker or attempting your first yeast bread, our detailed, straightforward instructions are designed to guide you to a perfect loaf every single time, ensuring a rewarding baking experience that will impress friends and family alike.
Time Commitment: This recipe requires approximately 30 minutes of active preparation time, followed by a blissful 1 hour in the oven. The dough also needs a couple of hours for its crucial rising stages, contributing to its incredible texture and flavor. While it requires patience, the hands-on work is minimal and incredibly rewarding.
Essential Equipment: To master this recipe, you’ll need a reliable stand mixer for effortless kneading, a selection of mixing bowls for combining ingredients, and a standard loaf pan to give your bread its classic shape. These tools will ensure a smooth and enjoyable baking process.
Yield: This recipe makes one generous, delectable loaf of cinnamon swirl bread, perfect for sharing or savoring throughout the week.

There’s an undeniable magic to baking homemade bread, and this cinnamon swirl bread takes that enchantment to a whole new level. The subtle, yeasty fragrance filling your kitchen as the dough slowly rises is a preview of the deliciousness to come. But it’s when this beautiful loaf bakes that the true magic unfolds: the irresistible aroma of warm, spicy cinnamon intertwined with fresh, comforting bread envelops your home, promising a culinary delight unlike any other.
Many believe that baking yeast bread is a daunting task, but I’m here to demystify the process and show you that anyone can master the art of homemade bread. This recipe isn’t just good; it’s the best cinnamon bread recipe you’ll ever try, featuring a perfectly balanced, slightly gooey swirl of cinnamon sugar that will leave you utterly captivated and craving more. It’s a sensory experience from start to finish, culminating in a tender, flavorful loaf that tastes infinitely better than anything store-bought.
While the journey to creating this fluffy cinnamon bread is incredibly rewarding, I understand that sometimes time is of the essence. If you’re seeking a quicker route to cinnamon-infused goodness, I highly recommend exploring some of my other delightful recipes. For a triple cinnamon treat that doesn’t require yeast, my Snickerdoodle Quick Bread is a fantastic choice, delivering robust flavor in less time. If you enjoy interactive baking, Cinnamon Sugar Pretzel Bites are both fun to make with a stand mixer and incredibly satisfying. For an even simpler option that starts with a can of biscuits, our Cinnamon Sugar Pull-Apart Bread is a crowd-pleaser. And for a breakfast indulgence, don’t miss out on my Cinnamon Roll Pancakes, offering all the flavors of a cinnamon roll in a convenient pancake form. Each of these alternatives provides a wonderful way to enjoy the beloved taste of cinnamon in various delightful formats.
The Art of Homemade Cinnamon Swirl Bread: A Journey Worth Taking
Crafting this homemade cinnamon swirl bread is an experience, an act of patience and love, but rest assured, the end result is profoundly worth every moment invested. Let’s be clear: this is a yeast bread, which means it thrives on time. Yeast breads require proper proofing, or rising, to develop their signature airy texture and complex flavors. In this particular recipe, the dough will need approximately two hours to rise, though this can vary slightly depending on the ambient warmth of your kitchen. The actual hands-on preparation time, however, is surprisingly brief, around 30 minutes, with an additional hour dedicated to baking. This balance of active work and patient waiting makes the process enjoyable and accessible, even for novice bakers.
One of the best aspects of this recipe is that your trusty stand mixer handles the most labor-intensive part: kneading the dough. When many people picture making yeast bread, they envision standing at the counter for what seems like an eternity, tirelessly kneading dough by hand. With a stand mixer, you can largely bypass this physical exertion. This is the perfect opportunity to dust off that KitchenAid mixer and put its powerful dough hook attachment to excellent use. It transforms a potentially arduous task into a simple, automated step, allowing you to focus on other preparations or simply relax while the machine works its magic. If you don’t own a stand mixer, don’t despair! A powerful hand mixer equipped with a dough hook can also do the job effectively. And for those who prefer a more traditional, hands-on approach, kneading the bread dough by hand is always a viable and therapeutic option, connecting you directly with the ingredients and the ancient art of bread-making.
Essential Ingredient Notes for Your Perfect Cinnamon Swirl Bread
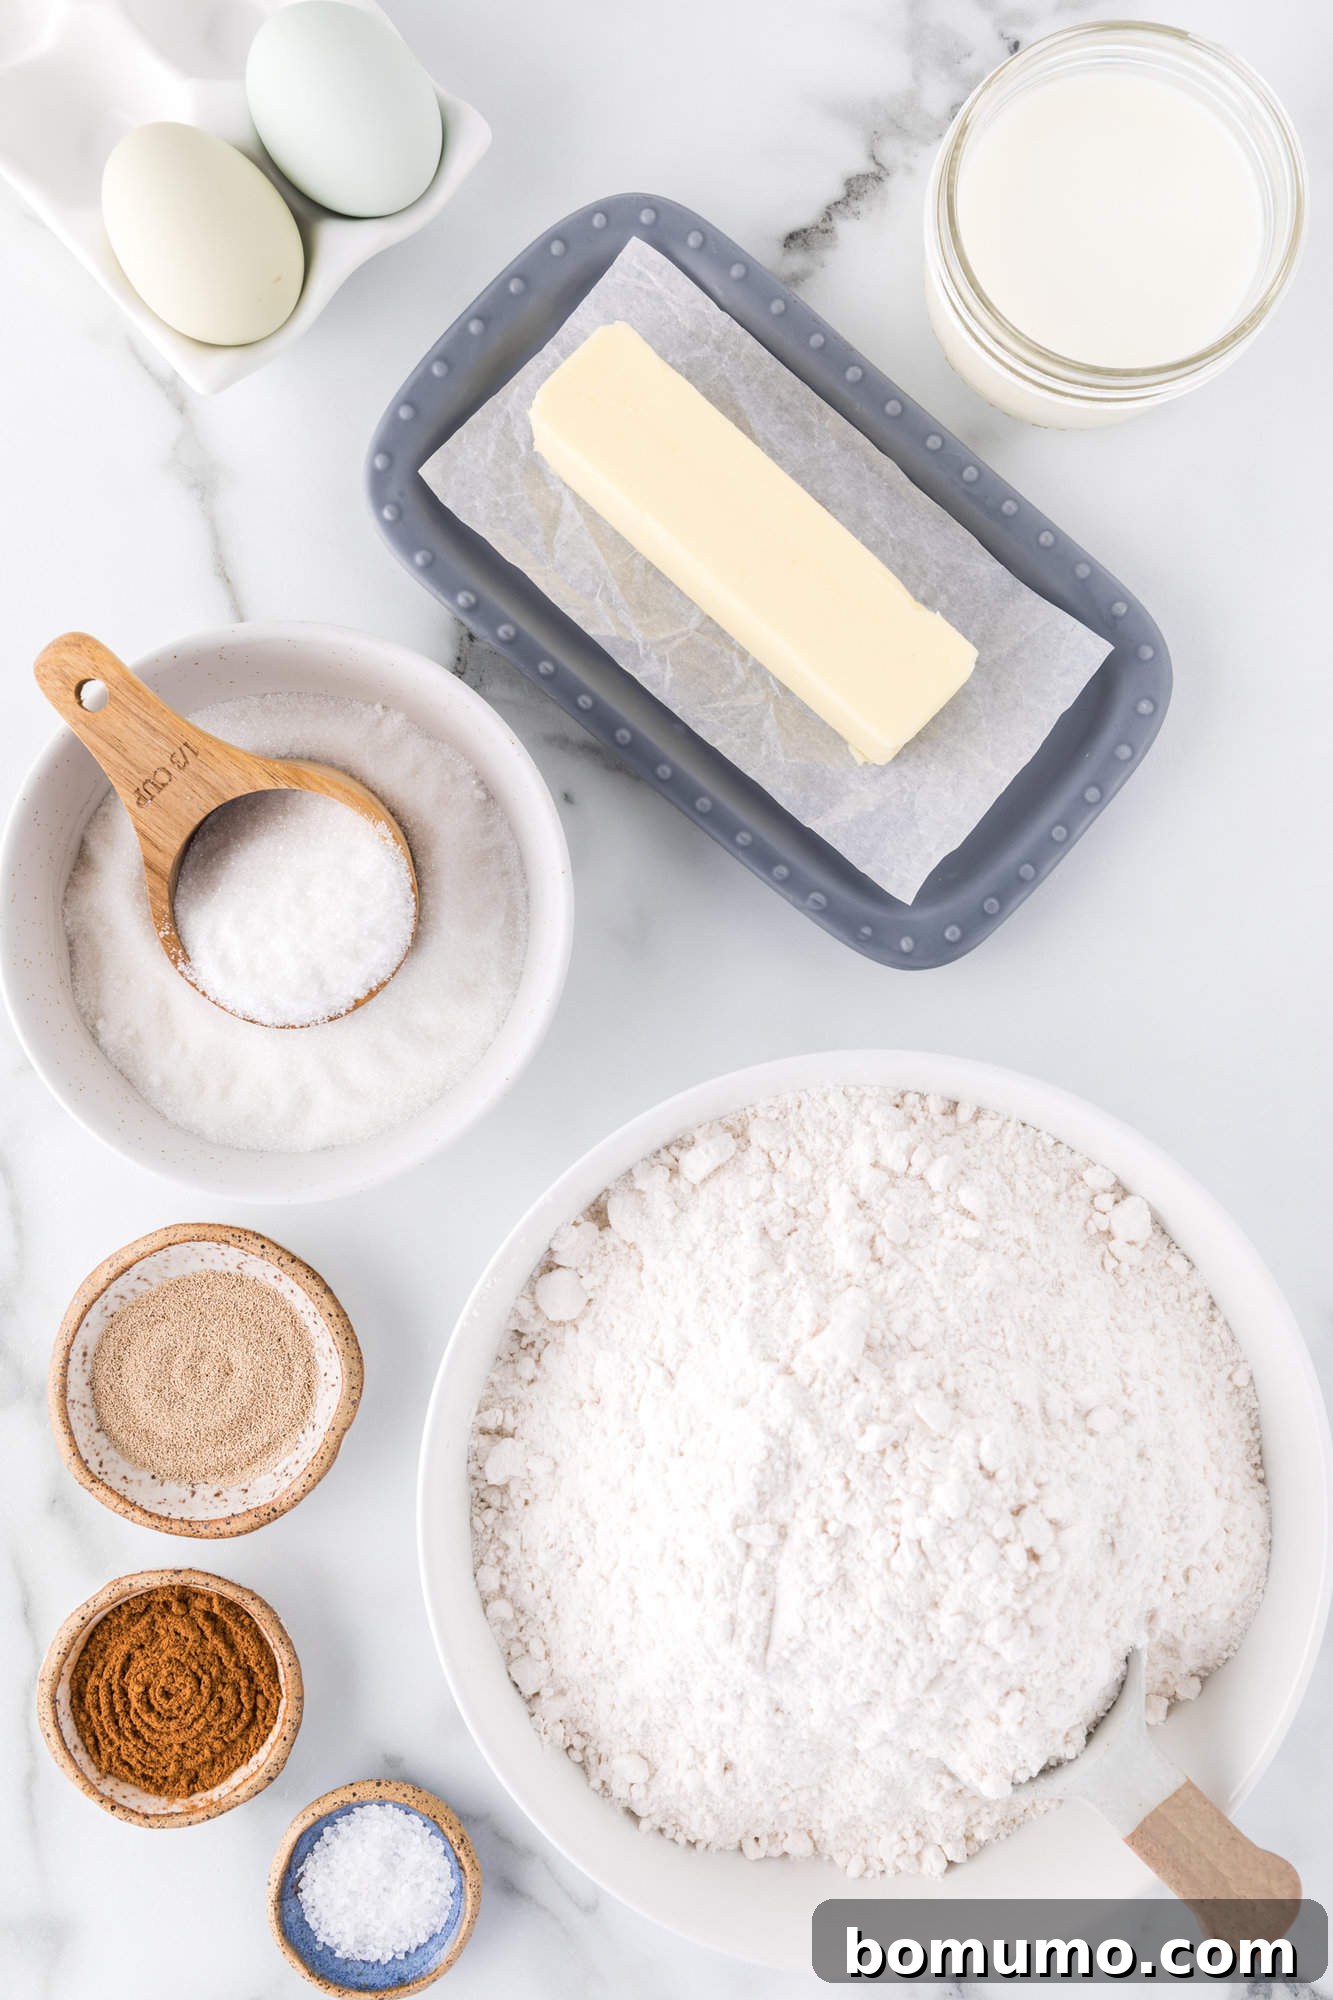
Understanding the role of each ingredient is key to successful baking. Here’s a detailed look at what you’ll need for this exceptional cinnamon swirl bread:
- All-Purpose Flour: For this recipe, I typically opt for unbleached all-purpose flour. It has a slightly denser grain and a darker hue compared to its bleached counterpart, which is excellent for yeast breads, lending a more robust structure. Unbleached flour also avoids chemical bleaching processes. However, if you only have regular bleached all-purpose flour on hand, don’t hesitate to use it; your bread will still turn out wonderfully. The key is to use fresh flour for optimal results.
- Granulated Sugar: Often referred to as white sugar, granulated sugar is a cornerstone in most baking. You’ll be using it in two crucial parts of this recipe: one-third cup will sweeten the bread dough itself, contributing to its tender crumb, and another one-third cup will form the heart of that irresistible, gooey cinnamon swirl, providing sweetness and moisture.
- Yeast: The star of any yeast bread! For this particular cinnamon bread recipe, instant yeast (also known as Rapid Rise yeast) is highly recommended. A single package typically contains about 2 ½ teaspoons, which is the perfect amount. Instant yeast is incredibly convenient because it can be mixed directly with the dry ingredients, eliminating the need for prior activation in warm water or milk, a step often required for active dry yeast. This saves time and simplifies the process, making it more beginner-friendly.
- Eggs: Incorporating a couple of large eggs into the bread dough serves multiple purposes. Eggs are essential for enriching the bread, making it more flavorful and contributing to its luxurious texture. Beyond flavor, they also add vital structure to the dough, helping it rise beautifully, and provide an additional boost of protein, making the bread more satisfying.
- Milk: Similar to eggs, milk plays a crucial role in enhancing the richness and overall flavor profile of the bread. It contributes to a softer crumb and a more tender crust. You can use any type of milk you have available – whole milk, 2%, or even low-fat milk – as each will work well and yield a delicious result. The fat content primarily affects the richness, so choose what you prefer.
- Butter: This delicious cinnamon swirl bread generously features butter, incorporated directly into the dough and used in the swirl. The butter not only adds an incredible depth of flavor but also contributes to the bread’s tender, melt-in-your-mouth texture. It’s a key ingredient for achieving that luxurious, rich quality that makes this bread so special.
- Cinnamon: The unmistakable star spice! The fragrant, mesmerizing cinnamon swirl is crafted from a harmonious blend of abundant ground cinnamon, a touch of butter, sugar, and a small amount of all-purpose flour. The flour in the swirl mixture is a clever addition; it acts as a stabilizer, preventing the cinnamon sugar from creating large gaps or separating from the bread as it bakes, ensuring a perfect, cohesive swirl in every slice.
How to Make the Best Homemade Cinnamon Swirl Bread: Step-by-Step Instructions
Follow these detailed steps to create a truly irresistible loaf of cinnamon swirl bread. Precision and patience are your best friends in yeast baking!
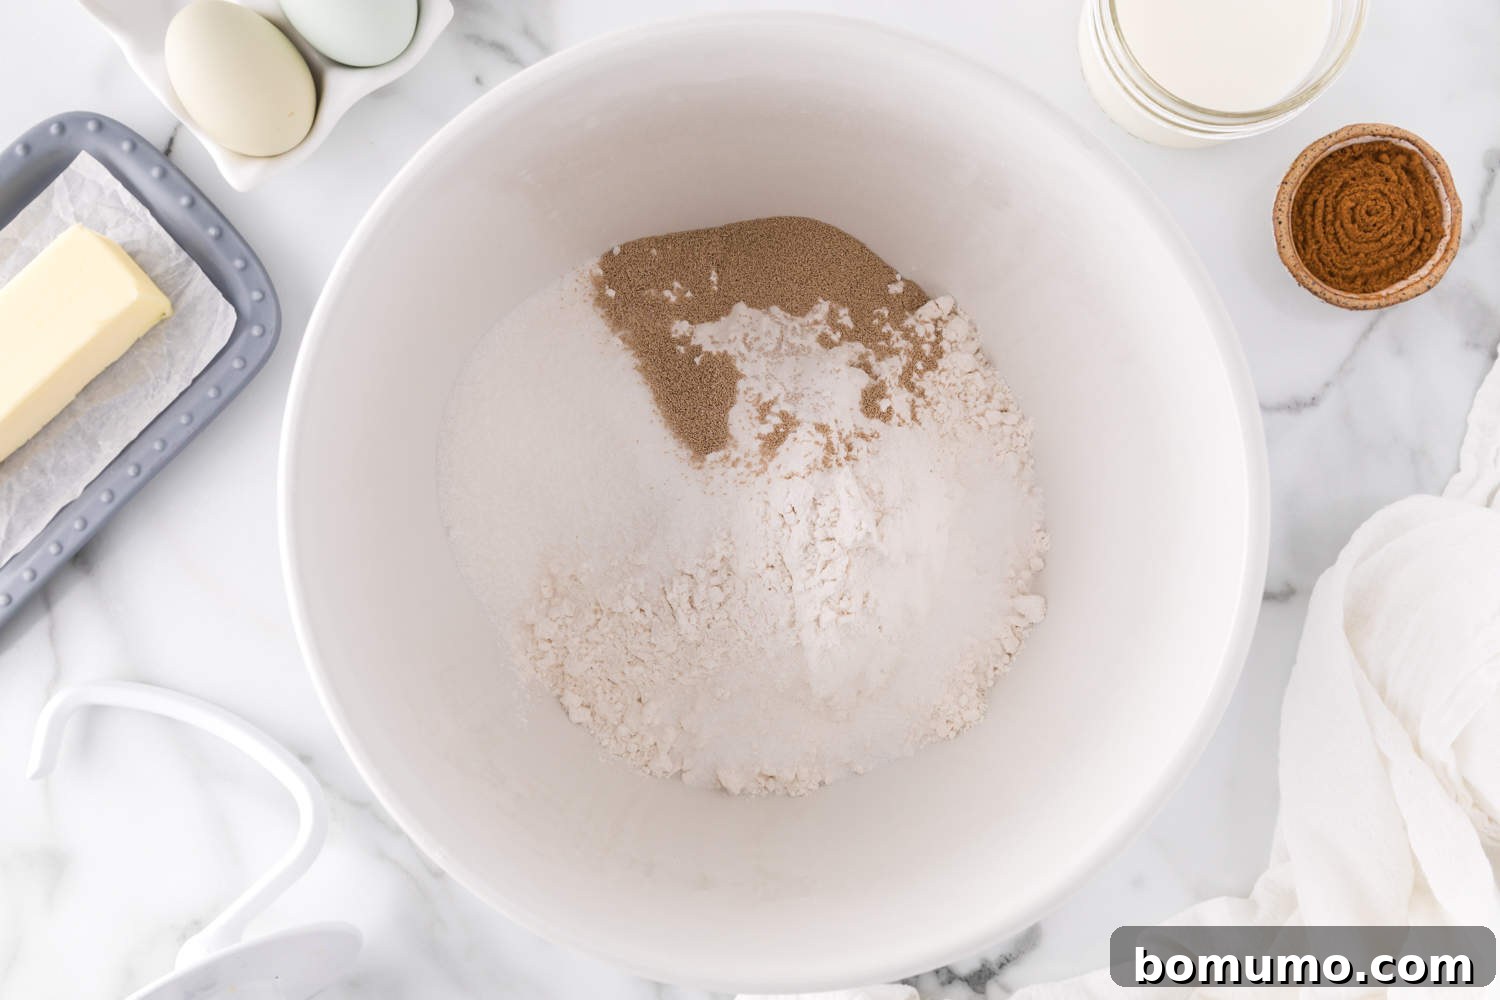
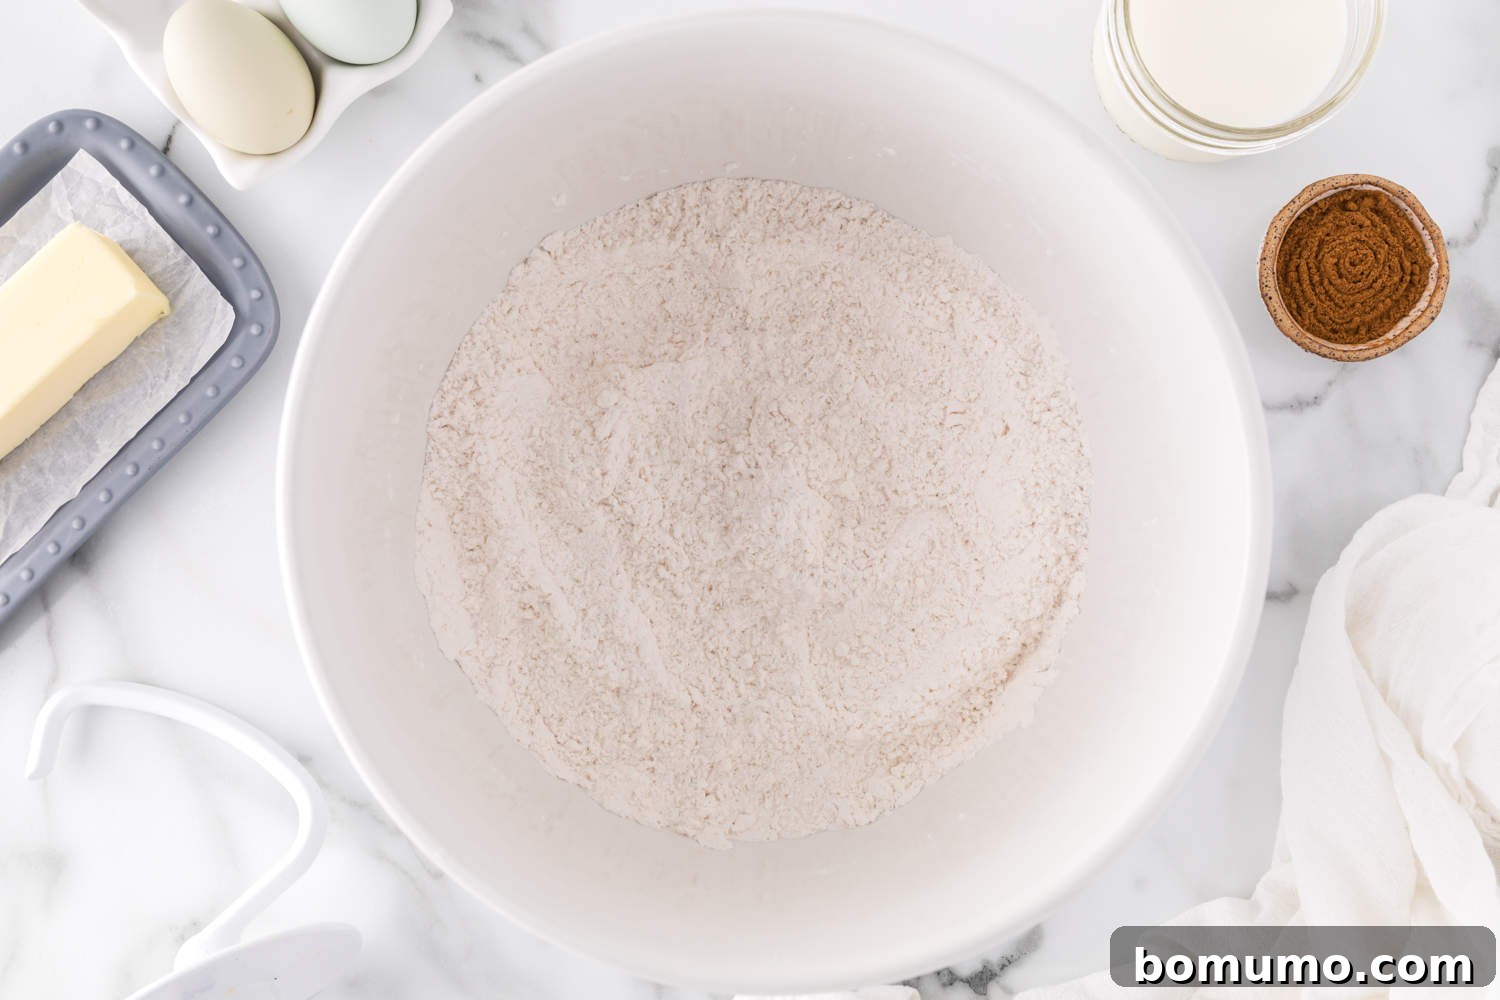
Step 1: Prepare Your Dry Ingredients
Begin by adding your measured all-purpose flour, granulated sugar, instant yeast, and salt into the bowl of your stand mixer. Use a whisk attachment or a hand whisk to thoroughly combine these dry ingredients. Ensuring they are well mixed at this stage guarantees even distribution throughout your dough, which is essential for uniform rising and flavor development.
Step 2: Prepare Wet Ingredients and Combine
Measure the milk into a microwave-safe glass measuring cup. Add the specified amount of unsalted butter to the milk. Microwave the mixture in short intervals, stirring frequently, until the butter is fully melted and the mixture reaches a temperature of 125°F (approximately 52°C). It should feel very warm to the touch but not be boiling, as excessive heat can kill the yeast. In a separate small bowl, lightly whisk your eggs until they are well blended.
Attach the dough hook to your stand mixer. With the mixer running on its lowest speed, gradually pour the warm milk and butter mixture into the bowl with the dry ingredients. Once incorporated, slowly add the beaten eggs. Continue mixing on low speed until all ingredients are just combined and a shaggy dough forms. Scrape down the sides of the bowl as needed to ensure everything is fully integrated.
Step 3: Knead the Bread Dough
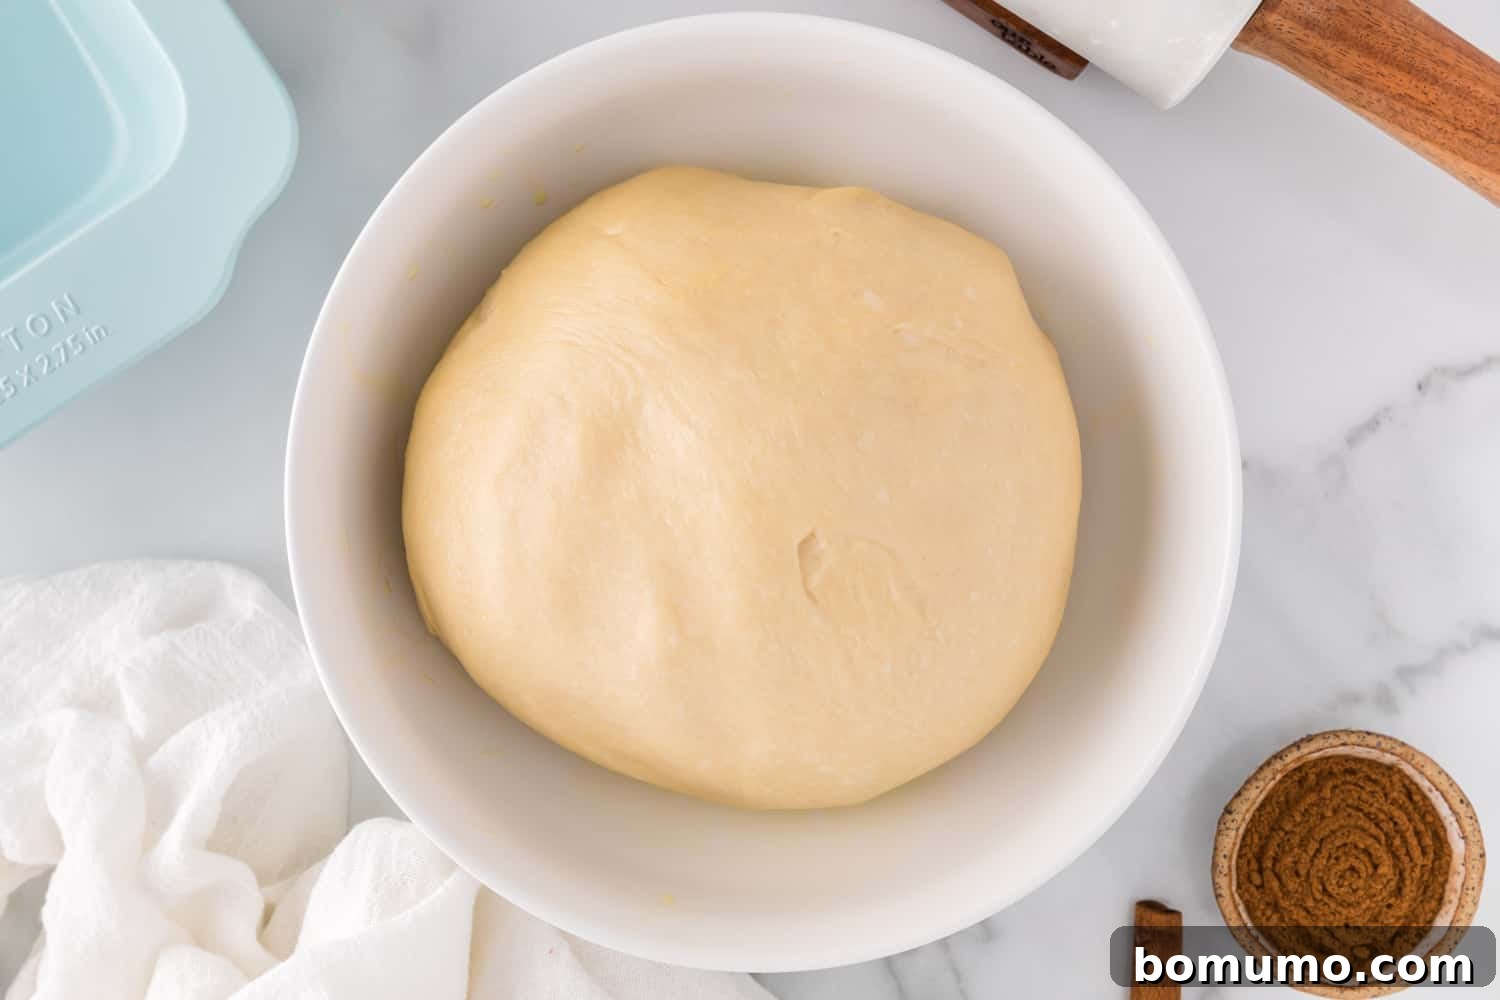
Increase the mixer speed to medium-low (typically setting #2 on a KitchenAid mixer). Allow the dough hook to knead the dough for 8 to 10 minutes. This extended kneading time is crucial for developing the gluten, which gives yeast bread its characteristic elasticity and structure. The dough should transform from shaggy to smooth, pliable, and slightly sticky. To test for proper kneading, gently press a clean finger into the dough; it should feel tacky but not leave a significant residue on your finger.
Step 4: First Rise (Proofing)
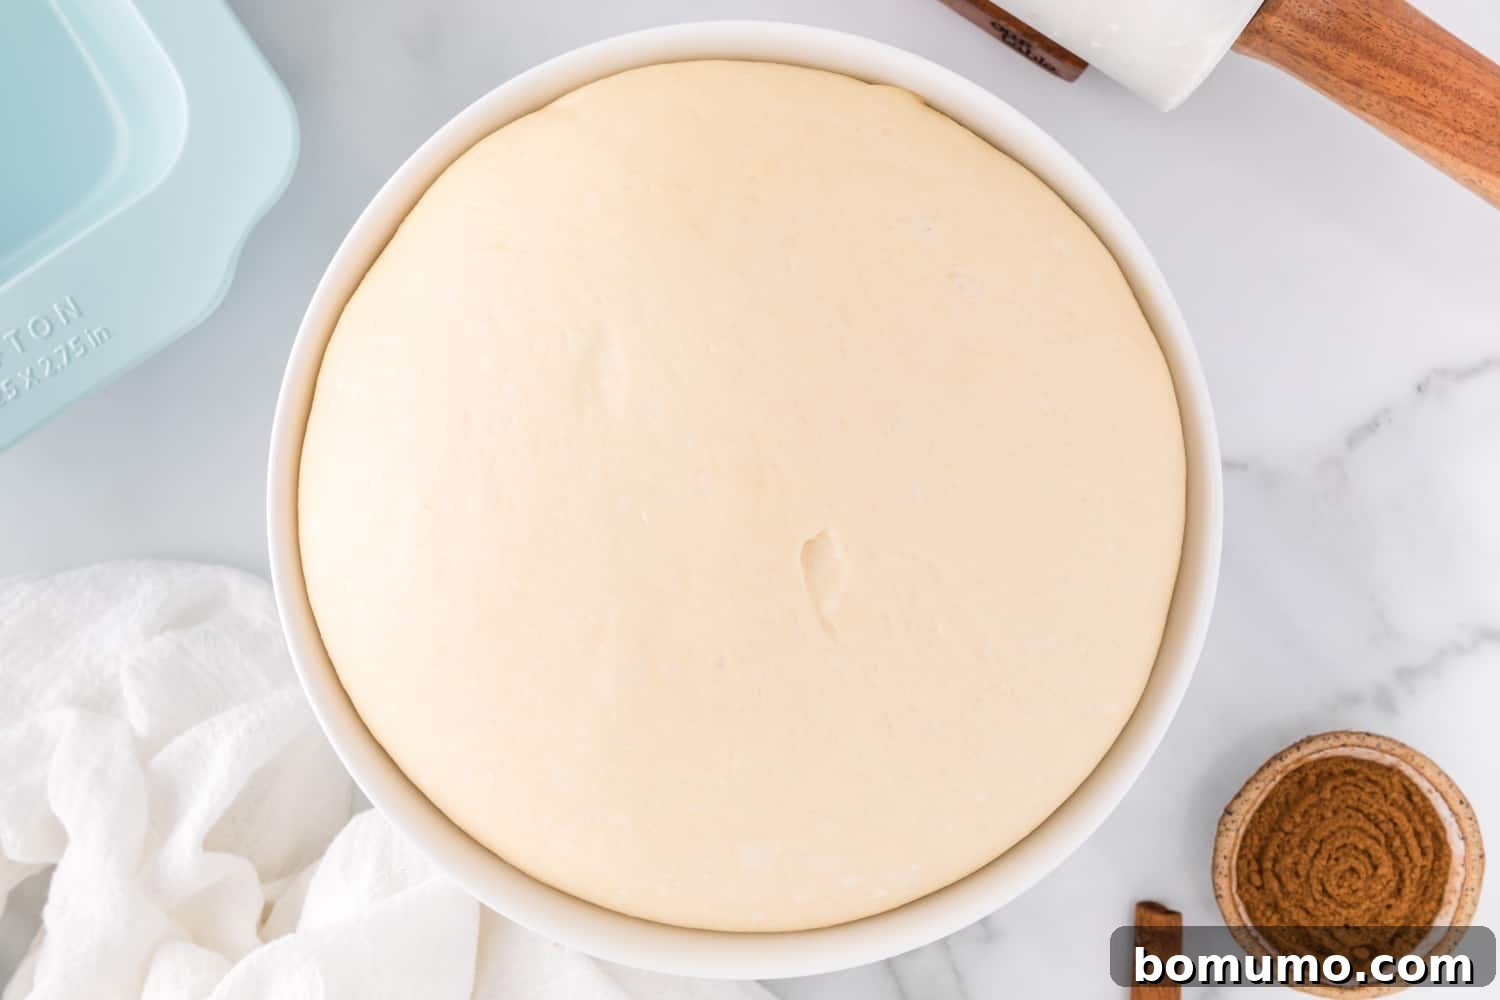
Lightly grease a large clean bowl with a small amount of neutral oil or cooking spray. Remove the kneaded dough from the mixer bowl and shape it into a neat ball. Place the dough into the greased bowl, then flip it over once to ensure both sides are lightly coated with oil. This prevents the dough from sticking and drying out during the rise. Cover the bowl snugly with a clean kitchen towel or plastic wrap. Place the covered bowl in a warm, draft-free spot in your kitchen. The ideal temperature for rising is usually around 75-80°F (24-27°C). Let the dough rise for approximately one hour, or until it has visibly doubled in size. You can test if it’s ready by gently pressing two fingers into the dough; if the indentation remains, it’s ready.
Step 5: Prepare the Cinnamon Swirl Filling
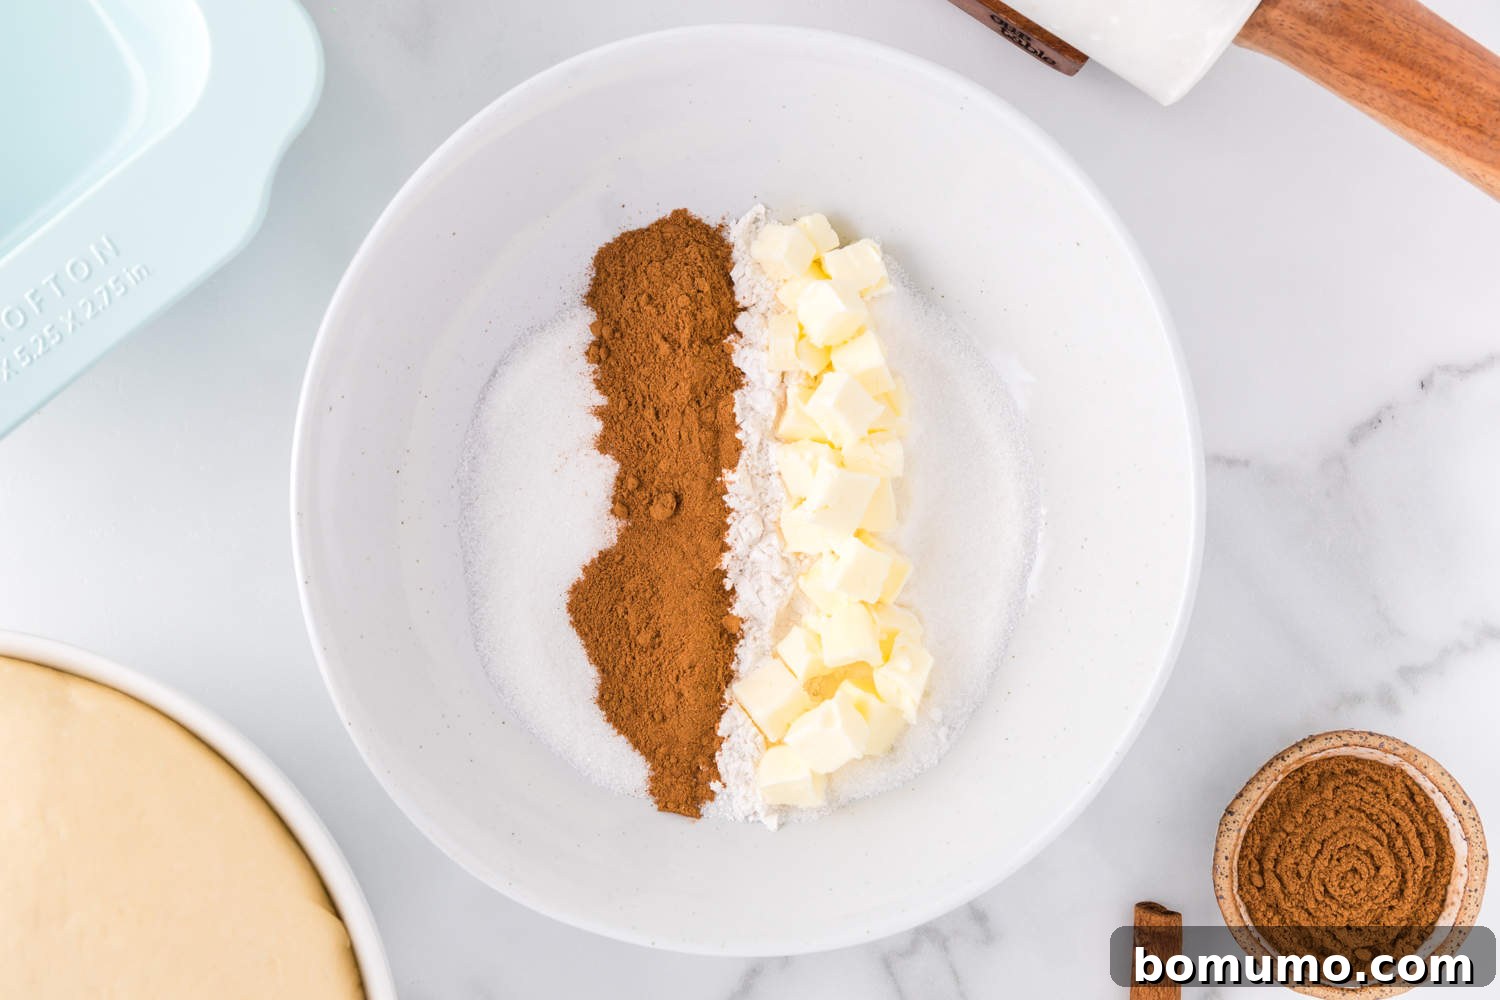
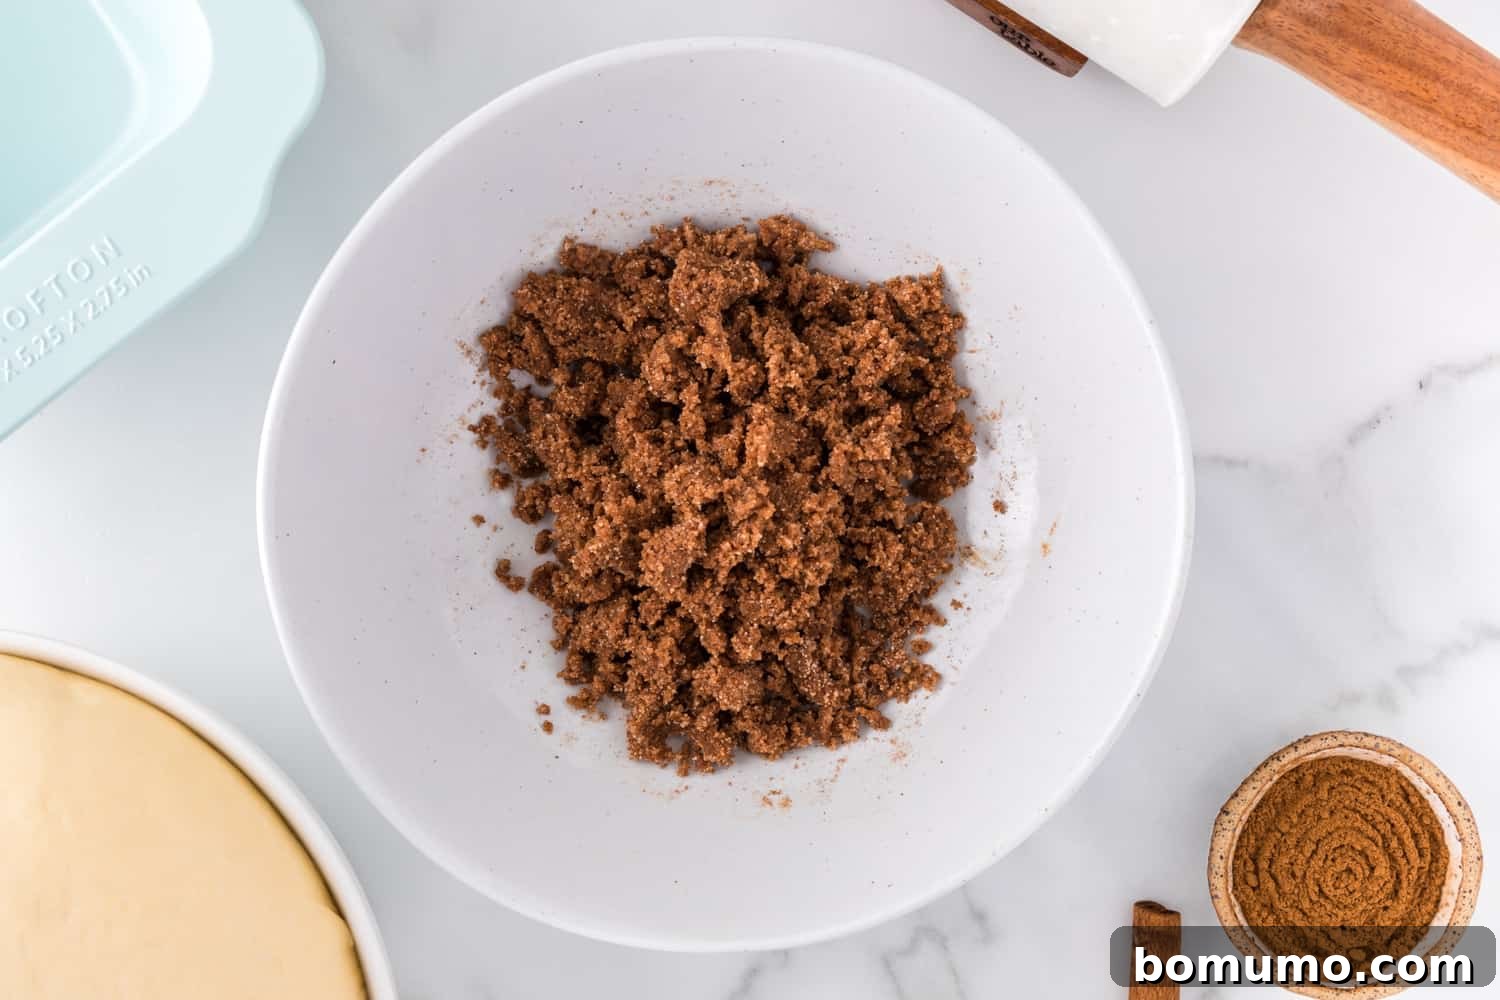
While your dough is undergoing its first rise, prepare the exquisite cinnamon swirl filling. In a small bowl, combine the granulated sugar, ground cinnamon, a tablespoon of all-purpose flour, and the cold unsalted butter (cut into small pieces). Using a fork or your fingertips, work these ingredients together until the mixture is well blended and resembles wet, coarse sand. The flour in this mixture helps absorb moisture during baking, preventing the cinnamon sugar from creating large pockets or separating from the bread, ensuring a perfectly integrated and gooey swirl.
Step 6: Shape the Loaf and Second Rise
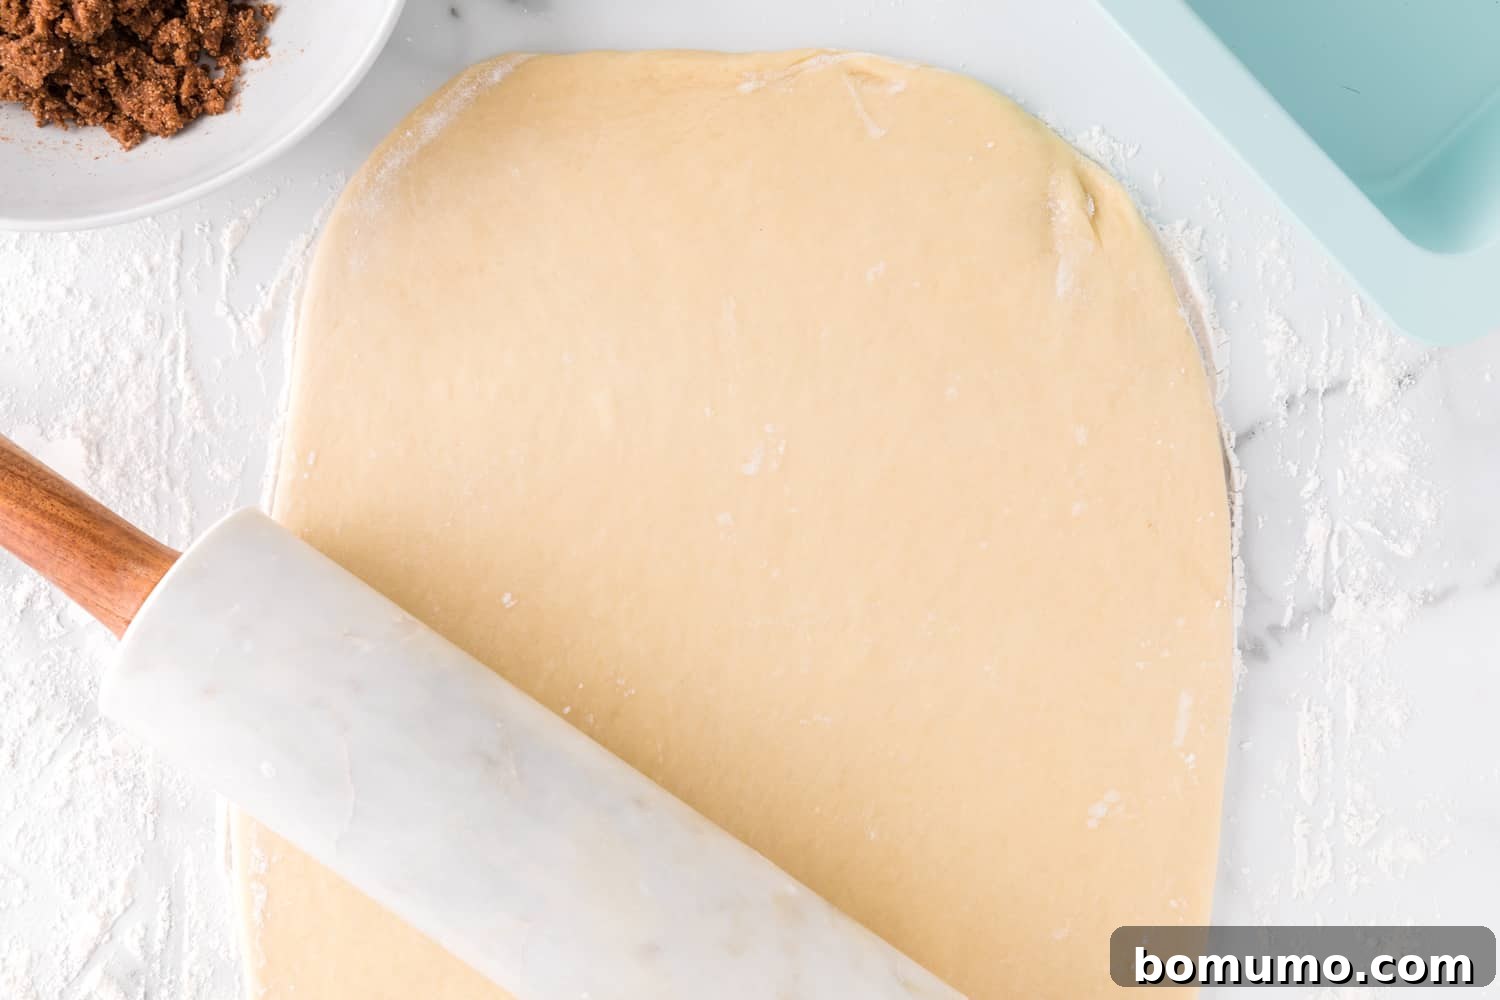
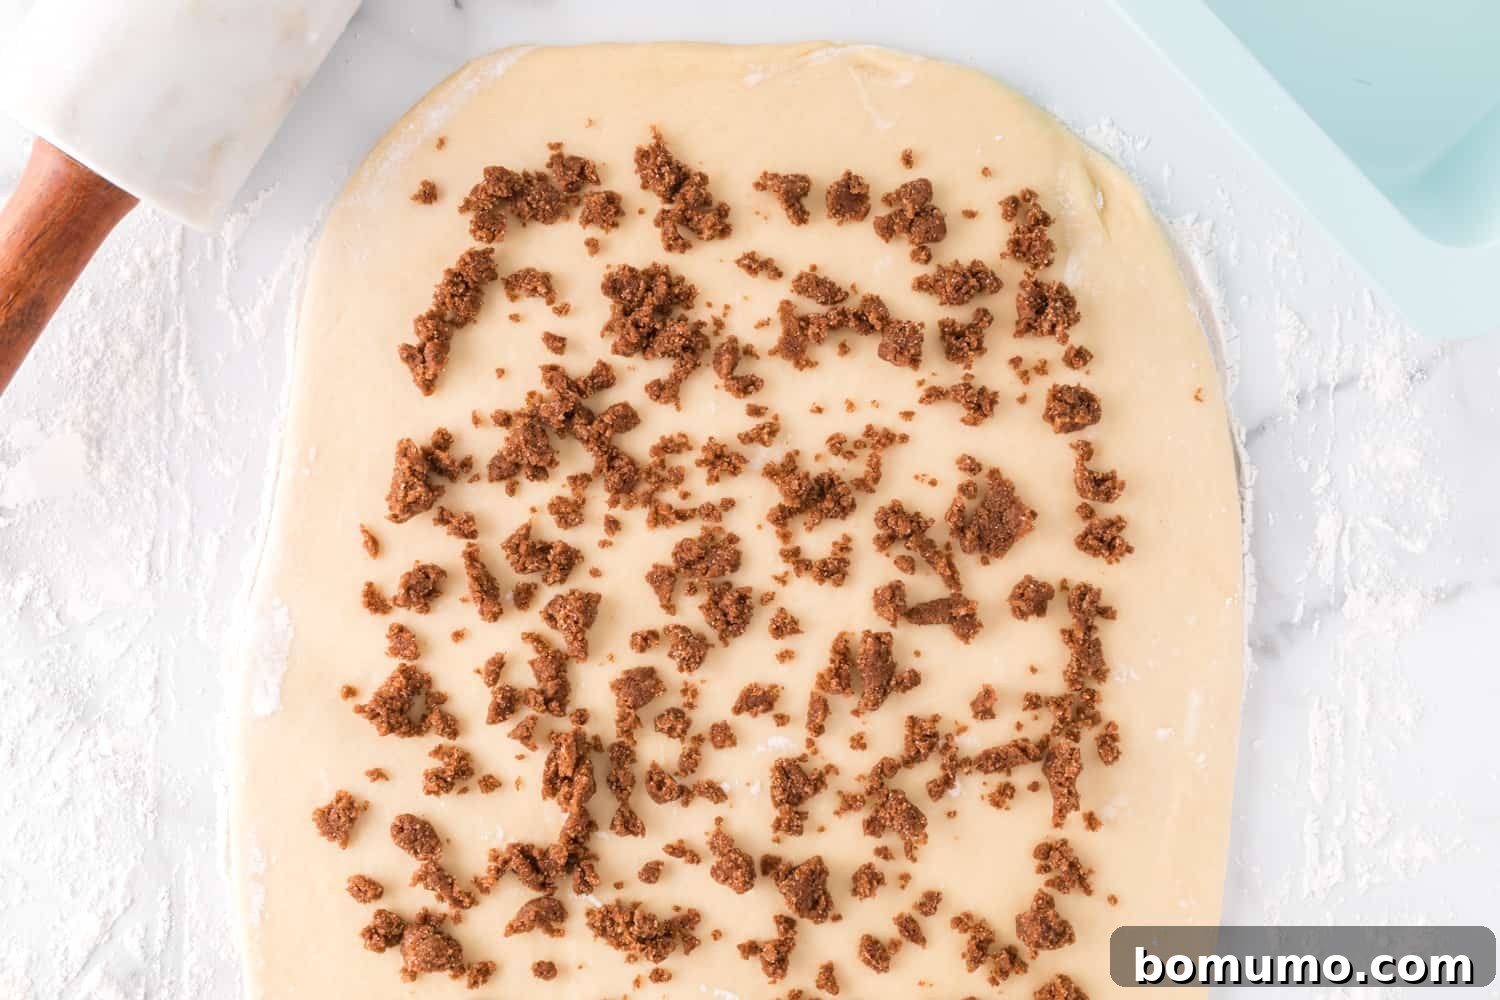
Once your dough has completed its first rise, gently punch it down to release the air. Scrape the dough out of the bowl onto a lightly floured surface. Using a rolling pin, roll the dough into a large rectangle. Aim for a rectangle that is roughly the width of your loaf pan (along the longer side) and about 18 inches long. This size is ideal for creating plenty of swirls. Evenly spread the prepared cinnamon mixture over the entire surface of the rolled-out dough, making sure to leave a small 1-inch border along one of the long edges and the two short edges. This border will help seal the dough.
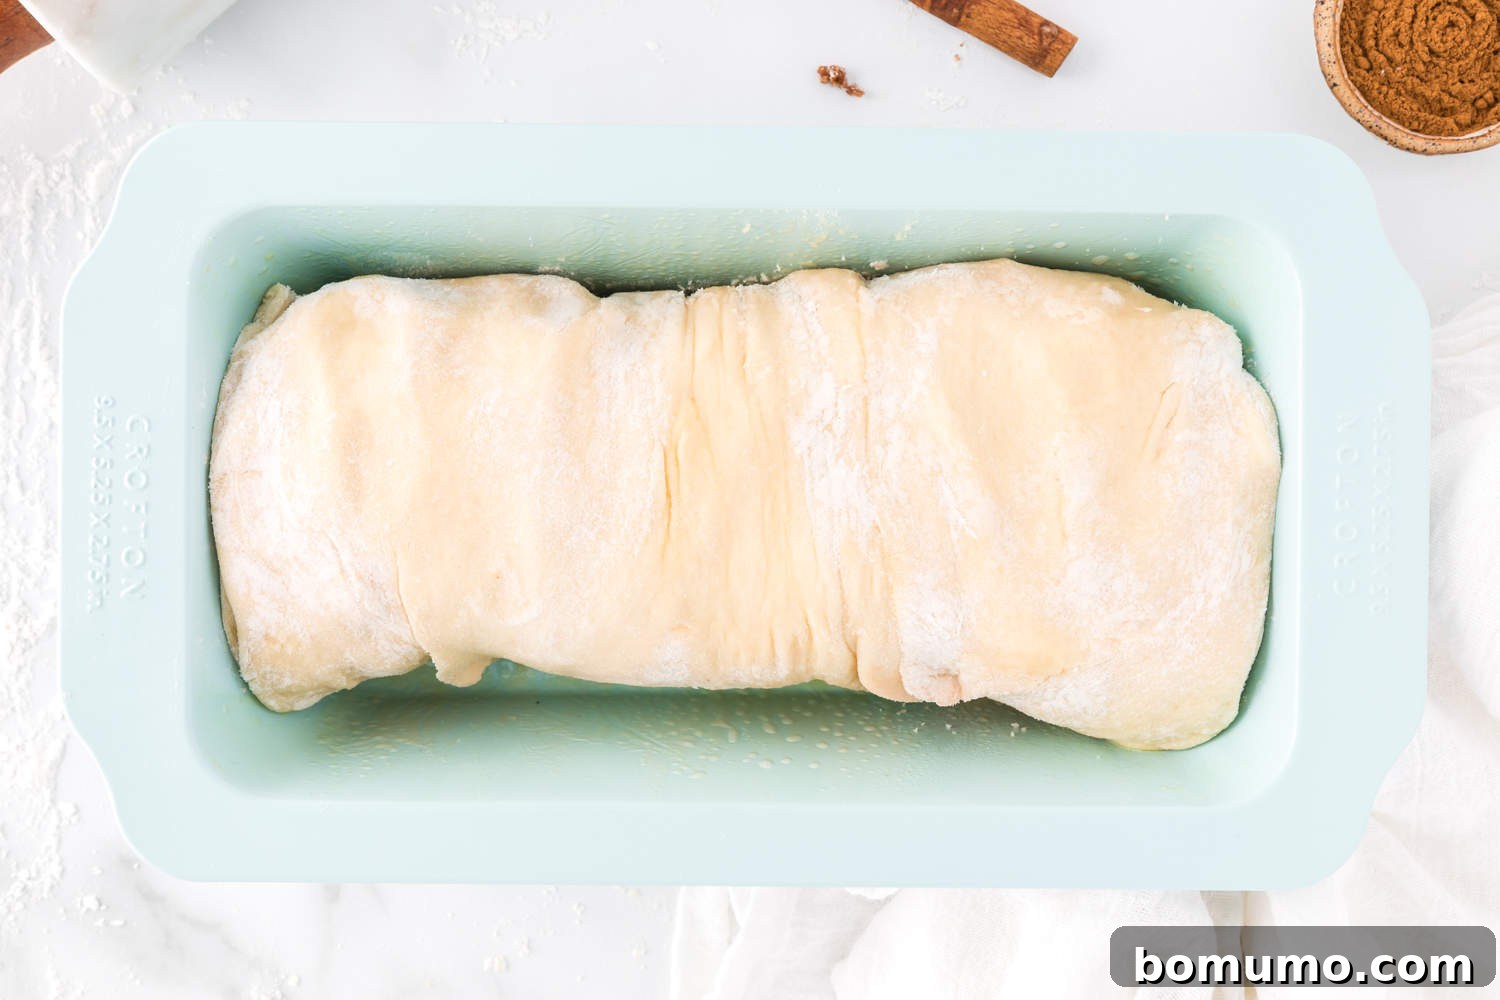
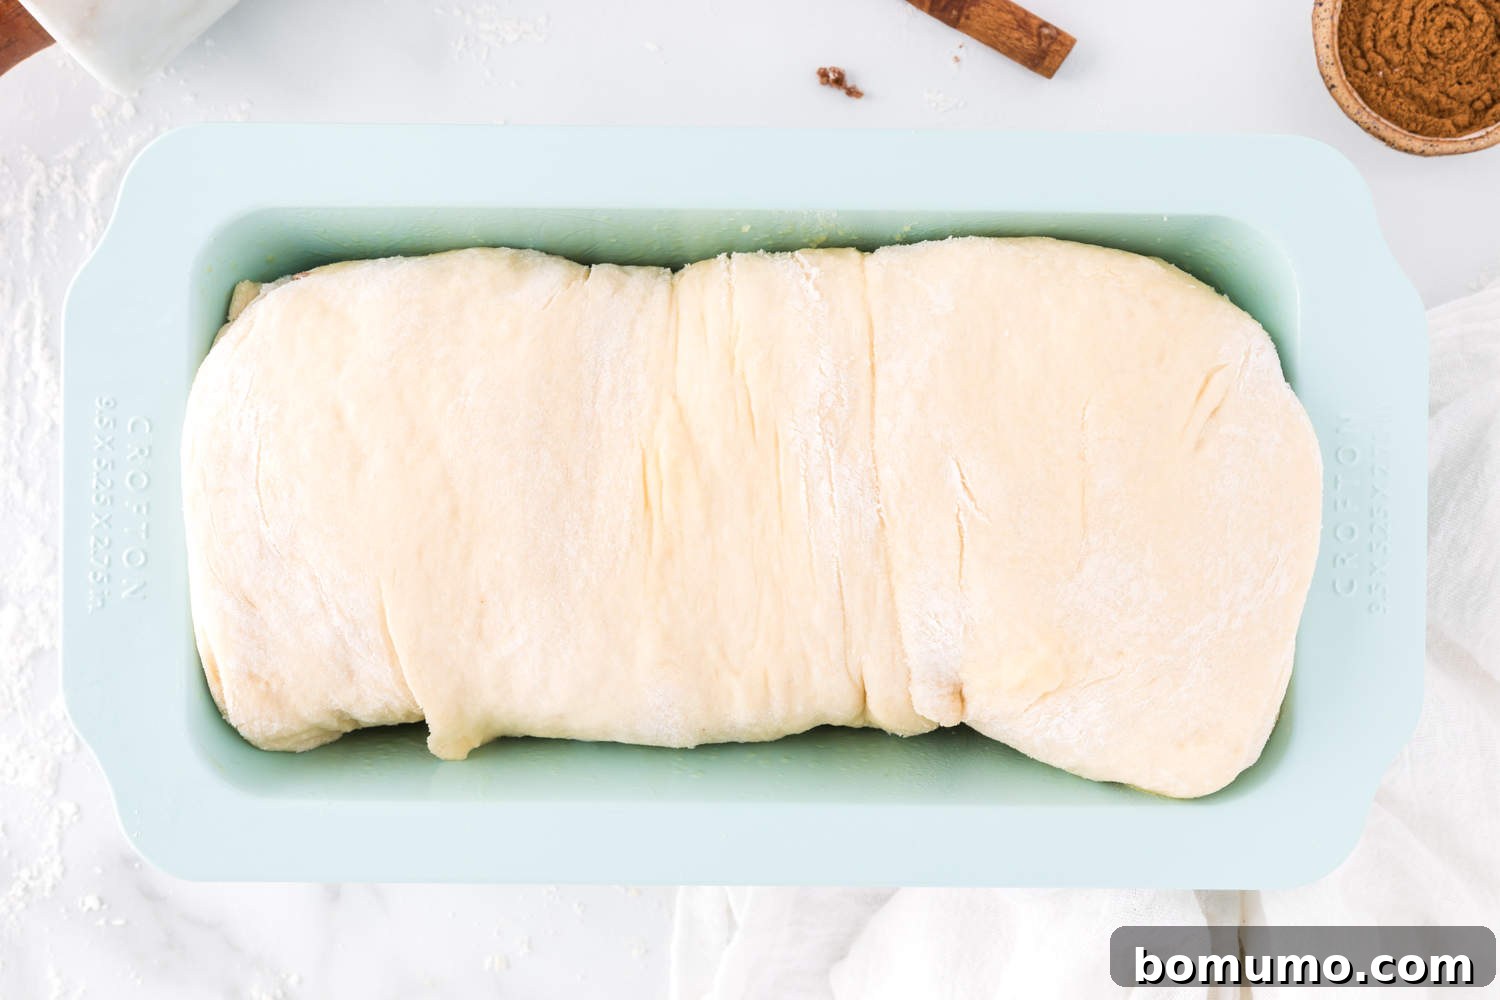
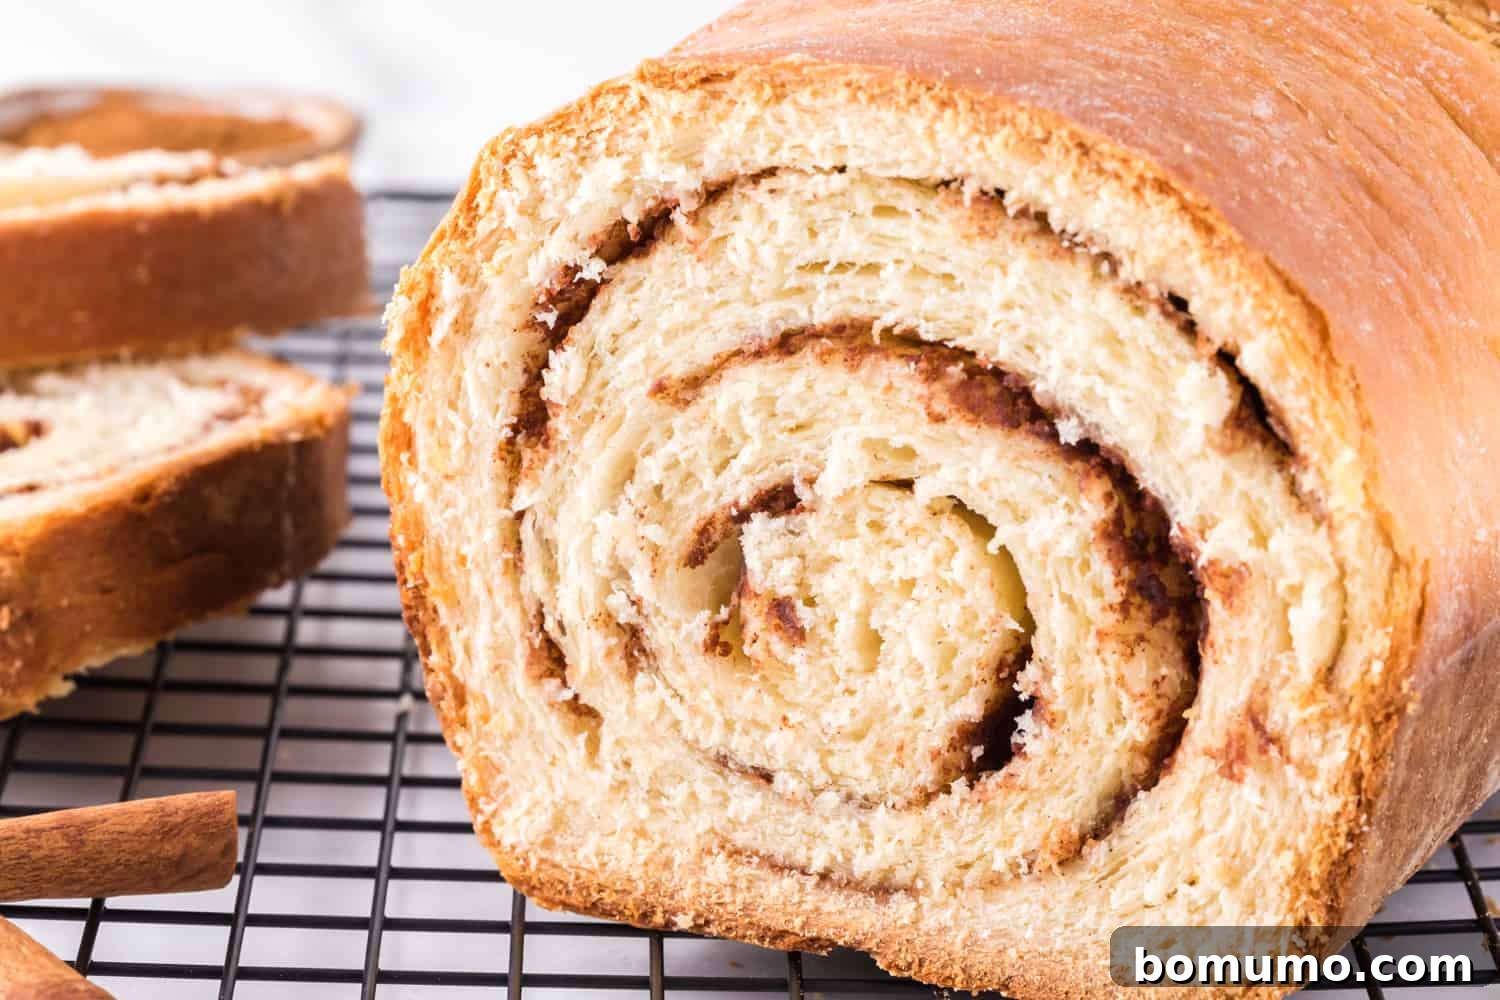
Now, carefully and tightly roll the dough, starting from the long edge opposite the border you left clean, towards yourself. The tighter you roll, the more distinct and beautiful your cinnamon swirl will be. Once rolled, firmly pinch the bottom seam of the dough to seal it completely, preventing the swirl from unraveling during baking. Lightly grease your loaf pan with butter or cooking spray. Place the rolled dough into the prepared loaf pan, ensuring the seam side is down, and gently tuck in the ends to create a neat loaf shape. Cover the loaf pan with a clean towel or plastic wrap and return it to a warm place for its second rise. Let it rise for about another hour, or until it has once again doubled in size and looks puffy.
Step 7: Bake the Cinnamon Bread
Preheat your oven to 350°F (175°C). Once preheated and the dough has completed its second rise, carefully place the loaf pan on the middle lower rack of your oven. Bake for approximately 60 minutes. It’s a good practice to check on your bread around the 30-minute mark. If you notice the crust browning too quickly, loosely tent the loaf pan with aluminum foil. This will prevent over-browning while allowing the inside to cook thoroughly. The bread is done when it’s golden brown and sounds hollow when tapped on the bottom.
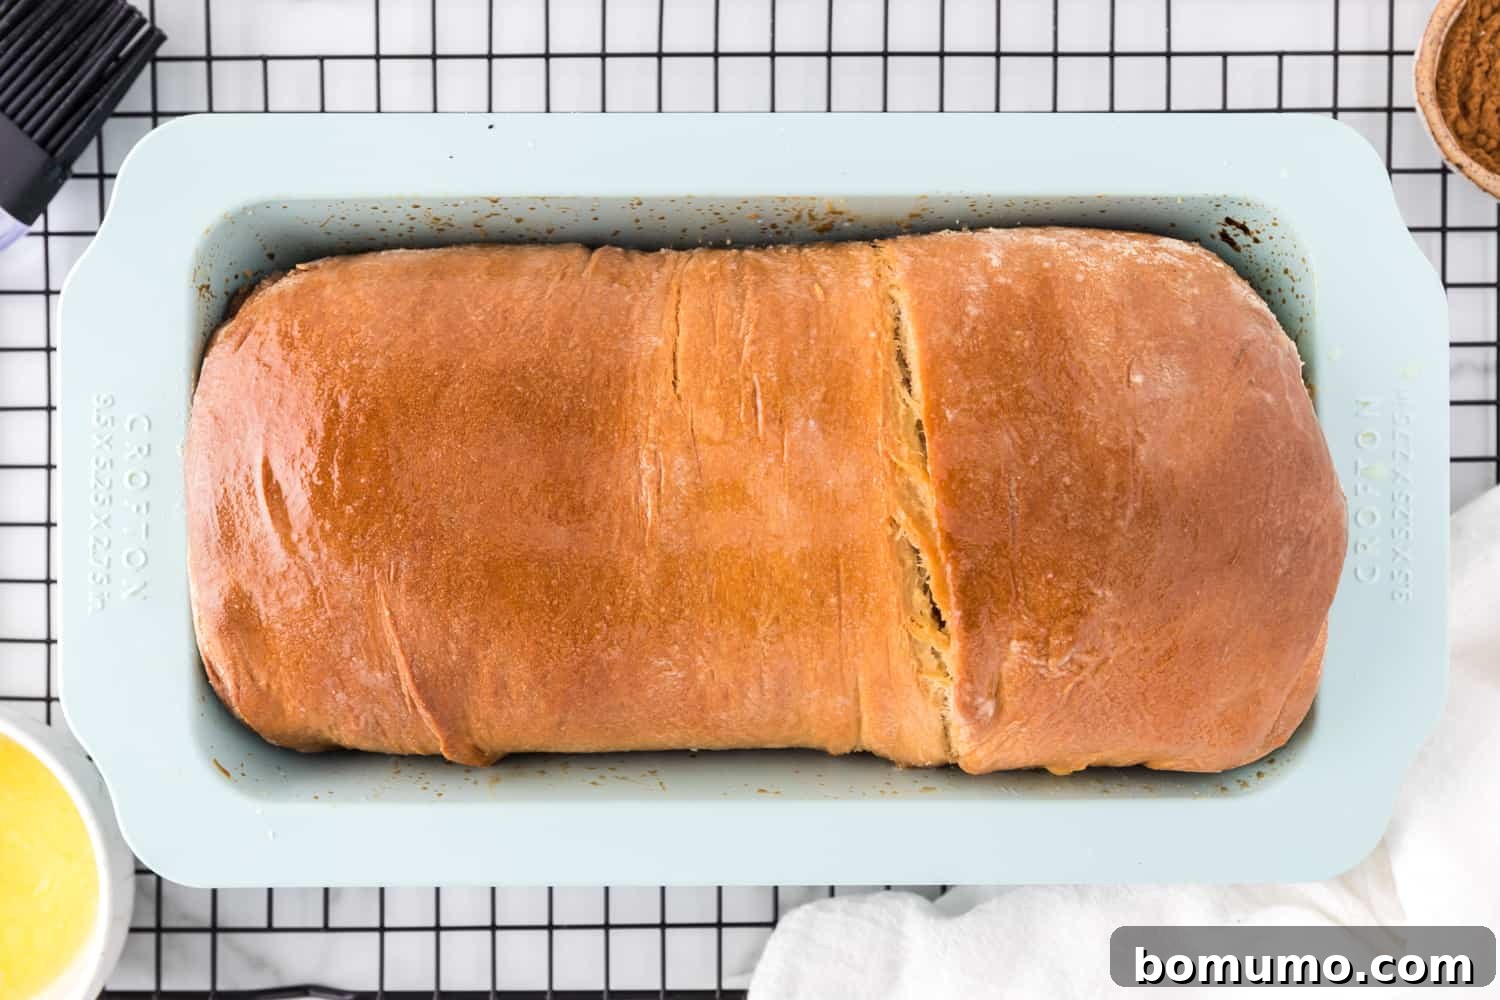
Step 8: Cool and Slice
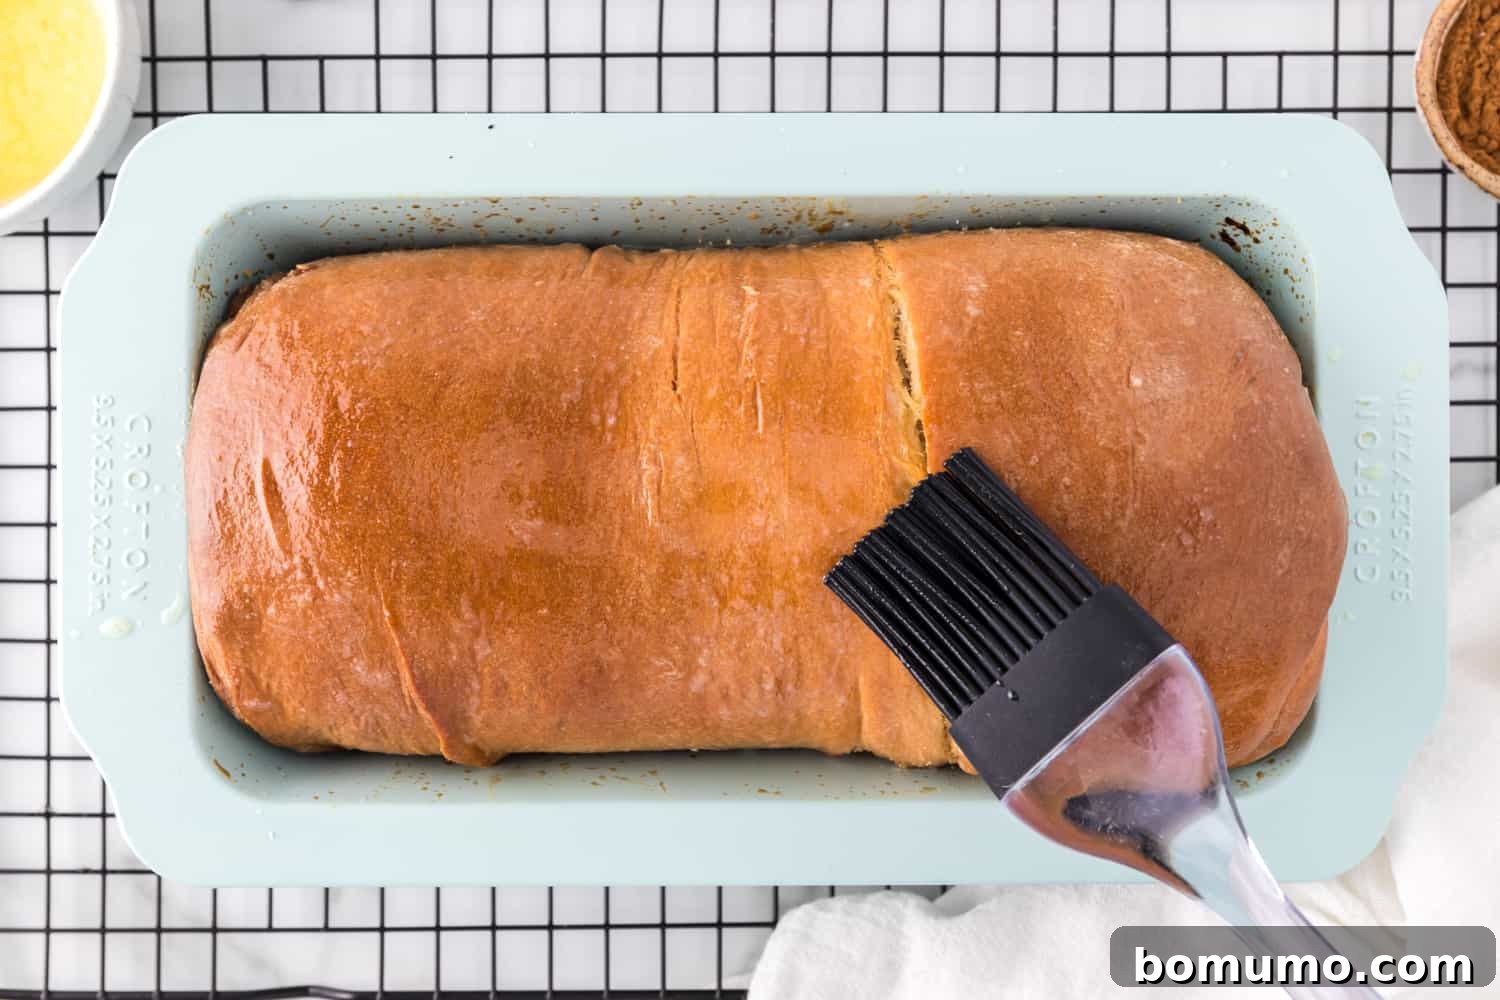
Once your beautiful cinnamon bread is baked to perfection, remove it from the oven. For an extra touch of richness and a softer crust, you can immediately brush the top with a little melted butter. Allow the bread to cool in the loaf pan for about 10 minutes. This crucial cooling period allows the bread to set and prevents it from collapsing. After 10 minutes, carefully transfer the loaf to a wire rack to cool completely. While it’s tempting to slice into the warm bread right away – and it’s certainly delicious this way – slicing it while still hot may result in slightly less defined slices and a somewhat gummy texture. For the cleanest cuts and best texture, patience is key! Let it cool fully before cutting into thick, inviting slices, revealing that stunning cinnamon swirl within.
Delightful Serving Suggestions for Your Cinnamon Swirl Bread
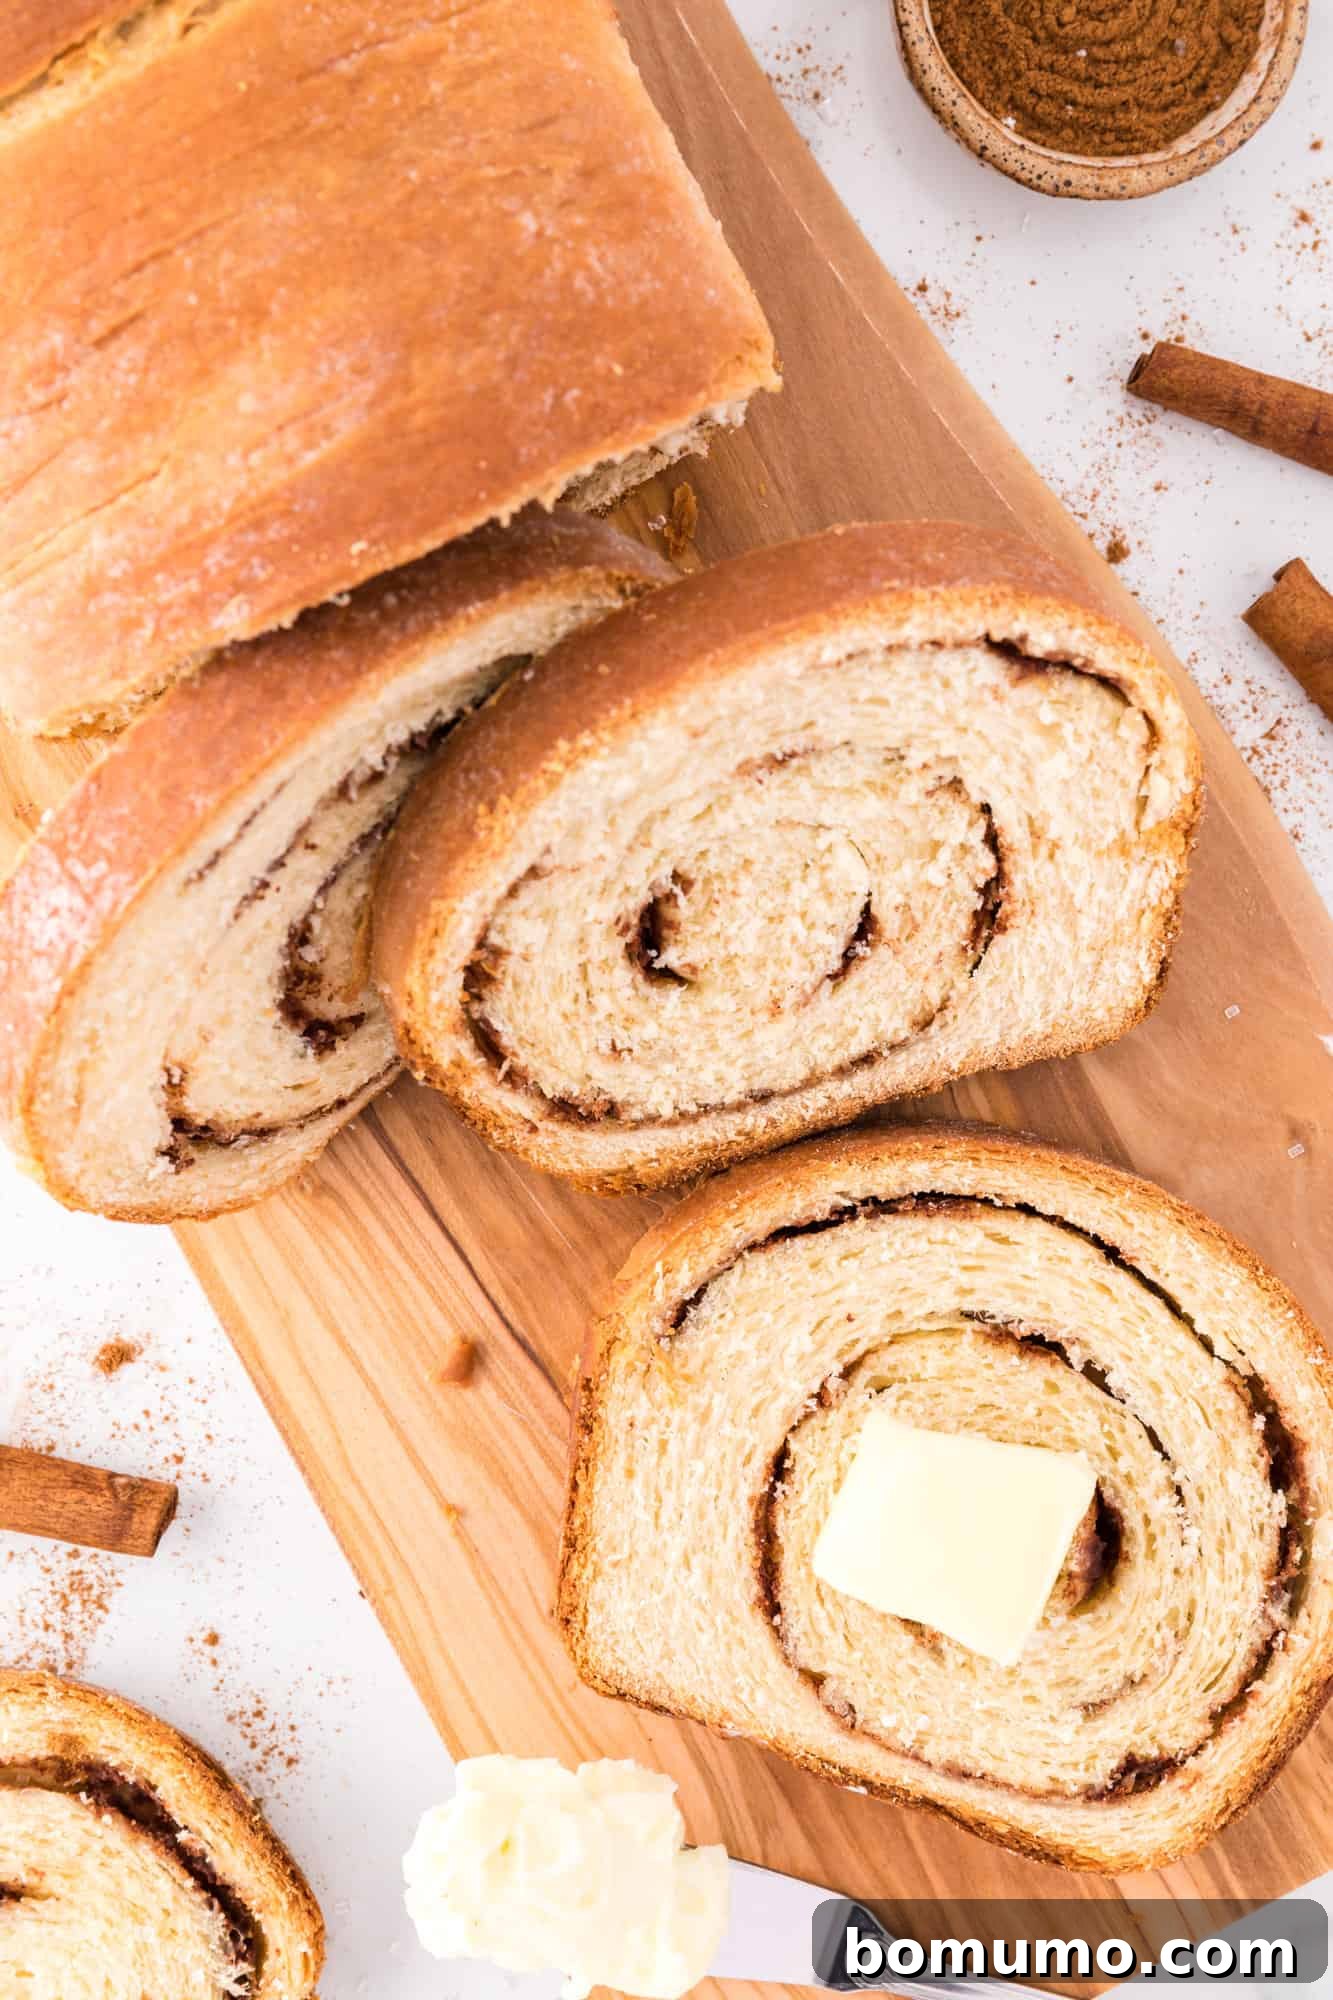
There’s truly nothing quite as comforting and satisfying as a slice of warm, freshly baked bread, especially when it’s infused with aromatic cinnamon and topped with generous dollops of butter slowly melting into its tender crumb. To elevate this experience, allow your butter to soften at room temperature for an hour or so before serving; it will spread and melt far more beautifully, creating an even more luxurious bite.
For those seeking a truly special and gourmet touch, consider crafting a compound butter to accompany your cinnamon swirl bread. Compound butters are simply regular butter blended with various flavorings, adding an extra layer of culinary sophistication. Some of my personal favorites that pair exquisitely with cinnamon swirl bread include a festive Gingerbread Butter, which echoes the warm spices of the bread, and a vibrant Cranberry Cinnamon Honey Butter, offering a delightful balance of sweet, tart, and spice. These simple additions can transform an already amazing bread into an unforgettable indulgence.
Homemade cinnamon swirl bread is wonderfully versatile and perfect for a variety of occasions. Make it the star of your next elegant brunch spread, or simply enjoy it as a special treat for a lazy morning breakfast. Honestly, its comforting appeal makes it suitable for almost any time of day: breakfast, lunch, dinner alongside a light meal, or a delightful snack. Don’t forget to try it toasted too! The edges become wonderfully crisp, and the cinnamon swirl caramelizes slightly, enhancing its flavor and texture. It’s a fantastic way to enjoy day-old bread, bringing back that fresh-baked warmth and aroma.
Storage Tips for Your Homemade Cinnamon Swirl Bread
Proper storage is essential to keep your homemade cinnamon swirl bread fresh and delicious for as long as possible. Follow these tips to maximize its shelf life:
- Ensure the Bread is Completely Cooled: This is perhaps the most critical step for proper storage. Before placing your cinnamon bread into any airtight container or bag, it must be completely cooled to room temperature. If the bread is still even slightly warm when stored, condensation will form inside the container, leading to a soggy texture and significantly accelerating spoilage, making it moldy much faster.
- Embrace the Freshness (No Preservatives): Remember that your homemade bread is free of the artificial preservatives found in commercially produced breads, which seem to stay fresh indefinitely. This means your artisanal loaf will have a shorter shelf life, but its superior flavor and quality are well worth it. Enjoying it fresh is always the best option.
- Countertop or Refrigerator Storage: If stored correctly in an airtight container or a sealed plastic bag at room temperature, your cinnamon swirl bread will remain fresh and delightful for 3 to 4 days. For an extended shelf life, you can transfer it to the refrigerator, where it will keep for an additional 3 to 4 days, typically lasting up to a week. Be aware that refrigeration can sometimes slightly alter the texture of bread, making it a bit firmer, but it will still be delicious, especially when lightly toasted.
- Freezing for Long-Term Enjoyment: For longer storage, freezing is an excellent option. I recommend slicing the bread before freezing. This allows you to thaw individual slices as needed, preventing waste and making it incredibly convenient. Arrange the slices in a single layer on a baking sheet to freeze them individually, then transfer the frozen slices to a freezer-safe container or heavy-duty freezer bag. Properly frozen, your cinnamon swirl bread will maintain its quality for up to 2 months. Individual slices thaw remarkably quickly at room temperature, and you can even toast them directly from the freezer, resulting in a perfectly warm and crispy treat.
Explore More Delicious Yeast Bread Recipes
Hearty Cranberry Walnut Oat Bread
Artisan Dutch Oven Bread (No Knead!)
Simple No-Knead Whole Wheat Bread
Classic Parker House Rolls
Cinnamon Swirl Bread Recipe
Rachel Gurk
30 mins
1 hr
2 hrs
3 hrs 30 mins
10
Print Recipe
Ingredients
- 4 ½ cups all-purpose flour
- ⅓ cup granulated sugar
- 1 pkg. Rapid Rise instant yeast (2 ½ teaspoons)
- 1 teaspoon salt
- 2 large eggs
- 1 cup milk
- 6 tablespoons unsalted butter
Cinnamon Swirl:
- ⅓ cup granulated sugar
- 2 tablespoons ground cinnamon
- 1 tablespoon all-purpose flour
- 2 tablespoons unsalted butter, cold
Instructions
-
In the bowl of a stand mixer, combine 4 ½ cups all-purpose flour, ⅓ cup granulated sugar, 1 package Rapid Rise instant yeast, and 1 teaspoon salt. Whisk them together thoroughly.
-
In a small separate bowl, lightly beat the 2 large eggs with a fork until they are well blended.
-
In a microwave-safe cup, combine 1 cup milk and 6 tablespoons unsalted butter. Microwave on high power for about 1 minute and 15 seconds, stirring occasionally, until the butter is melted and the mixture reaches 125°F (52°C). If needed, continue microwaving in 10-second increments, stirring after each, until the correct temperature is achieved.
-
With the stand mixer running on low speed, using the dough hook attachment, slowly add the warm milk mixture to the dry ingredients in the bowl. Follow this by slowly adding the beaten eggs. Mix until all ingredients are just blended, scraping down the sides of the bowl as necessary.
-
Increase the mixer speed to medium-low (e.g., #2 on a KitchenAid) and continue to knead the dough for 8 to 10 minutes. The dough should become smooth, elastic, and slightly sticky to the touch but should not adhere firmly to your fingers when pressed.
-
Lightly grease a large clean bowl with 1 teaspoon of oil. Remove the dough from the mixer and shape it into a ball. Place the dough into the greased bowl, then flip it over once to coat all sides with oil. Cover the bowl with a clean kitchen towel and let the dough rise in a warm, draft-free place for 60 minutes, or until it has doubled in size.
-
Meanwhile, prepare the cinnamon swirl filling. In a small bowl, combine ⅓ cup granulated sugar, 2 tablespoons ground cinnamon, 1 tablespoon all-purpose flour, and 2 tablespoons cold unsalted butter (cut into small pieces). Use a fork or your fingers to work the mixture together until it is well blended and has a texture resembling wet sand.
-
Lightly spray your loaf pan with nonstick cooking spray or grease it thoroughly with butter.
-
On a lightly floured surface, roll the risen dough into a large rectangle. The width should be roughly the same as the long side of your loaf pan, and it should be about 18 inches long.
-
Evenly spread the prepared cinnamon mixture over the rolled-out dough, leaving a 1-inch border along the edges, especially one long side. Starting from the short end closest to you, firmly roll up the dough, keeping it as tight as possible to create a defined swirl. Pinch the bottom seam very well to seal the loaf. Place the rolled dough into the prepared loaf pan, with the seam side facing down, and gently tuck in the ends to create a neat shape.
-
Cover the loaf pan with a clean towel or plastic wrap and let the dough rise again in a warm place for another hour, or until it has visibly doubled in size and looks puffy.
-
Preheat your oven to 350°F (175°C).
-
Bake the bread for 60 minutes, placing the loaf pan on the middle lower rack of your oven. At the 30-minute mark, check the bread; if the crust is browning too quickly, loosely tent the pan with aluminum foil to prevent over-browning. Once baked, remove from the oven. If desired, brush the top of the hot loaf with a little melted butter for extra flavor and a softer crust.
-
Allow the bread to cool in the pan for 10 minutes before carefully transferring the loaf to a wire rack. Let it cool completely to room temperature before slicing for the cleanest cuts and best texture.
Notes
- If you do not have a stand mixer, you can use a powerful hand mixer equipped with a dough hook attachment. Alternatively, the dough can be kneaded by hand; this will require more physical effort and a firm, consistent rhythm for about 15-20 minutes until the dough becomes smooth and elastic.
- Storage and Freezing: For optimal freshness, store the completely cooled bread in an airtight container or a sealed plastic bag on the counter for 3 to 4 days. If refrigerated, it will last up to a week. To freeze, slice the cooled bread and store the slices in a freezer-safe container or bag for up to 2 months. Individual slices can be easily thawed at room temperature or toasted directly from frozen.
- This recipe has been retested and revised for clarity and accuracy on March 7, 2023.
Nutrition
Calories: 368kcal,
Carbohydrates: 59g,
Protein: 8g,
Fat: 11g,
Saturated Fat: 6g,
Polyunsaturated Fat: 1g,
Monounsaturated Fat: 3g,
Trans Fat: 0.4g,
Cholesterol: 59mg,
Sodium: 259mg,
Potassium: 117mg,
Fiber: 2g,
Sugar: 15g,
Vitamin A: 356IU,
Vitamin C: 0.1mg,
Calcium: 61mg,
Iron: 3mg
Nutrition information is automatically calculated and should only be used as an approximation. Individual results may vary.