
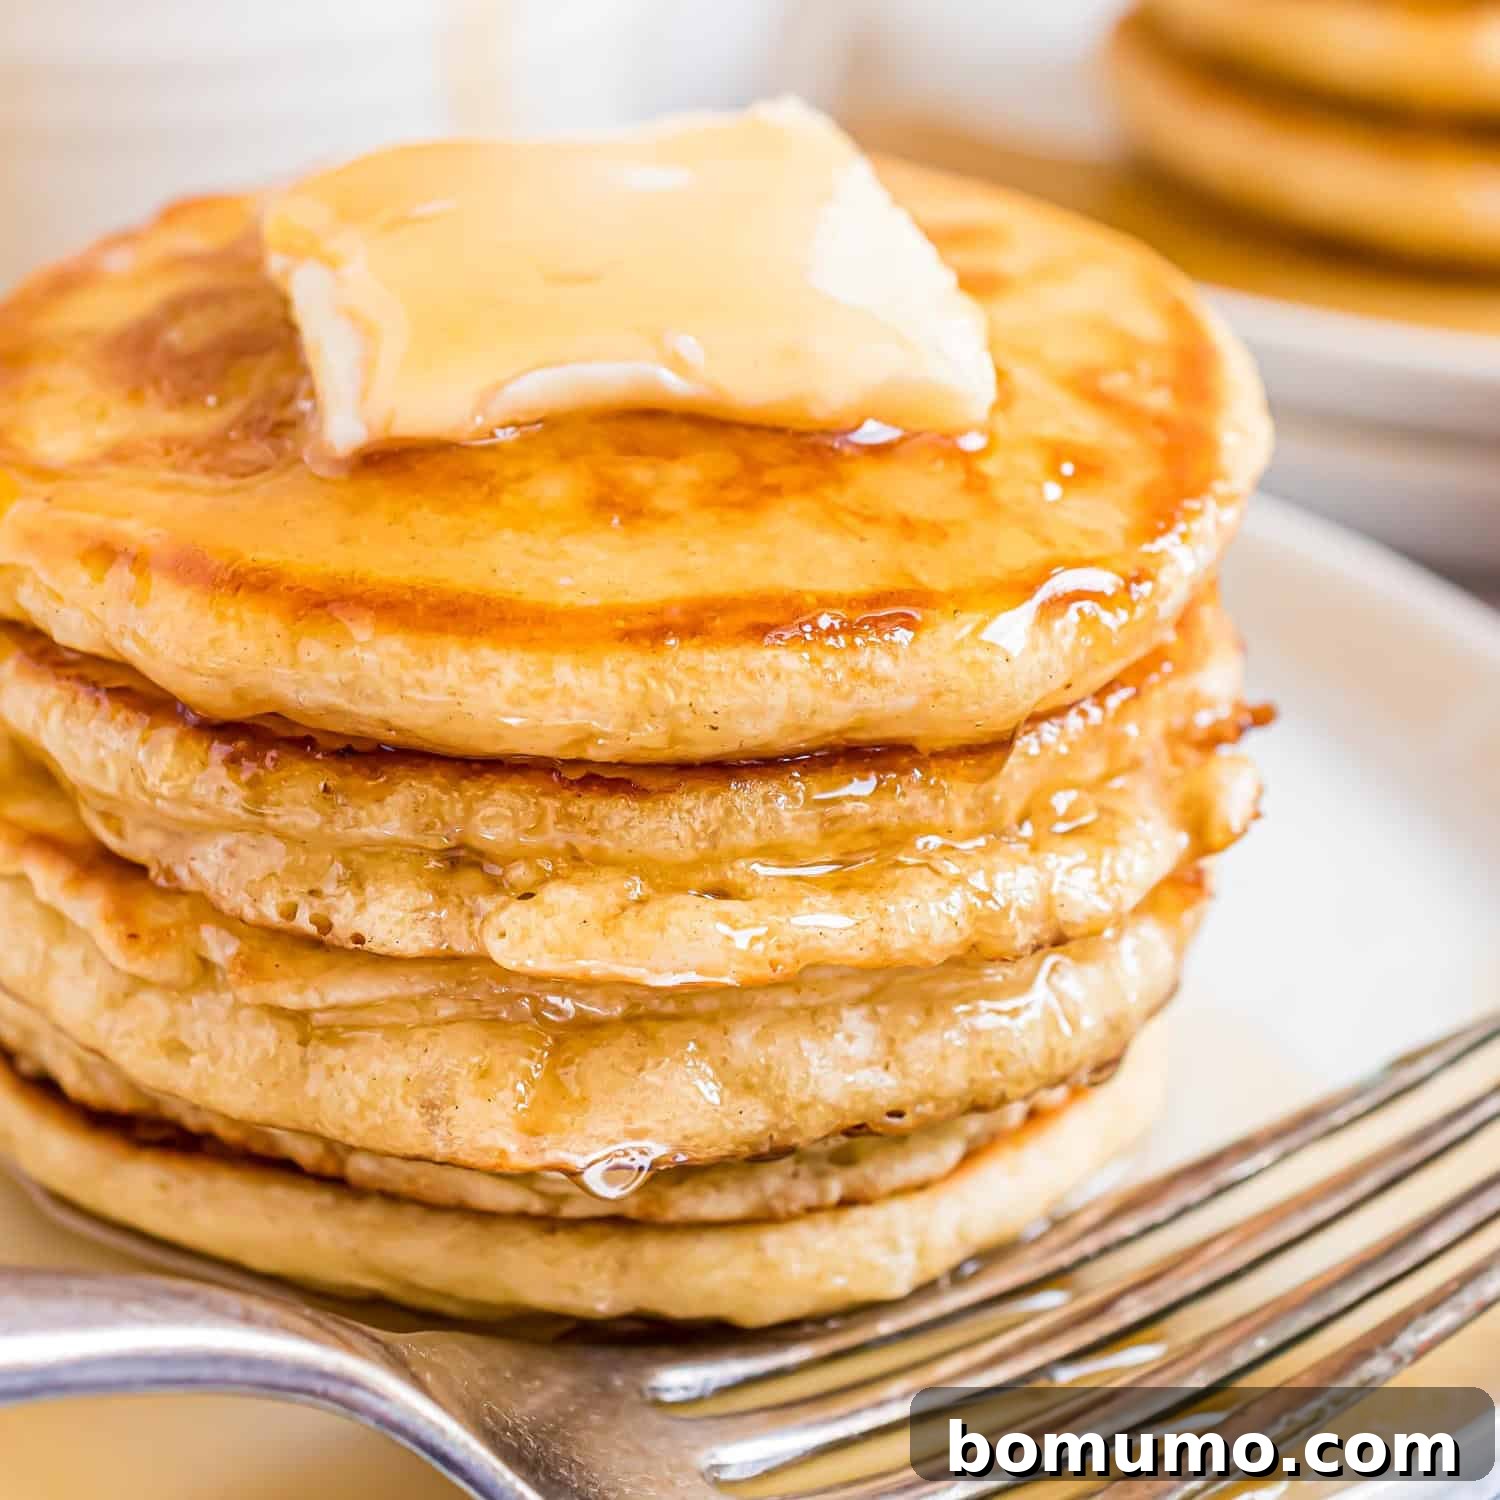
Recipe Overview: Mini Buttermilk Pancakes
Why you’ll adore them: Silver dollar pancakes are irresistibly light, wonderfully fluffy, and perfectly bite-sized, bringing joy to both children and adults. These quick and simple mini buttermilk pancakes are versatile and can be stacked high, ready to be adorned with your favorite sweet or savory toppings.
Total preparation & cook time: 25 minutes
Essential equipment: Mixing bowl, griddle
Yields: Approximately 25 delightful mini pancakes
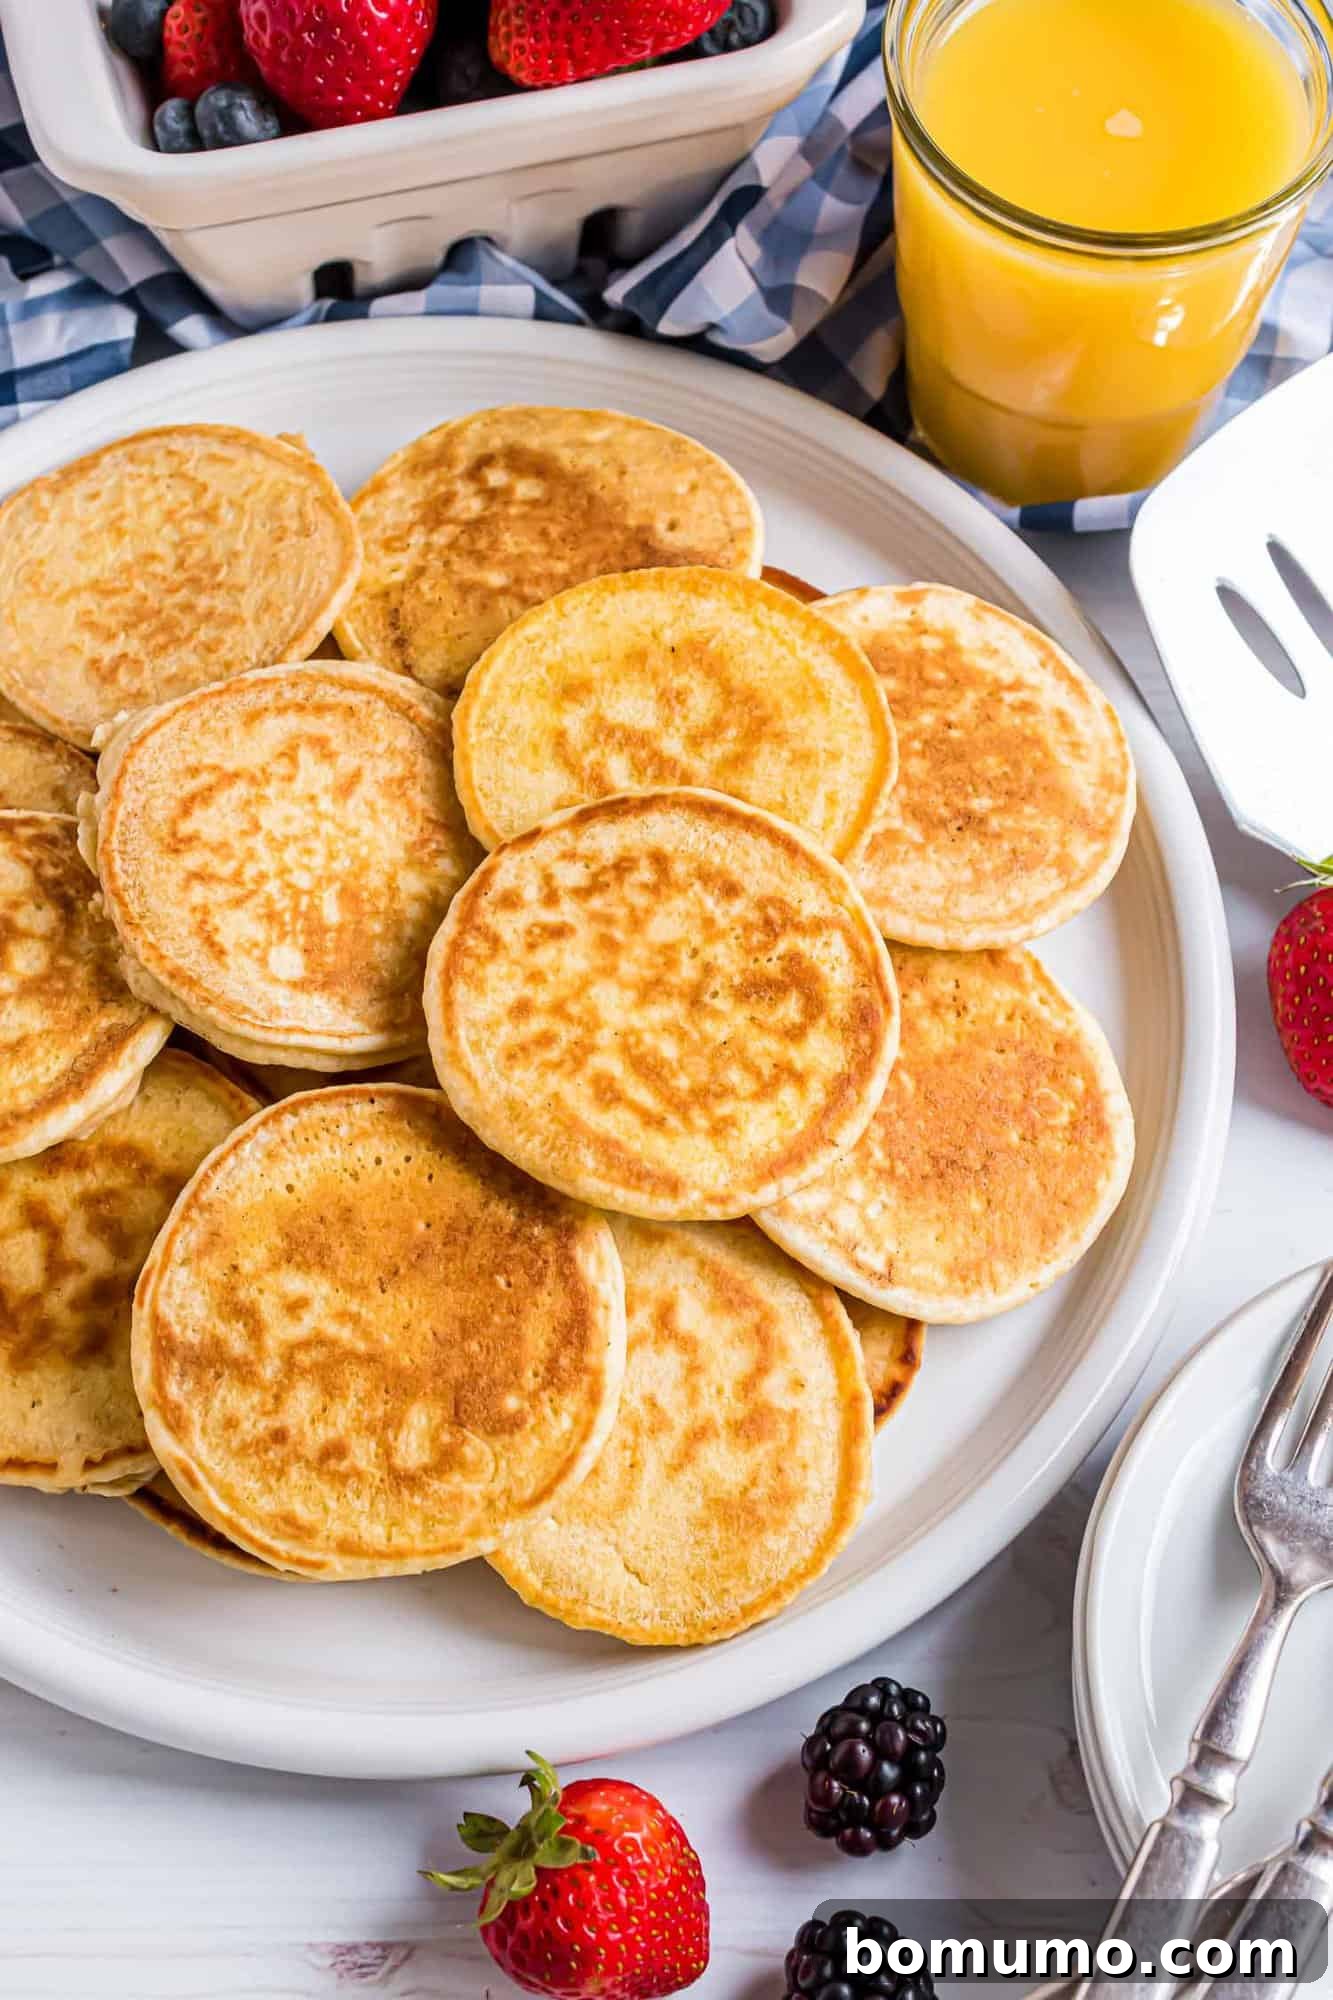
Pin this now to find it later
Pin It
Discover the Magic of Silver Dollar Pancakes: A Bite-Sized Delight
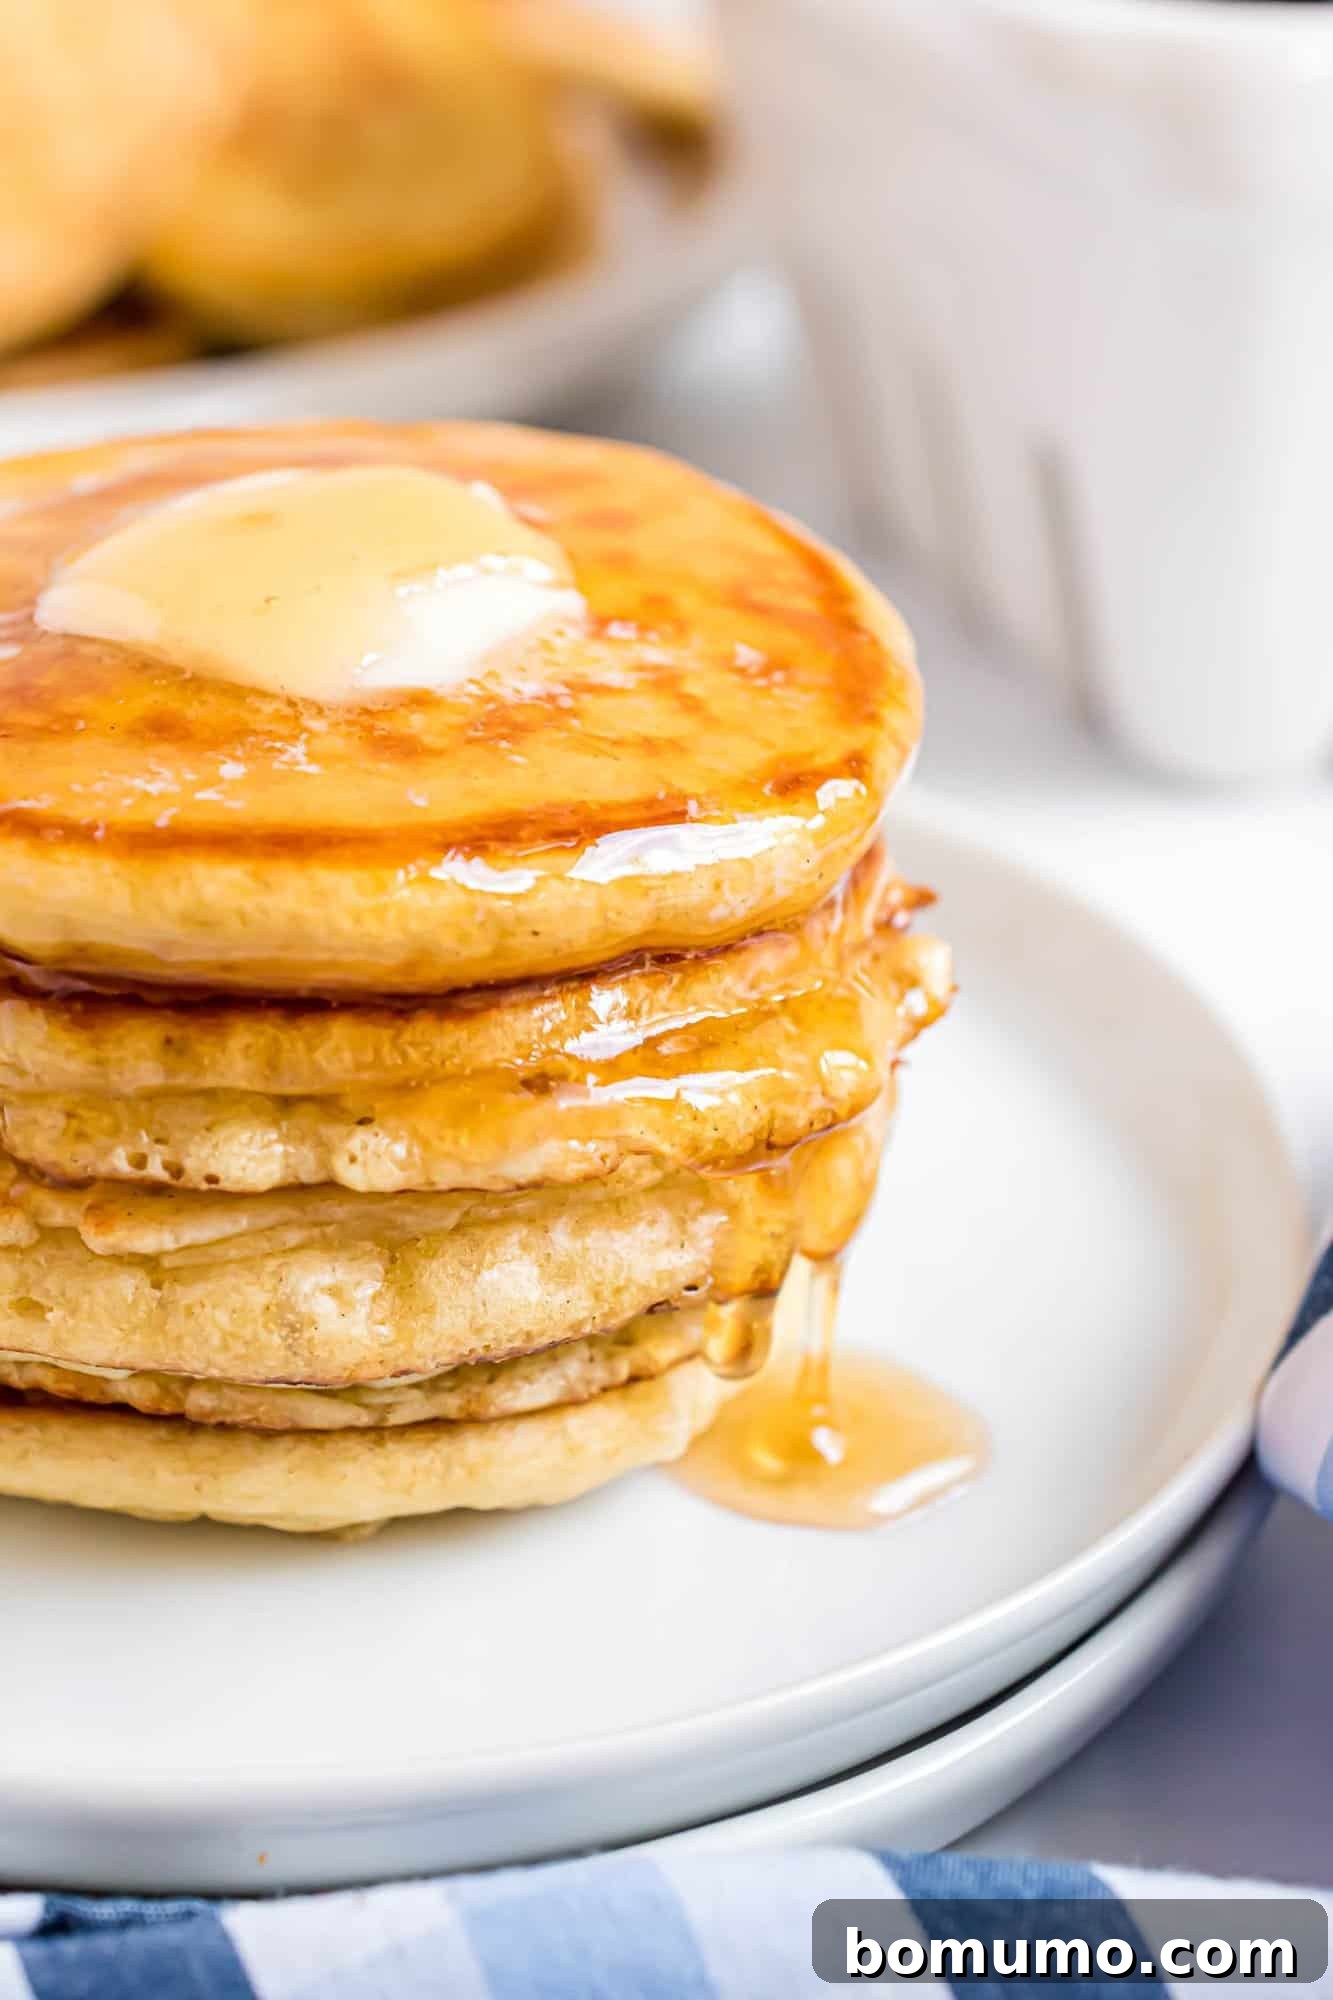
There’s something truly enchanting about a stack of silver dollar pancakes. These miniature marvels aren’t just adorable; they’re a timeless classic, reminiscent of the beloved mini buttermilk pancakes found at popular diners like IHOP. Imagine crafting these delightful treats right in your own kitchen – a simple feat that will undoubtedly elevate your status to a “rockstar parent” or a breakfast connoisseur in the eyes of your loved ones.
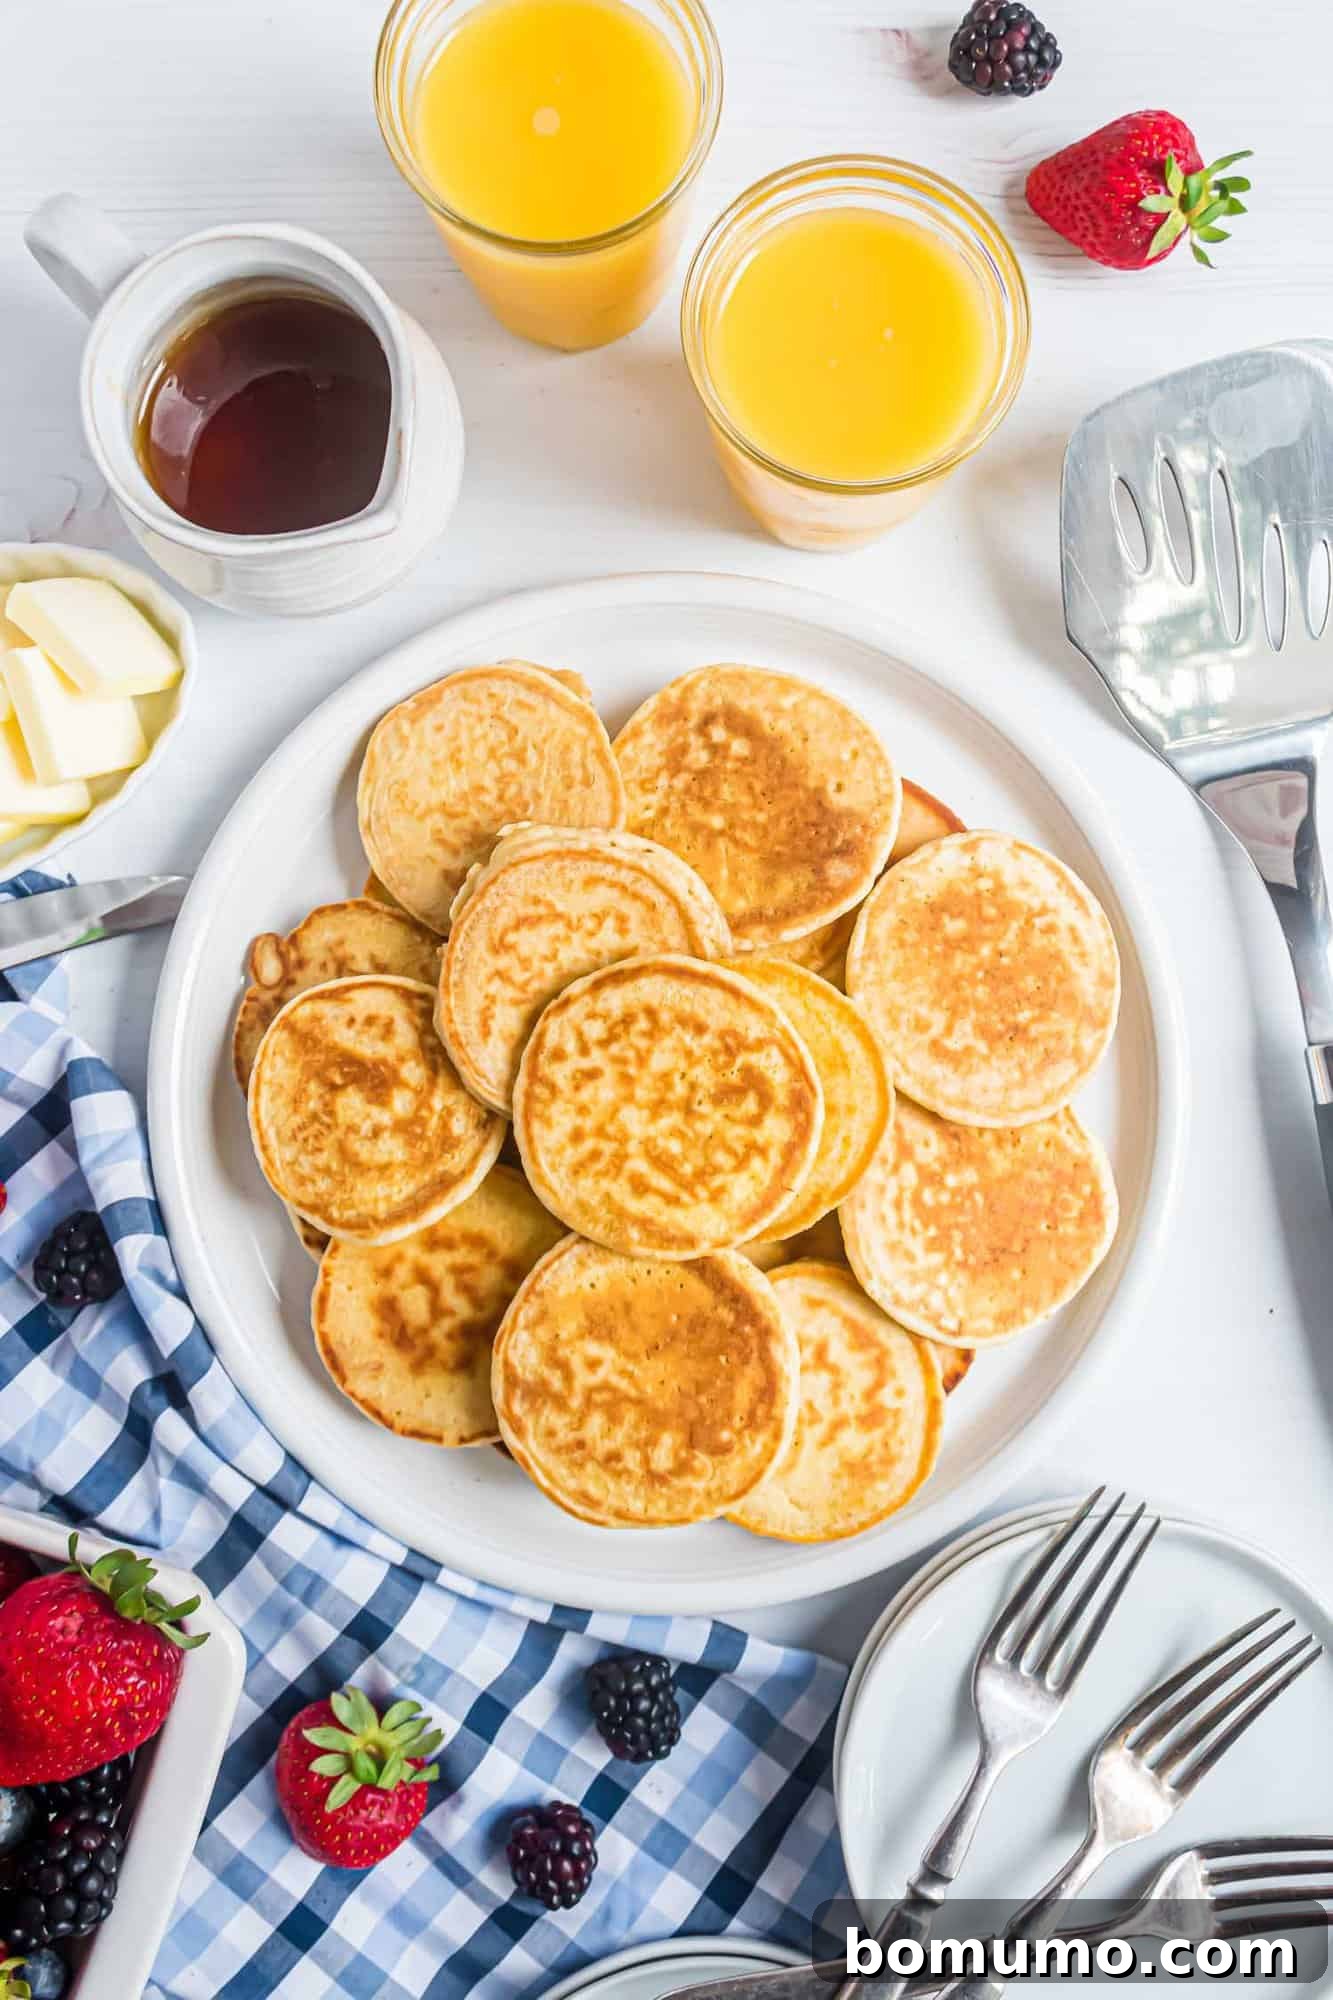
But where did these charming little pancakes get their name? The story traces back to the United States in the 1800s, where these pancakes were roughly the size of a silver dollar coin (which measured about 1.5 inches in diameter until 1979). Today, their small stature makes them perfect for tall, impressive stacks, typically enjoyed in servings of seven to ten, offering a delightful combination of soft interior and plenty of golden, crispy edges.
These aren’t just any pancakes; they’re an experience. Perfect for a leisurely weekend breakfast, a fun brunch spread, or even a creative addition to school lunches, silver dollar pancakes promise both ease and enjoyment. Their diminutive size makes them incredibly easy to handle, especially for tiny hands, minimizing mess and maximizing fun. Get ready to transform your breakfast routine with this simple yet sensational recipe.
Unbeatable Features of Silver Dollar Pancakes
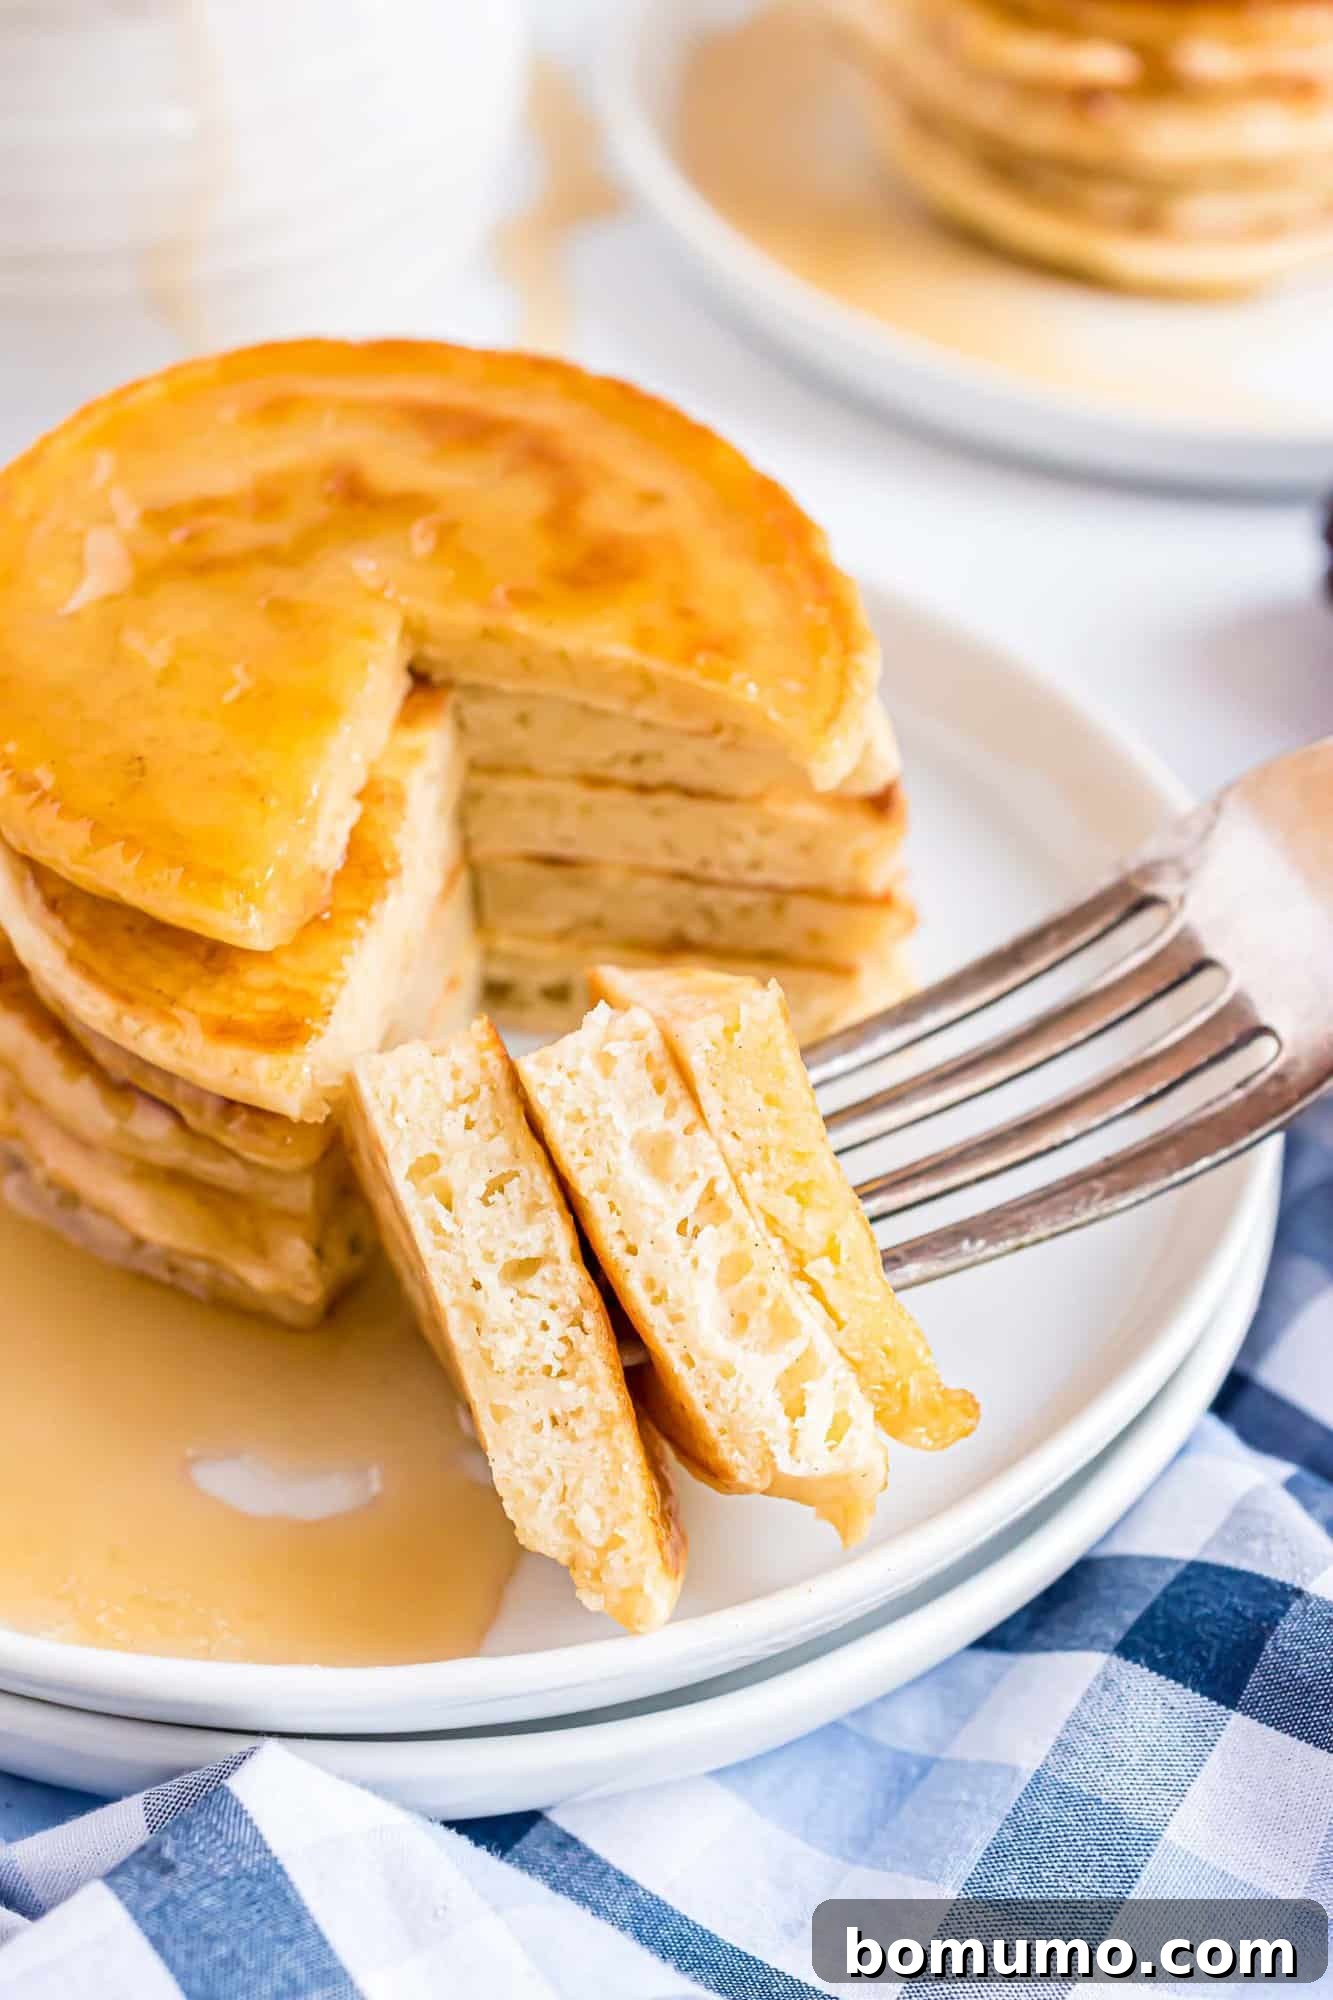
This recipe is a slight adaptation of our classic buttermilk pancake recipe, specifically tailored for the miniature format. The result? Pancakes that are buttery, incredibly light, and exquisitely fluffy, boasting those coveted slightly crispy edges and a beautiful golden-brown finish. Because of their small size, each pancake offers a higher ratio of crisp exterior to soft interior, delivering an explosion of texture and flavor in every bite.
Effortless to Cook and Flip
One of the greatest advantages of silver dollar pancakes is how straightforward they are to cook. You can easily prepare a large batch on your griddle simultaneously, saving valuable time during busy mornings. Their small circumference also makes them significantly easier to flip compared to their larger counterparts, reducing the chances of mishaps and ensuring perfectly cooked pancakes every time. Even novice cooks will find success with this forgiving size, making breakfast prep a breeze.
Ideal for Little Fingers and On-the-Go Snacking
Homemade mini pancakes are an absolute dream for toddlers and young children. Their small, manageable size is perfect for little fingers to pick up and enjoy, making mealtime less messy and more engaging. Beyond breakfast, these versatile treats are excellent for packing in school lunches. Stack them up, perhaps with a touch of fruit or a smear of nut butter in between, and secure them with a skewer or toothpick for easy handling. They make a wholesome and fun snack that kids will adore, providing a welcome change from traditional lunchbox staples.
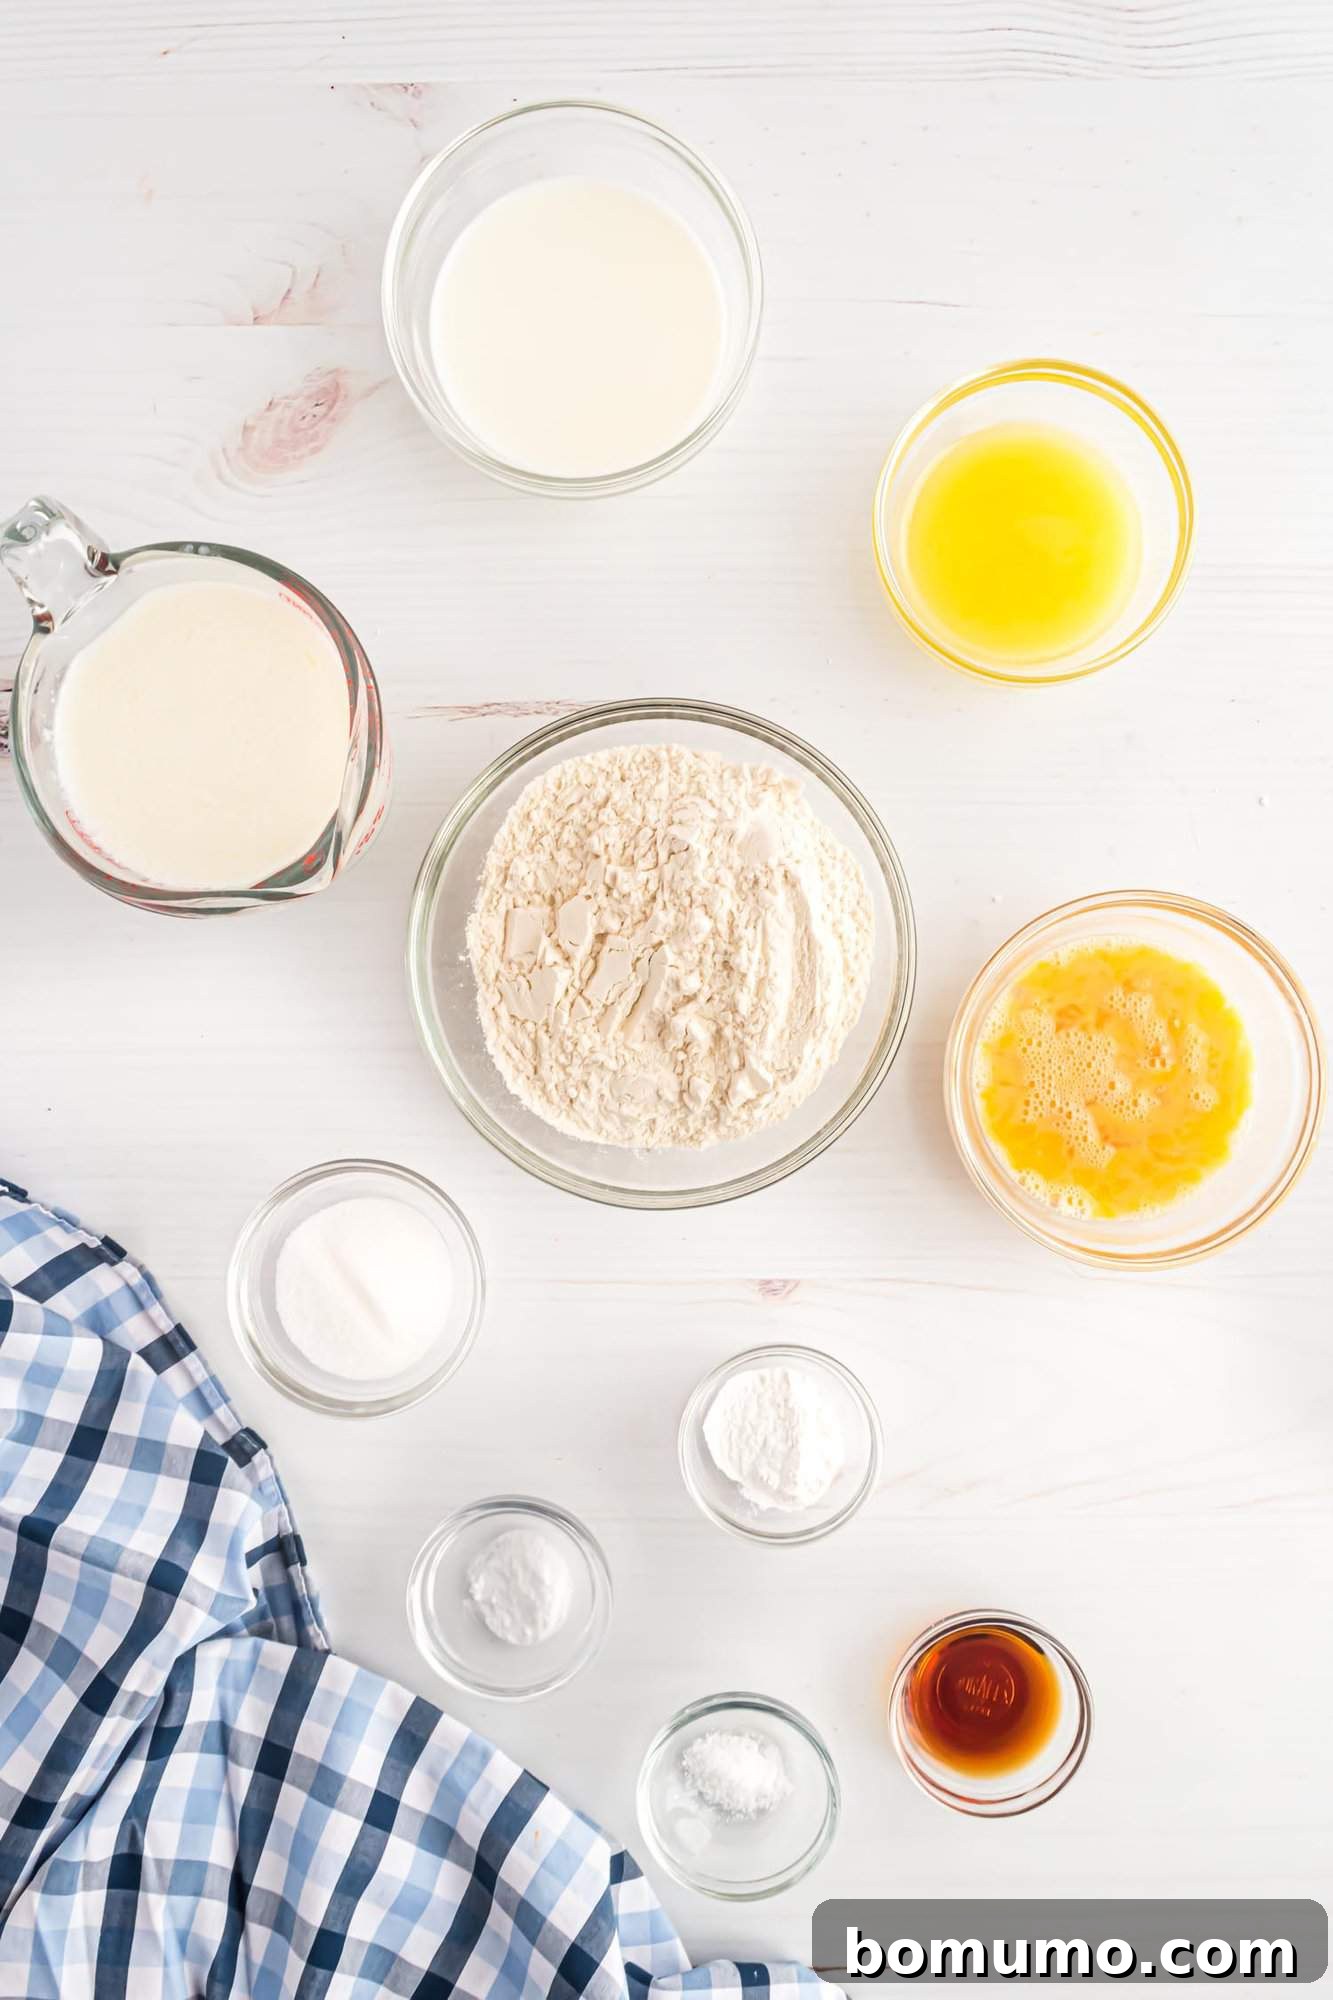
Essential Ingredients for Perfect Mini Pancakes
Creating these delightful silver dollar pancakes requires a few simple, everyday ingredients. Each component plays a crucial role in achieving that perfect fluffy texture, rich flavor, and golden hue that makes these pancakes so irresistible. Here’s a closer look at what you’ll need:
- Unsalted Butter: Melted butter is incorporated directly into the pancake batter, lending a rich, tender crumb. Additionally, a generous amount of butter used on the griddle is key for achieving those desirable crispy edges and a beautifully golden-brown finish.
- Buttermilk: This slightly tangy, thicker milk is fundamental to the recipe. Its acidity reacts with the leavening agents, creating air pockets that result in exceptionally thick and fluffy pancakes. Buttermilk also adds a unique depth of flavor that sets these pancakes apart.
- Large Egg: Just one beaten large egg provides structure and richness to the batter, helping to bind the ingredients and contribute to the pancake’s tender texture.
- Pure Vanilla Extract: A touch of pure vanilla extract enhances all the other flavors, adding a warm, aromatic note that complements the buttermilk, butter, and sugar beautifully.
- All-Purpose Flour: The foundation of our pancakes, all-purpose flour provides the necessary structure. While regular flour is recommended for this recipe, you can experiment with whole wheat flour or a blend for a different nutritional profile and texture.
- Granulated Sugar: A modest amount of granulated sugar is added to the batter. It doesn’t make the pancakes overly sweet but rather subtly enhances their overall flavor and helps with browning.
- Baking Powder & Baking Soda: These are the dynamic duo of leavening agents. Baking powder provides initial lift, while baking soda reacts with the acidity in the buttermilk to create additional bubbles, ensuring a truly light and airy pancake.
- Salt: A small but essential amount of salt balances the sweetness and other flavors, preventing the pancakes from tasting flat or bland and bringing out their full deliciousness.
Crafting Perfect Silver Dollar Pancakes: A Step-by-Step Guide
Making these delightful mini pancakes is surprisingly simple, ensuring a rewarding cooking experience even for beginners. Follow these easy steps to achieve light, fluffy, and golden silver dollar pancakes every time.
1. Prepare the Wet Ingredients
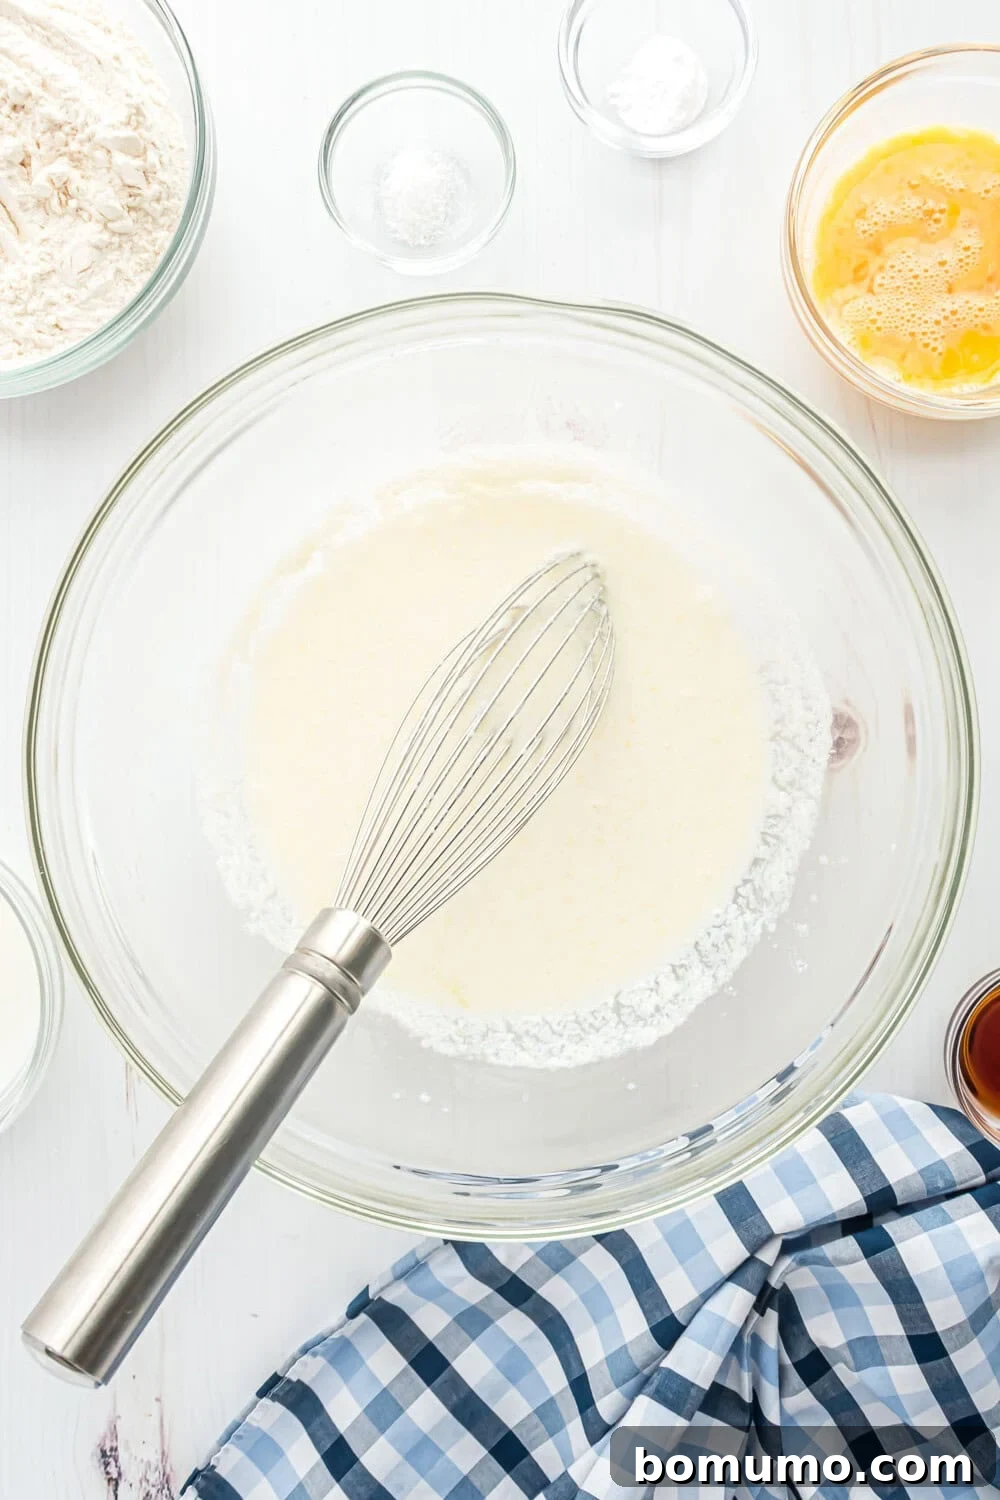
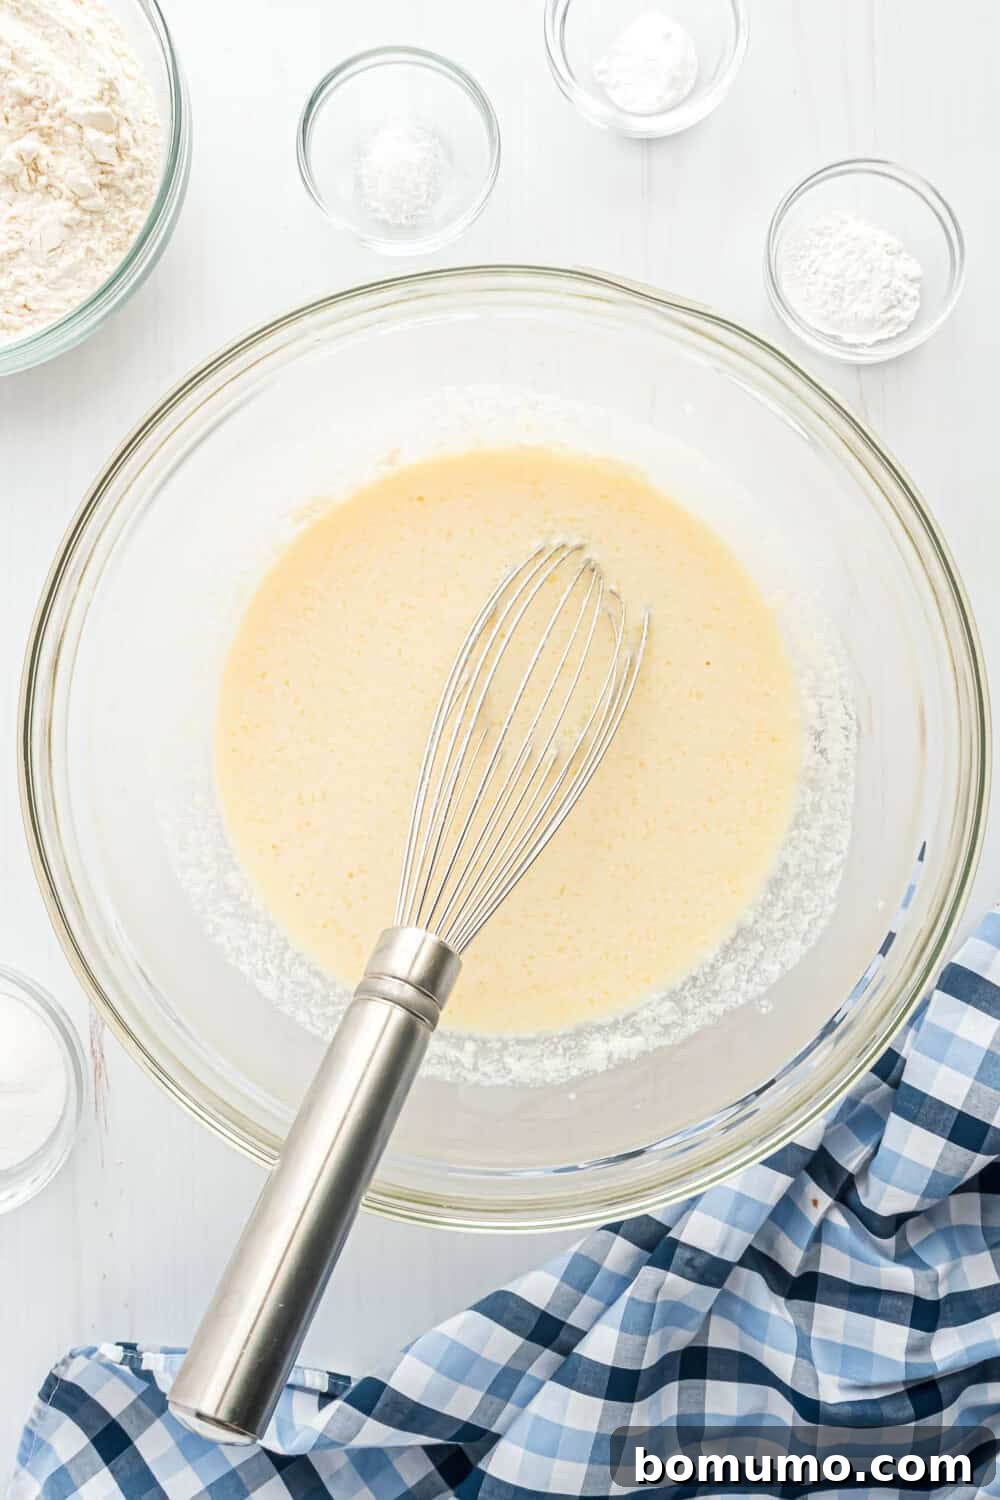
Begin by melting your butter. Once melted, add it to a large mixing bowl. Slowly, with a steady hand, drizzle in the buttermilk while continuously whisking to ensure smooth incorporation. Follow this by whisking in the beaten egg and the pure vanilla extract. This combination forms the flavorful liquid base for your pancakes.
2. Combine Wet and Dry Ingredients
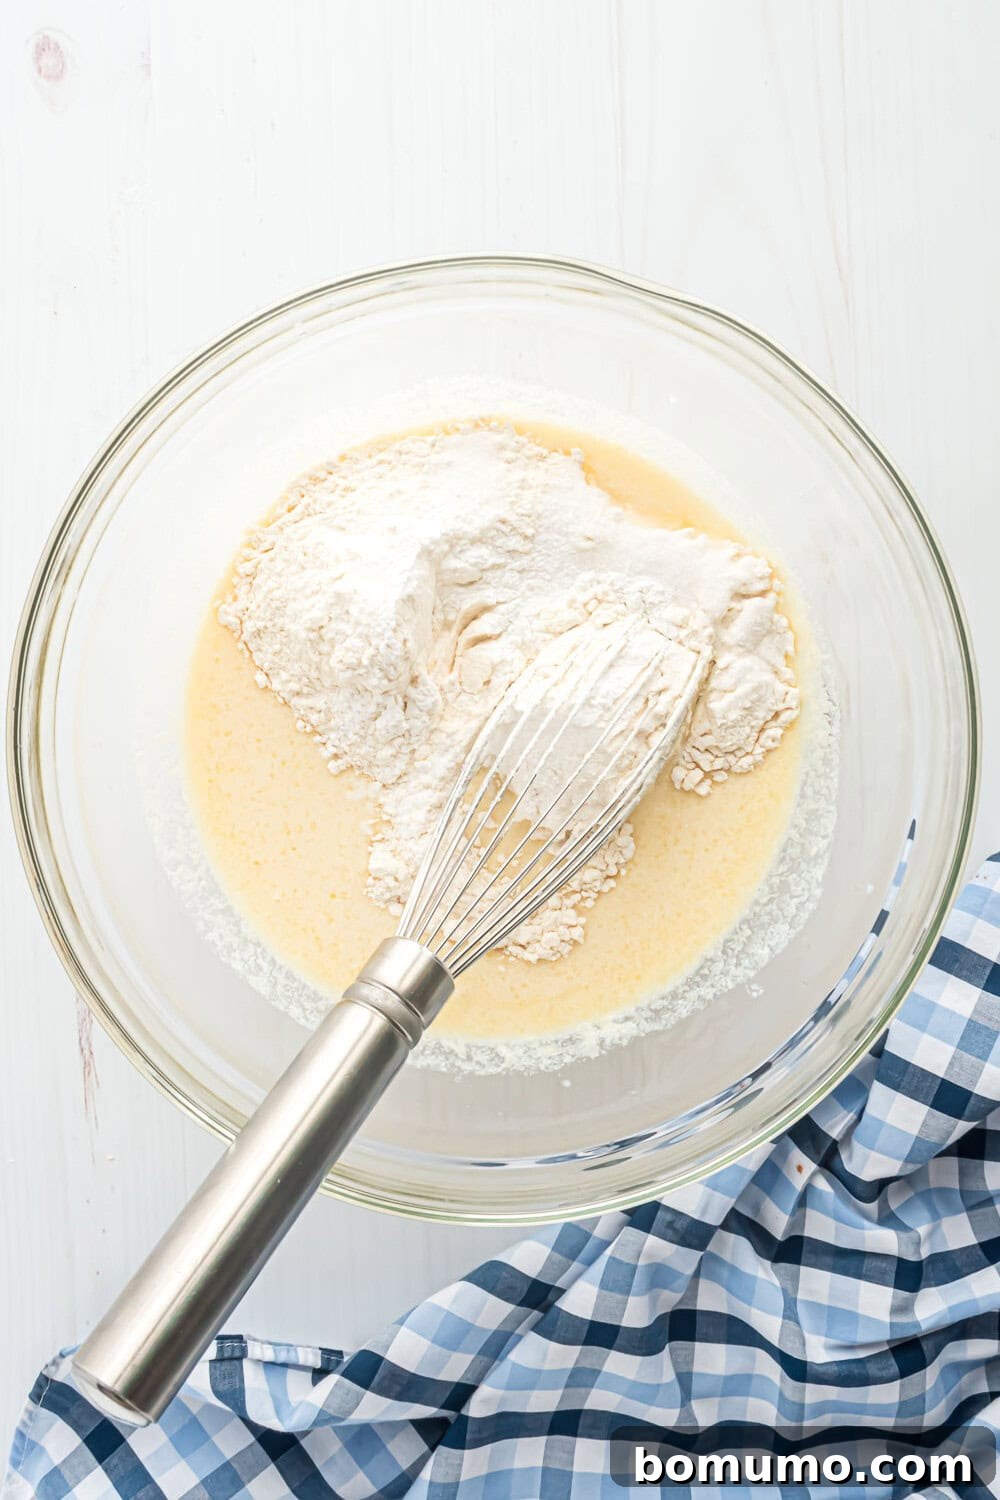
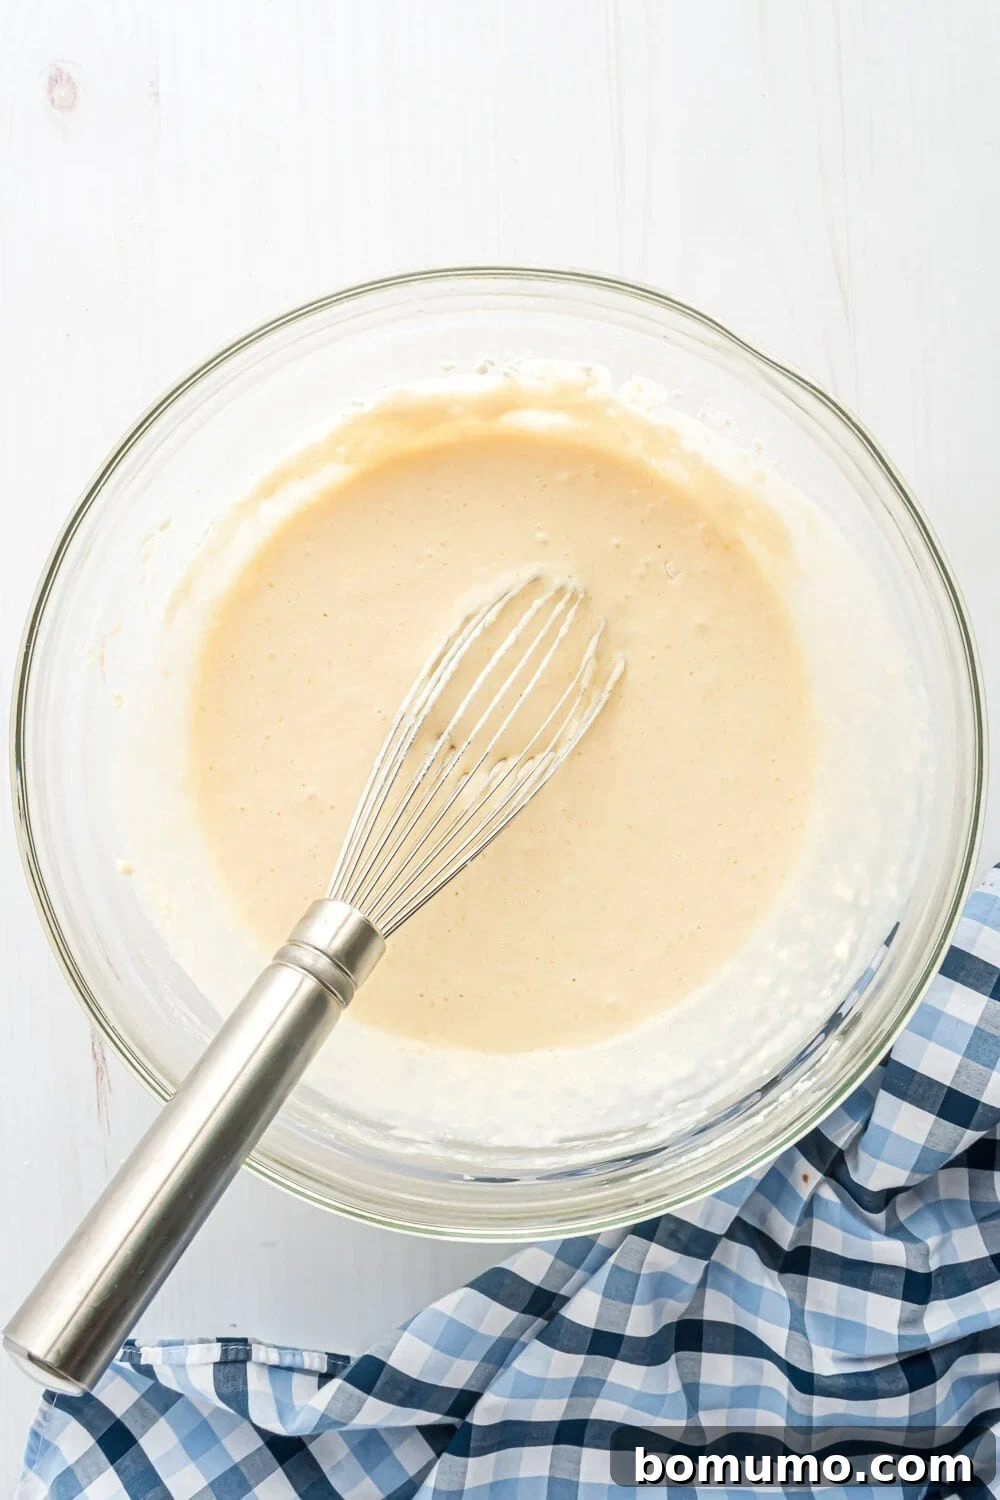
Carefully add all your dry ingredients—the all-purpose flour, granulated sugar, baking powder, baking soda, and salt—directly on top of the wet ingredients in the bowl. Before fully combining, gently mix just the dry ingredients with a whisk for a few seconds. Then, whisk everything together until the ingredients are *just* combined. It’s crucial not to overmix the batter; a few small lumps are perfectly fine and even desirable for tender pancakes. Overmixing develops gluten, which can lead to tough pancakes. Once mixed, set your batter aside to rest while your griddle preheats.
Cooking Tip: Batter Consistency
The ideal pancake batter should be thick but pourable. If you find your batter is too thick to easily scoop or pour, simply add a splash of regular milk, one tablespoon at a time, and mix gently until you reach the desired consistency. This ensures your pancakes spread just enough without becoming too thin.
3. Fry the Pancakes to Golden Perfection
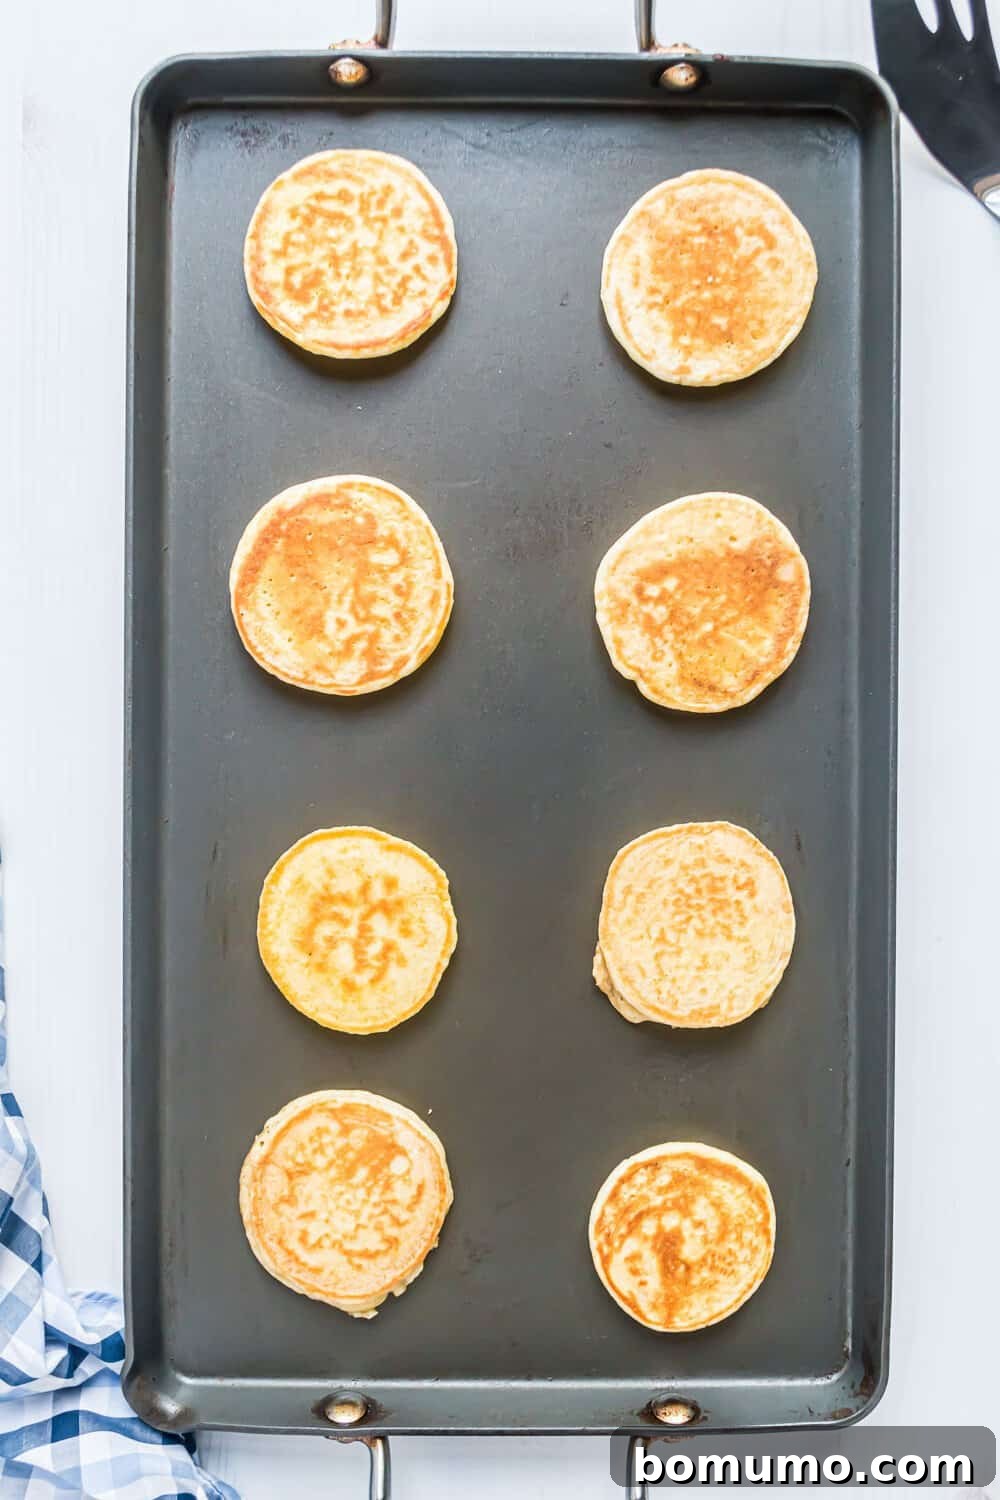
Preheat your griddle or a large non-stick pan over medium heat. A good test for readiness is to sprinkle a few drops of water; they should sizzle and evaporate quickly. Once hot, add about 1 tablespoon of butter to the griddle and let it melt and spread evenly. Using a small scoop or a tablespoon, drop small portions of batter onto the griddle—approximately 1 to 2 tablespoons per pancake—to create your silver dollar size. Cook for 1 to 3 minutes on each side, or until they turn a beautiful golden brown and are cooked through in the center. You’ll know they’re ready to flip when bubbles appear on the surface and the edges look set.
4. Repeat for a Full Batch
For each subsequent batch, add more butter to the pan as needed. We highly recommend being generous with butter during the frying process; it not only prevents sticking but also imparts a fantastic flavor and contributes significantly to that lovely crisp exterior. Continue this process until all of your delicious batter has been transformed into a delightful pile of silver dollar pancakes.
Creative Serving Suggestions for Your Silver Dollar Pancakes
The beauty of silver dollar pancakes lies not just in their adorable size but also in their incredible versatility. They are a blank canvas for a myriad of toppings and can be incorporated into various meals, from classic breakfast to unique appetizers and decadent desserts. Here are some inspiring ideas to make your mini pancakes truly shine:
Classic & Sweet Topping Ideas:
- Traditional Favorites: Drizzle with warm, classic maple syrup for a timeless delight.
- Fruit Sensations: Elevate them with homemade blueberry sauce, warm applesauce sprinkled with cinnamon, or fresh berries like strawberries and blackberries.
- Decadent Drizzles: For an indulgent treat, top with rich chocolate syrup or luscious caramel sauce.
- Specialty Butters: During the holidays or for a special touch, melt a dollop of gingerbread butter or a fragrant orange honey butter over your warm pancakes.
- Nutty Goodness: Warm peanut butter or almond butter makes a protein-packed and delicious topping.
Fun & Kid-Friendly Meal Ideas:
- Mini Breakfast Extravaganza: Make breakfast truly special by serving these on mini plates with mini forks, napkins, and glasses of juice. Use cookie cutters to create fun shapes from easy sheet pan eggs and pair with tiny slices of ham for a complete mini meal.
- Pancake Sandwich Stacks: Get creative by layering silver dollar pancakes with deli ham or turkey and slices of cheese. Secure these delightful mini sandwiches with a toothpick or skewer for easy handling and a playful presentation.
Elegant Brunch Appetizers:
- Savory Platter: Transform your mini pancakes into sophisticated brunch appetizers. Arrange them on a platter and offer a variety of savory toppings such as creamy whipped feta, delicate smoked salmon, savory bacon jam, vibrant marinated tomatoes, or classic spreadable cream cheese.
Irresistible Dessert Ideas:
- Pancakes a la Mode: Serve the mini pancakes with a small scoop of creamy vanilla bean ice cream on top.
- Sweet Accompaniments: Drizzle with your favorite fruit sauce, warm hot fudge sauce, or a dollop of light whipped cream or yogurt. A side of tender fried apples always makes for a comforting and delicious pairing.
Storage & Reheating
Storage & Reheating
Silver dollar pancakes are excellent for making ahead, making your mornings even easier. Proper storage and reheating will ensure they retain their delicious flavor and fluffy texture.
Refrigerate or Freeze for Later: Treat leftover silver dollar pancakes just as you would any regular pancake. For short-term storage, place them in an airtight container and keep them in the refrigerator for up to 4 days. If you plan to store them longer, transfer them to a freezer-friendly bag. To prevent them from sticking together and freezing in a large clump, separate layers of pancakes with small sheets of parchment paper before sealing the bag. They can be frozen for up to 2 months.
Effortless Reheating: Due to their small size, silver dollar pancakes are too tiny to be reheated effectively in a standard toaster, as they might get lost or fall through the slots. The best method for reheating is the microwave. Arrange them on a microwave-safe plate and heat in 20-second intervals until they are warmed through and soft. For a slightly crispier edge, you can also gently warm them in a dry non-stick pan over medium-low heat for a minute or two per side.
Explore More Delicious Pancake Recipes
Classic Buttermilk Pancakes
Rich Chocolate Pancakes
Festive Birthday Cake Pancakes
Healthy Whole Wheat Banana Pancakes
Silver Dollar Pancakes
Rachel Gurk
10
15
25
5
Ingredients
- 2 tablespoons unsalted butter, melted (more for pan)
- 1 cup buttermilk
- 1 large egg, beaten
- 1 teaspoon pure vanilla extract
- 1 cup all-purpose flour
- 1 tablespoon granulated sugar
- 1 ½ teaspoons baking powder
- ½ teaspoon baking soda
- ¼ teaspoon salt
Instructions
-
Add the melted butter to a large mixing bowl. Slowly drizzle in the buttermilk while whisking. Whisk in the egg and vanilla extract.
-
Add flour, sugar, baking powder, baking soda, and salt. Gently mix these dry ingredients together on top of the wet ingredients before whisking everything until just combined. Do not overmix; a few lumps are fine. If the batter seems too thick, add regular milk, one tablespoon at a time, until it reaches the desired consistency. Set batter aside to rest while you preheat the griddle.
-
Preheat your griddle over medium heat. When it’s heated, add 1 tablespoon of butter to melt.
-
Once the butter is melted, scoop pancake batter in 1 to 2 tablespoon portions onto the griddle to form small circles. Cook pancakes for 1 to 3 minutes on each side, or until golden brown and cooked through.
-
Add more butter to the pan for the next batch as needed, repeating until all the batter is used.
Notes
- Tip: Be generous with the butter in the pan for these pancakes. They taste and look best with plenty of butter. Nutrition information does not include extra butter for frying.
- Serving a crowd: Make a double batch of pancake batter. To keep pancakes warm until ready to serve, preheat your oven to 200-250°F (93-121°C). Place a wire rack on a sheet pan, arrange pancakes on the wire rack, and keep them warm in the oven. It’s best not to cover them because condensation will form and the pancakes will get too soft.
Nutrition
Serving: 5pancakes
,
Calories: 187kcal
,
Carbohydrates: 24g
,
Protein: 5g
,
Fat: 7g
,
Saturated Fat: 4g
,
Polyunsaturated Fat: 1g
,
Monounsaturated Fat: 2g
,
Trans Fat: 0.2g
,
Cholesterol: 55mg
,
Sodium: 419mg
,
Potassium: 108mg
,
Fiber: 1g
,
Sugar: 5g
,
Vitamin A: 273IU
,
Calcium: 137mg
,
Iron: 1mg
Nutrition information is automatically calculated, so should only be used as an approximation.
Did You Make This?
Share a comment and rating below! We love hearing what you think!