
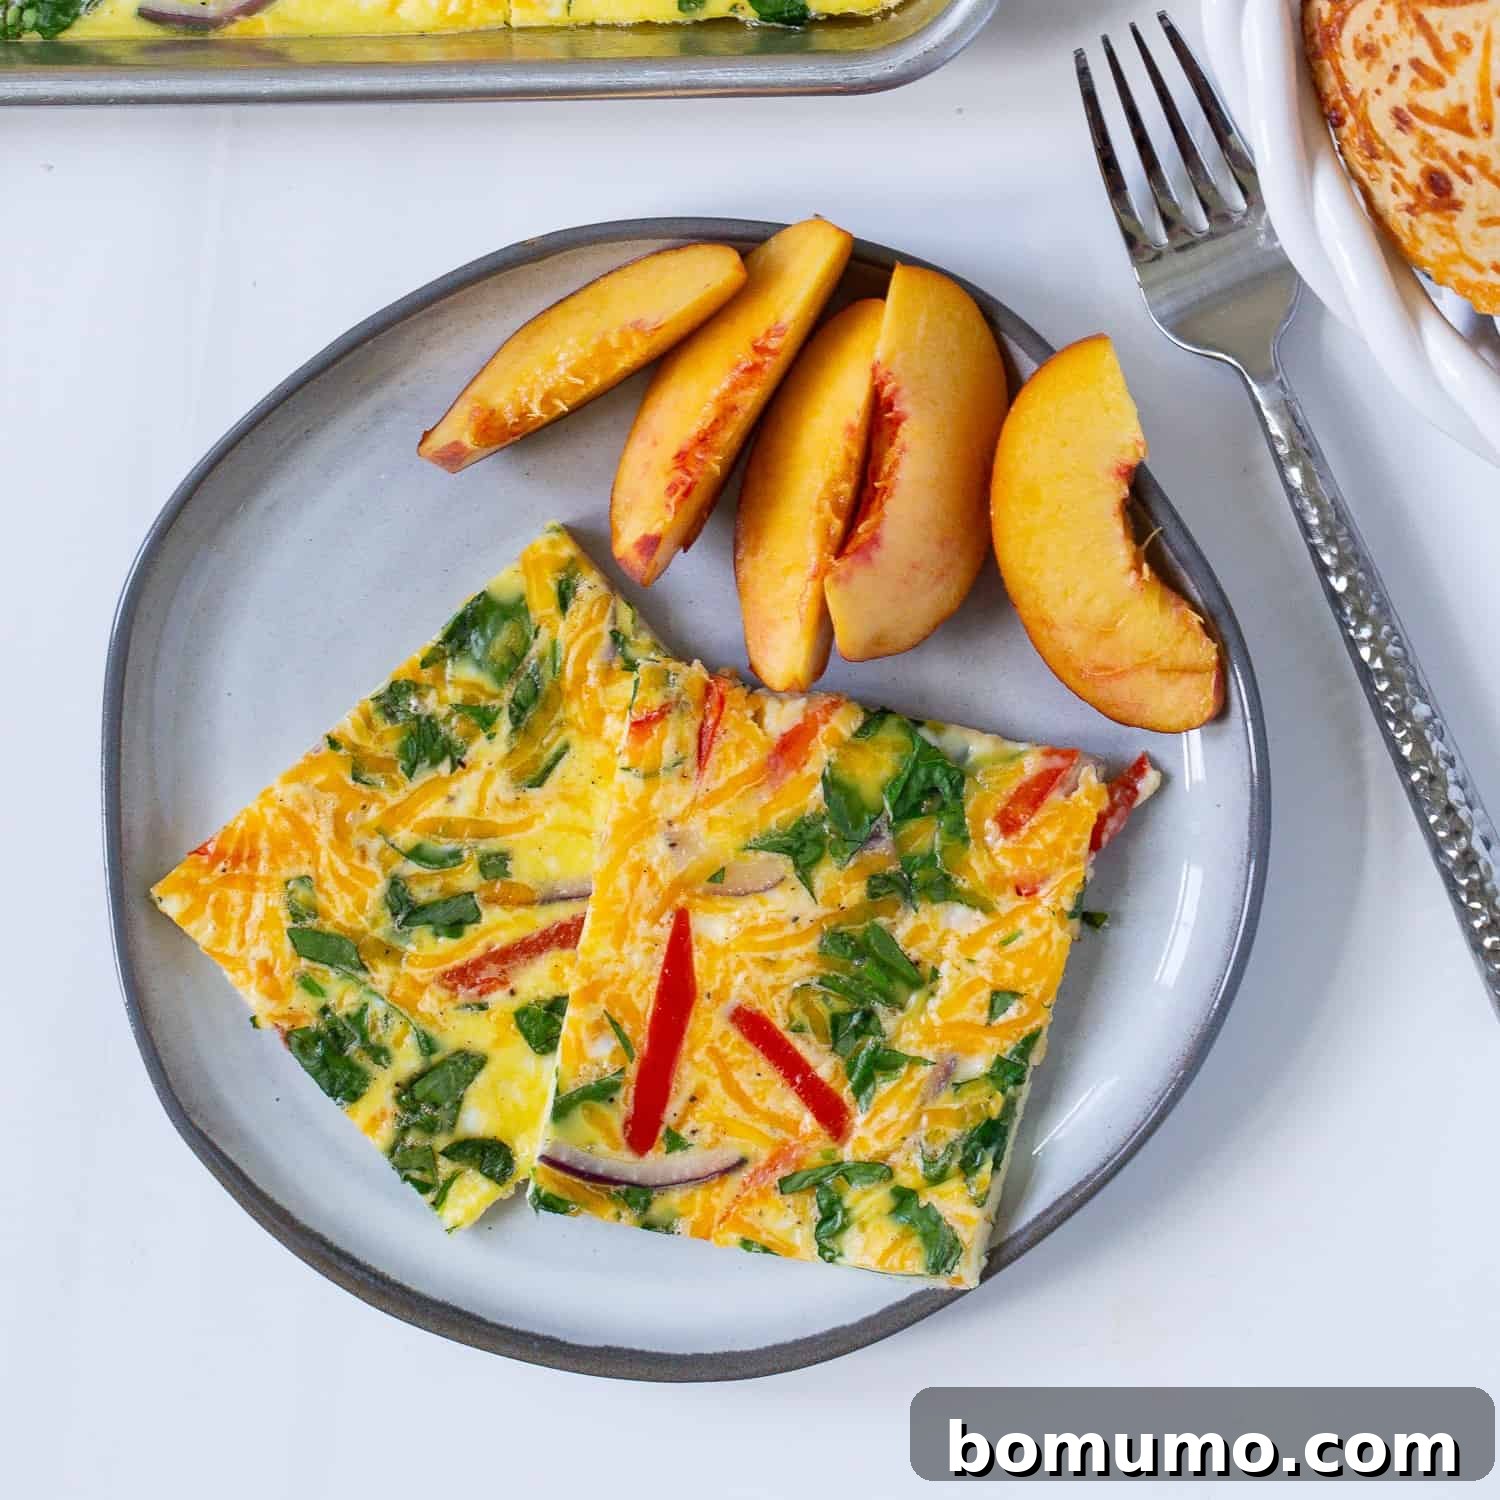
Recipe Overview: Effortless Sheet Pan Scrambled Eggs
Why You’ll Love This Recipe: Prepare to discover the ultimate shortcut to perfectly cooked scrambled eggs! These sheet pan eggs are designed for incredible ease, making them ideal for feeding a large family, hosting a brunch crowd, or streamlining your weekly breakfast meal prep. Enjoy them plain, or get creative by tucking them into a hot buttered toast, English muffin, or a fluffy biscuit for a satisfying breakfast sandwich. This recipe promises delicious results with minimal fuss.
Preparation & Cook Time: Expect this recipe to take approximately 15 to 25 minutes from start to finish, depending on the size of your chosen sheet pan. This includes a quick prep and baking time.
Essential Equipment: To make these simple oven-baked eggs, you’ll need a reliable mixing bowl, a whisk (or an electric mixer/blender for extra ease), at least one rimmed sheet pan, and, of course, your oven.
Yield: This recipe typically serves 6 generous portions, but it can easily be scaled up or down to accommodate more or fewer hungry diners.
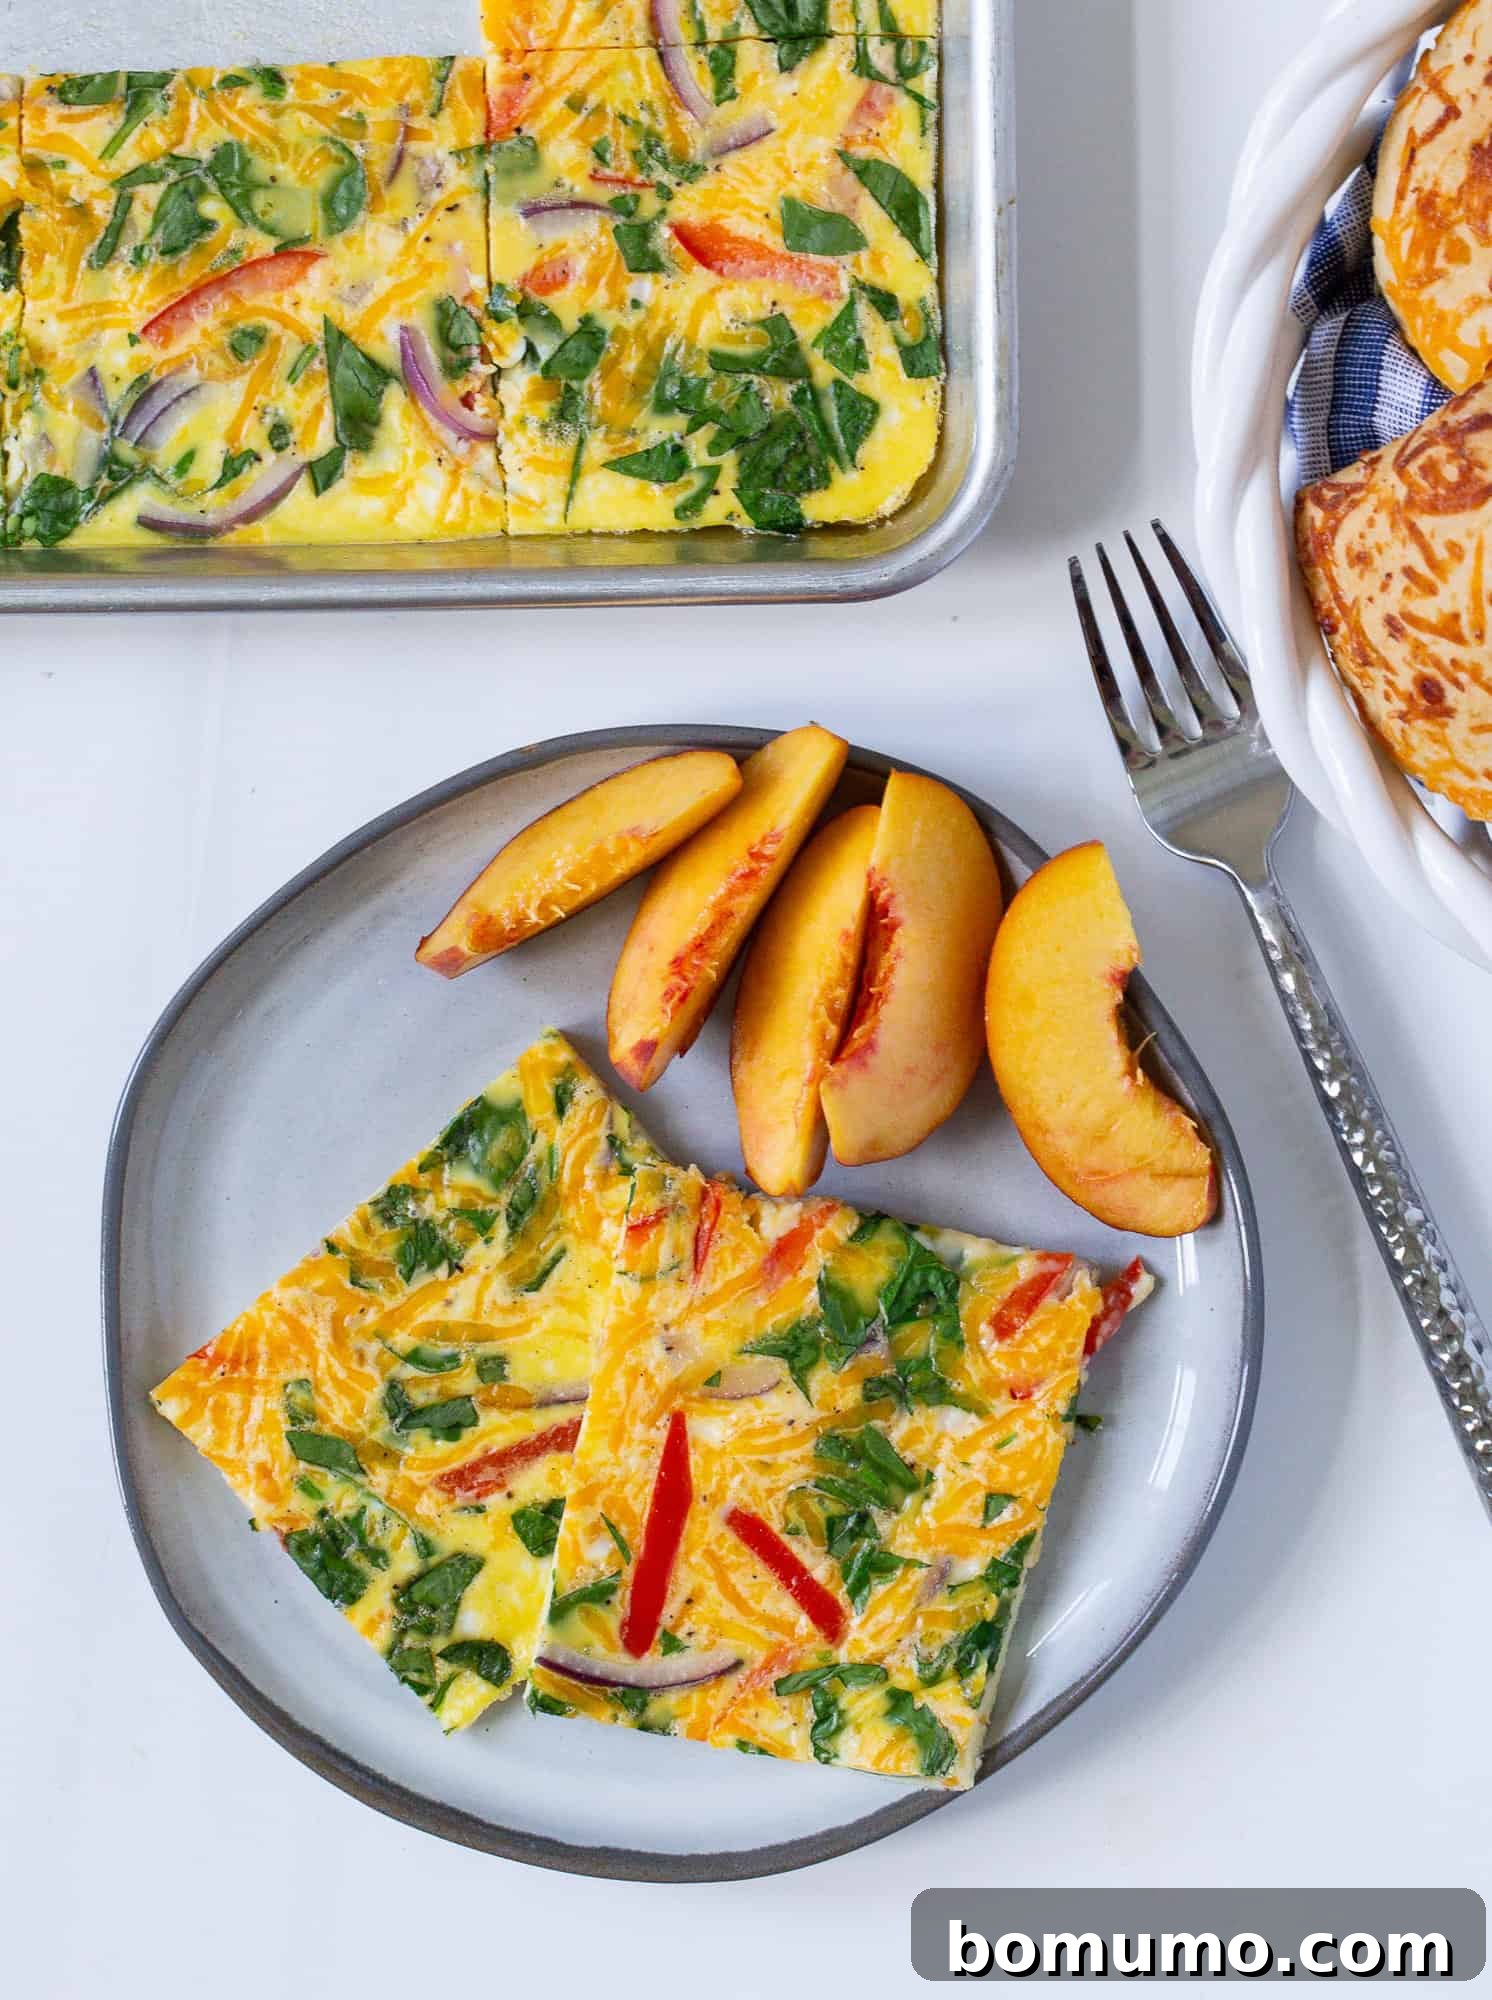
This comprehensive guide and delicious recipe are proudly presented in partnership with Spartan Nash and Family Fare. Rest assured, all opinions expressed here are genuinely my own, reflecting my true appreciation for their quality products.
Revolutionize Your Morning: Easy & Delicious Sheet Pan Scrambled Eggs
Breakfast often gets hailed as the most important meal of the day, and for good reason! It’s not just a cliché; the word “breakfast” itself is a powerful reminder of its purpose: to “break the fast” that occurs during our nightly slumber. After hours of restful sleep, our bodies are ready for replenishment and energy to kickstart a productive day. I know I always wake up eager for a hearty meal and a steaming cup of coffee to get me going. If you’re anything like me, you’re constantly seeking new, exciting, and, most importantly, easy breakfast ideas to elevate your mornings.
Enter sheet pan eggs – a culinary revelation that’s about to become your family’s new favorite! This ingenious method transforms the often-fussy process of scrambling eggs into a hands-off, oven-baked wonder. Whether you’re cooking for picky kids, busy adults, or an unexpected brunch crowd, sheet pan eggs offer unparalleled convenience and versatility. From simple wraps to elegant roll-ups, from a quick weekday bite to a fancy weekend spread, these eggs deliver every time. Get ready to experience a breakfast revolution!
The Ultimate Easy Breakfast Solution: Why Sheet Pan Eggs Reign Supreme
Effortless Meal Prep & Feeding a Crowd
Imagine cooking a dozen or more eggs simultaneously without hovering over a hot stovetop. That’s the magic of sheet pan eggs! This method is an absolute lifesaver when you need to prepare a substantial breakfast for a large family gathering, a brunch party, or simply for efficient weekly meal prepping. With just a few basic ingredients and a surprisingly short baking time, you can have a wholesome, protein-packed breakfast ready for everyone in a flash. Forget the endless batches of individual scrambled eggs; sheet pan eggs streamline the entire process, making breakfast on a grand scale an absolute breeze. And while you’re at it, don’t miss out on trying our equally fantastic sheet pan pancakes for another crowd-pleasing, oven-baked breakfast!
A Nutritional Powerhouse to Kickstart Your Day
Eggs are nature’s perfect protein package, and when prepared on a sheet pan, they retain all their incredible nutritional value. They are naturally low in calories but rich in essential proteins, vitamins, and minerals that help you feel full and energized throughout the morning. This satiating quality prevents mid-morning energy slumps. Furthermore, sheet pan eggs provide an excellent canvas for incorporating a medley of healthy vegetables. Easily chop up bell peppers, spinach, or mushrooms and bake them right into your eggs, boosting the fiber and nutrient content without adding extra fuss.
Versatility for Every Palate
One of the greatest advantages of sheet pan eggs is their incredible adaptability. They serve as a fantastic base for countless breakfast creations. Enjoy them as they are, cut into neat squares, or get creative. They can be transformed into breakfast sandwiches, tacos, burritos, or even a low-carb “egg roll-up.” Customize each batch with various toppings and mix-ins to cater to different tastes, ensuring everyone at the table finds something they love. This versatility makes them a staple for any breakfast enthusiast.
The Grab-and-Go Breakfast Game Changer
For those perpetually busy mornings, sheet pan eggs are a revelation. They can be effortlessly made ahead of time and stored, ensuring a quick and healthy breakfast is always within reach. Their thin, uniform shape allows them to thaw and reheat remarkably fast, making them perfect for assembling “fast-food style” breakfast sandwiches at home. Prepare a batch, assemble your favorite sandwiches, and freeze them for convenient grab-and-go options throughout the week. If you’re a fan of portable breakfasts, you might also enjoy our easy egg muffins for another excellent on-the-go choice.
Essential Ingredients for Perfect Sheet Pan Eggs
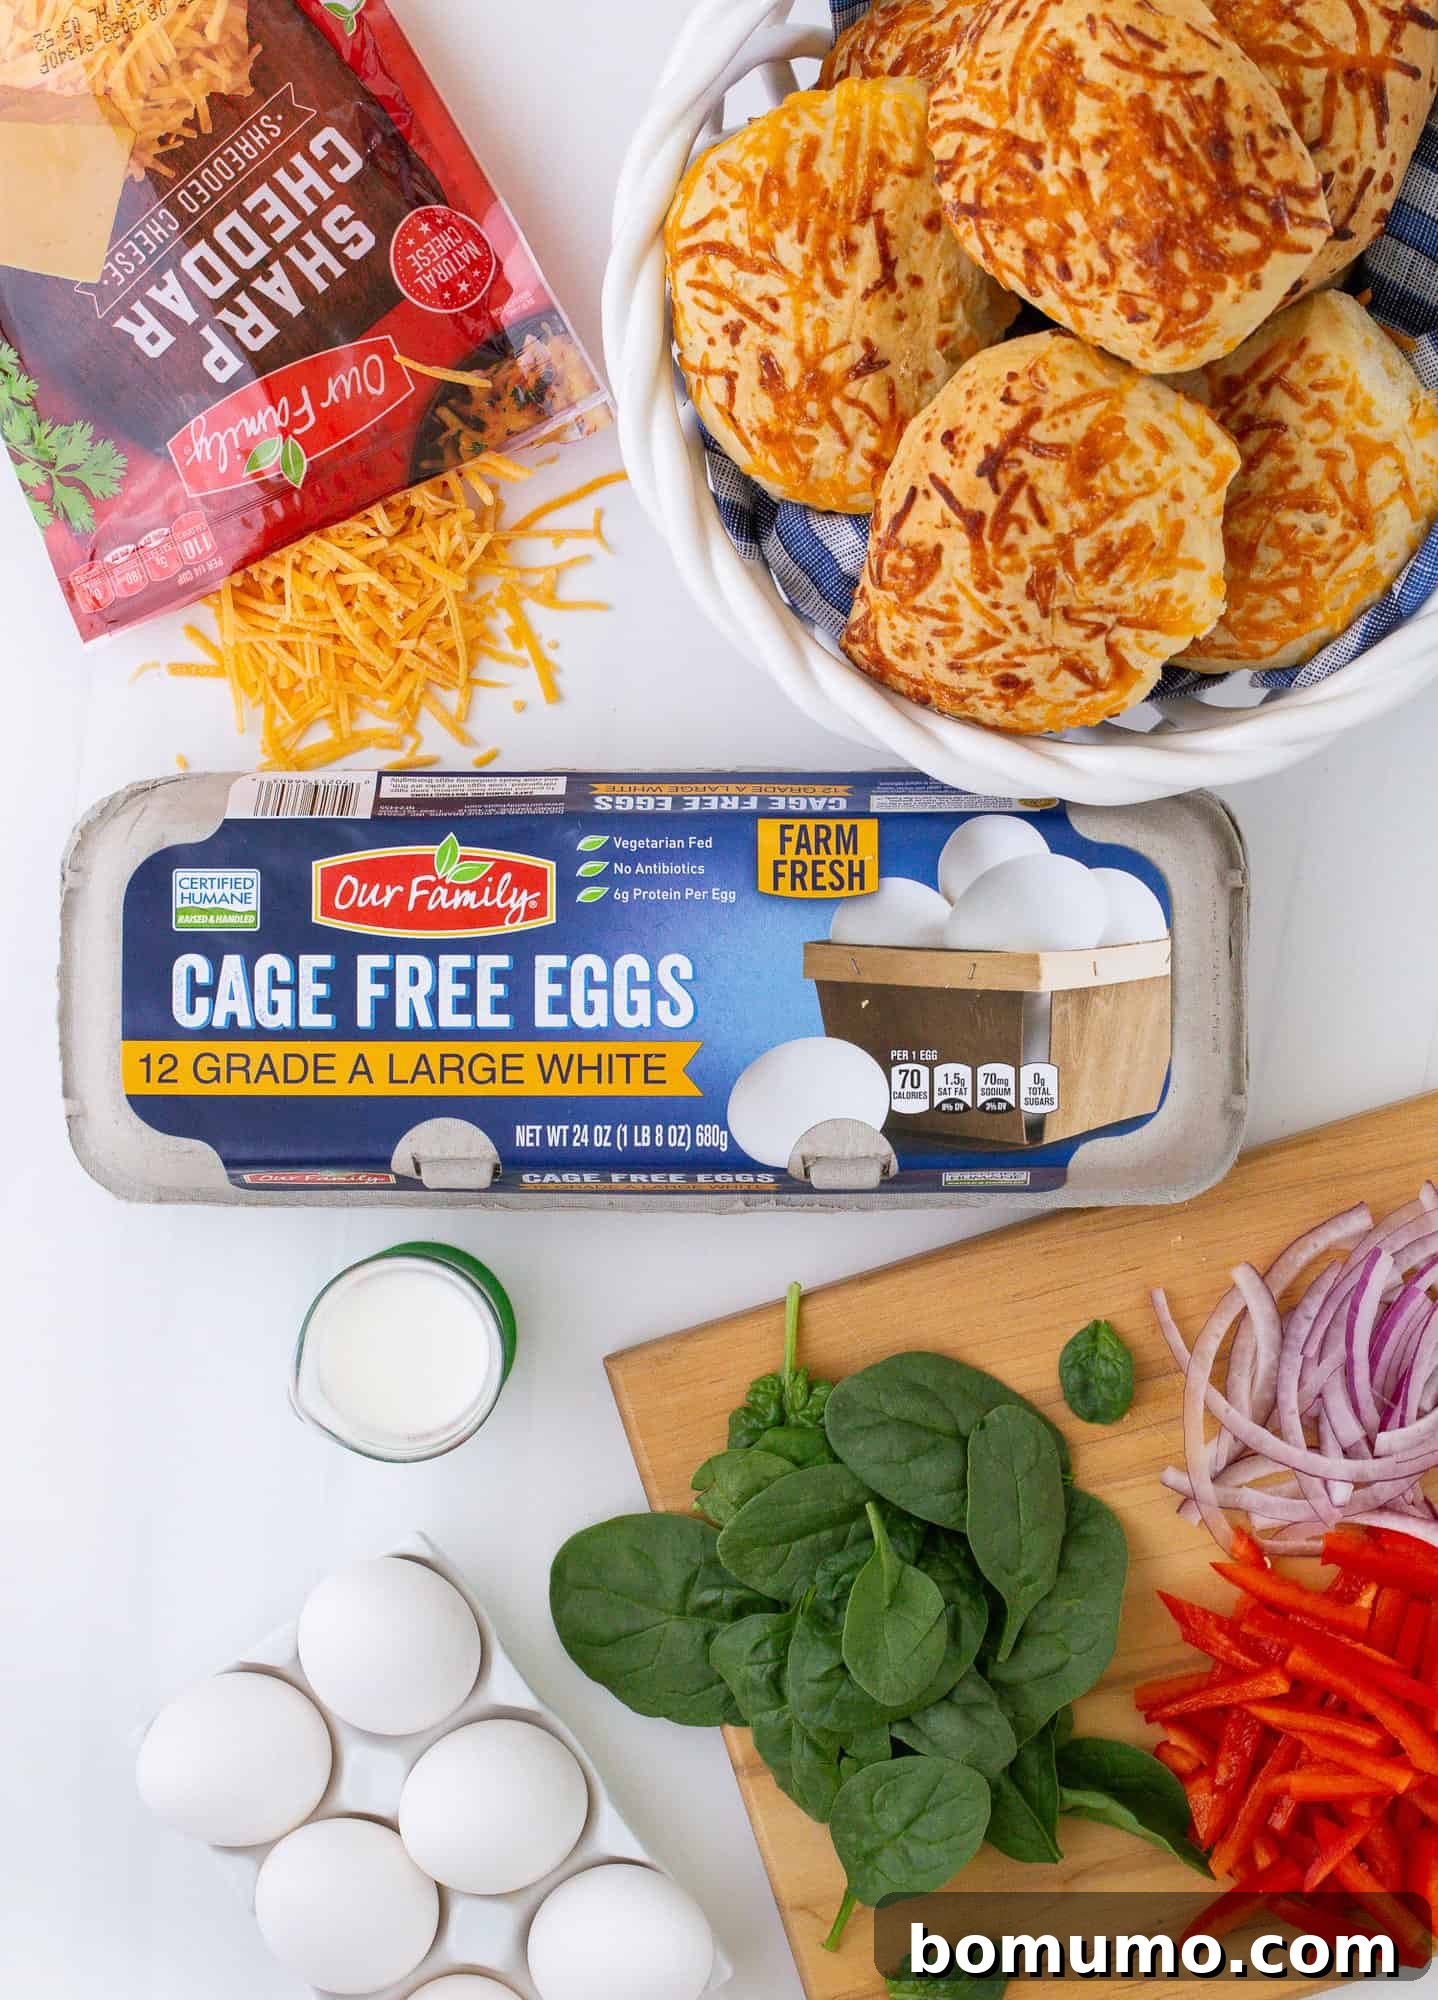
Crafting delicious sheet pan eggs begins with quality ingredients. Here’s a breakdown of what you’ll need and some tips for making the best choices:
The Foundation: Eggs and Dairy
- Eggs: This recipe is designed for a dozen large eggs, which creates a good balance for most standard sheet pan sizes. While you can adjust the quantity, remember that using fewer eggs in a large pan will result in thinner layers that cook faster, and vice-versa.
- Milk: For the most luxurious texture and rich flavor, we highly recommend using whole milk or 2% milk. The higher fat content contributes to a creamier, more tender egg. Low-fat or skim milk varieties tend to yield a more watery and less satisfying result, often leading to a rubbery texture. You can also experiment with half-and-half or a splash of heavy cream for an even richer outcome.
Seasoning and Flavor Boosters
- Salt & Pepper: These are your basic seasonings, and you should always adjust them to your personal taste. Kosher salt is generally preferred for its pure flavor and larger crystals, but regular table salt works too (use slightly less). Freshly ground black pepper adds a wonderful aromatic kick. If you’re following a low-sodium diet, feel free to reduce the salt or omit it entirely and rely on other flavorful add-ins. Don’t hesitate to experiment with other favorite seasonings like a pinch of garlic powder, onion powder, or a dash of your preferred herb blend.
Unleash Your Creativity with Mix-Ins (Optional)
This is where sheet pan eggs truly shine, allowing for endless customization! While the recipe is fantastic on its own, adding mix-ins can transform it into a gourmet experience. We like to recommend a total of 1½ to 2 cups of toppings to ensure they are evenly distributed without overwhelming the egg mixture.
- Cheese: Shredded cheese is almost always a welcome addition! Sharp cheddar is a classic choice, offering a robust flavor that pairs beautifully with eggs. However, feel free to use any cheese you love or have on hand, such as Monterey Jack, mozzarella, Colby, or even a sprinkle of feta or goat cheese for a tangy twist.
- Meats: Fully cooked and crumbled bacon, diced ham, or browned sausage are excellent for adding savory depth and heartiness. Be sure to cook these meats thoroughly before adding them to the egg mixture.
- Vegetables: Boost the nutrition and flavor with finely diced vegetables. Bell peppers (any color), onions, and shredded spinach are popular choices. For vegetables with high water content, like mushrooms or tomatoes, it’s best to sauté them briefly beforehand to release some of their moisture. This prevents the eggs from becoming watery or soggy. If adding raw, ensure they are very thinly sliced or finely diced to cook through properly in the oven.
- Herbs & Spices: Fresh chives, parsley, or dried herbs like oregano and thyme can add another layer of flavor. A pinch of red pepper flakes can introduce a subtle heat.
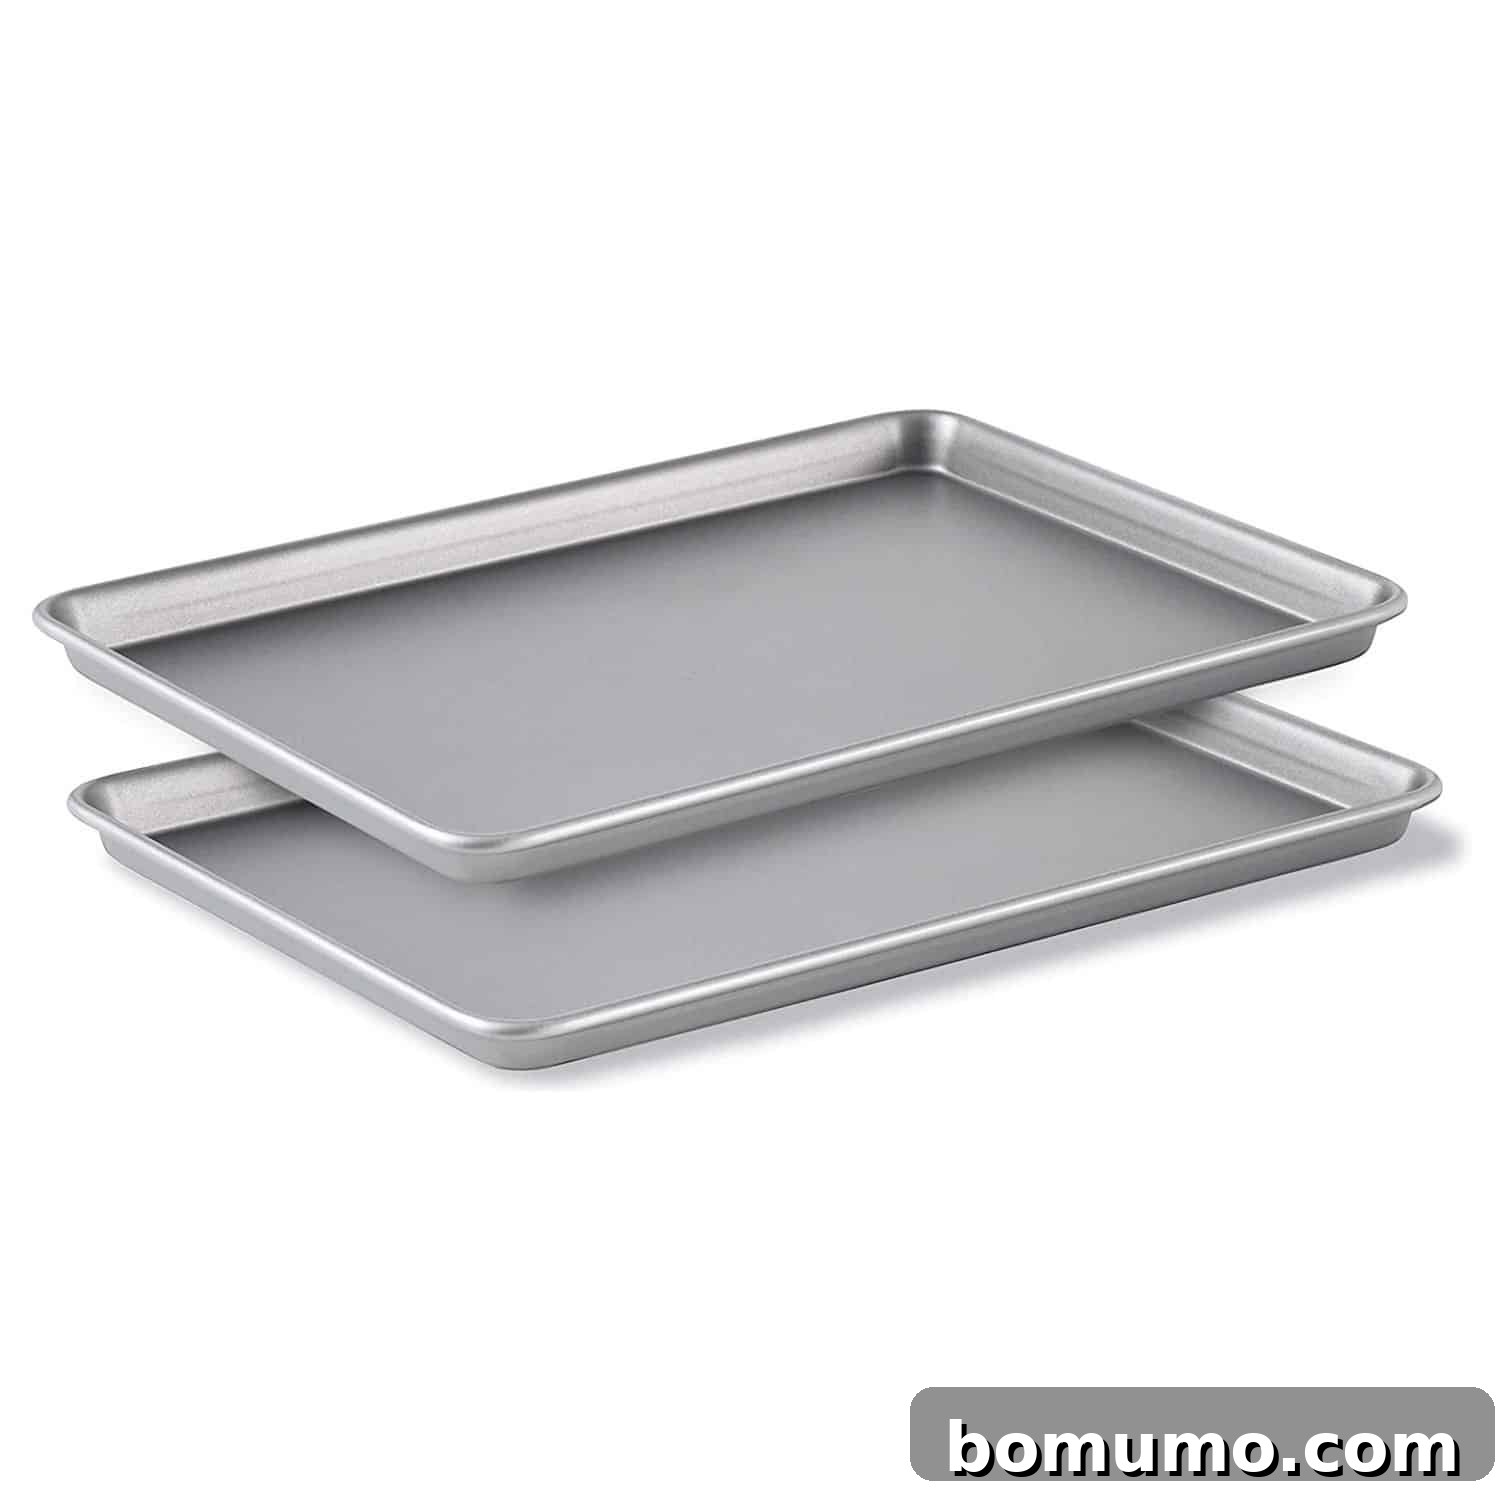
Understanding Sheet Pans: Your Kitchen Workhorse
A sheet pan is an indispensable tool in any kitchen, characterized by its large, flat surface and raised edges (rims). These rims are crucial, especially for recipes like sheet pan eggs, as they prevent liquids from spilling over. Sheet pans come in various sizes – typically quarter, half, and full sheets – offering flexibility for different cooking needs. I personally reach for my sheet pans almost every day due to their incredible versatility. They are not just for eggs; they are perfect for roasting vibrant vegetables, baking cookies, or preparing entire sheet pan dinners with minimal cleanup. Investing in a good quality, heavy-gauge aluminum sheet pan will serve you well for years to come.
Step-by-Step Guide: How to Master Sheet Pan Eggs
Making sheet pan eggs is incredibly straightforward, but a few key steps ensure perfect results every time. Follow this simple guide to create delicious, evenly cooked eggs:
Step 1: Prepare Your Pan and Preheat Oven
Begin by preheating your oven to 350°F (175°C). Next, select a rimmed sheet pan that is appropriately sized for the quantity of eggs you’re making. The size of your pan directly impacts the thickness and cooking time of your eggs. A larger pan will yield thinner eggs that cook more quickly, while a smaller pan will result in thicker eggs that require more baking time. Common sizes include 12×17 inches (full sheet), 10×14 inches (half sheet), or a 9×13 inch baking pan (which has higher sides and is great for thicker eggs or preventing spills). The photos in this article showcase a 10×15 inch pan. Once you’ve chosen your pan, spray it generously with a nonstick cooking spray to prevent sticking and ensure easy removal of the cooked eggs.
Step 2: Whisk Your Eggs to Perfection
In a large mixing bowl, combine the eggs, milk, salt, and pepper. The goal here is to thoroughly blend the egg whites and yolks until no streaks remain, creating a uniform, pale yellow mixture. You have a few options for achieving this: a traditional whisk and some arm power, an electric hand mixer for quick and easy blending, or even a blender for a silky-smooth consistency. Whichever method you choose, be careful not to over-mix to the point of creating excessive foam or froth. A smooth, well-combined liquid is what you’re aiming for.
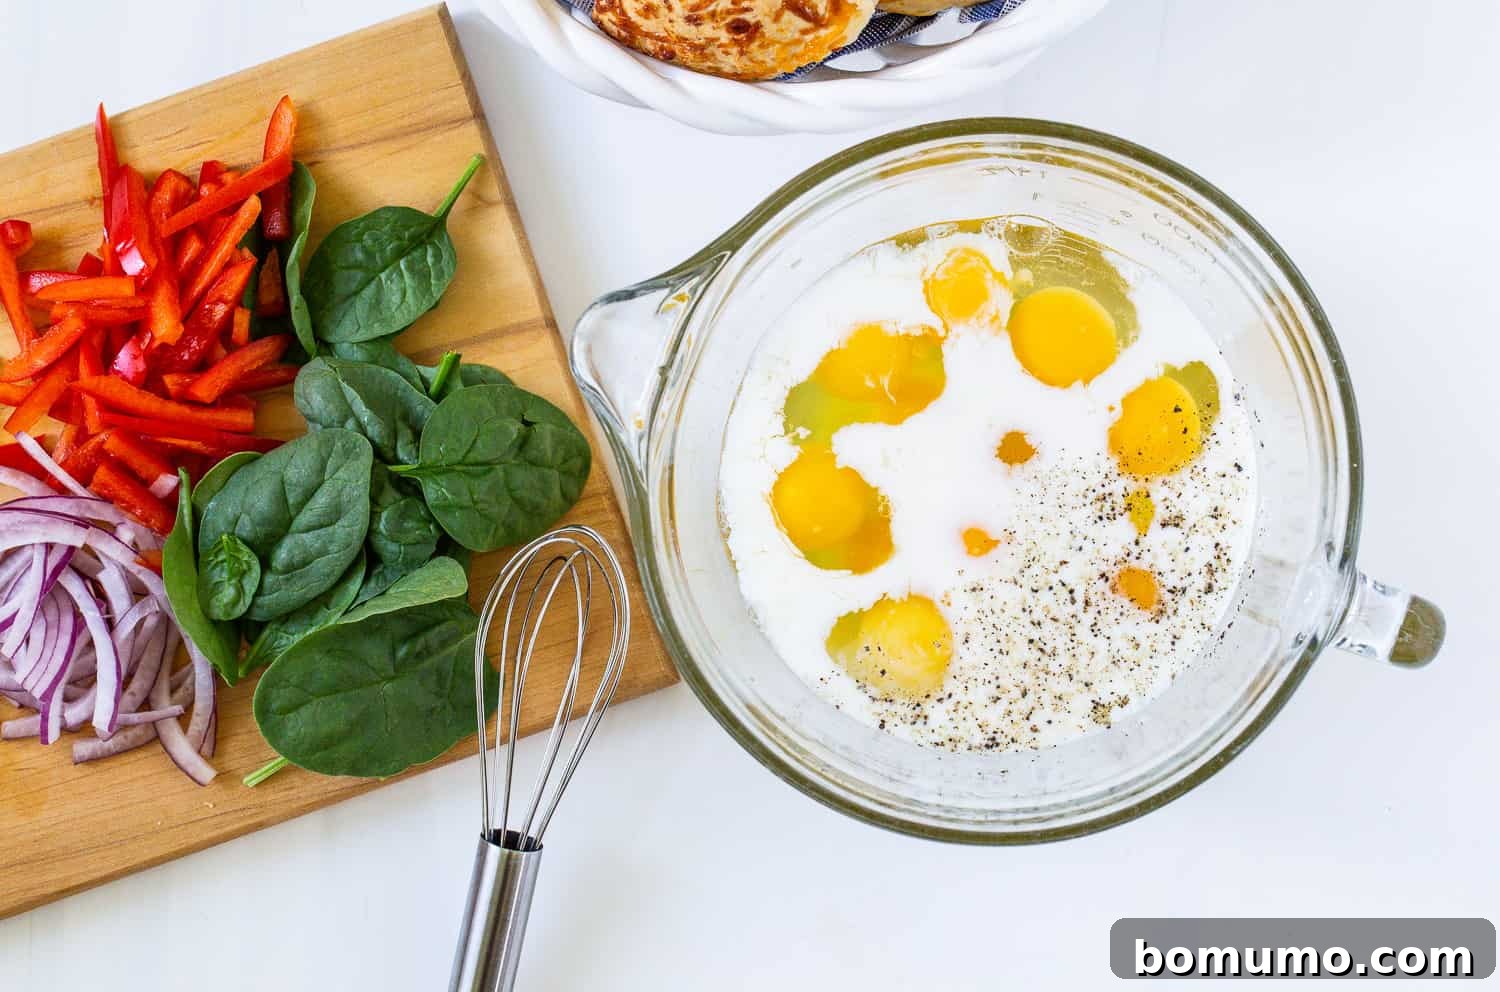
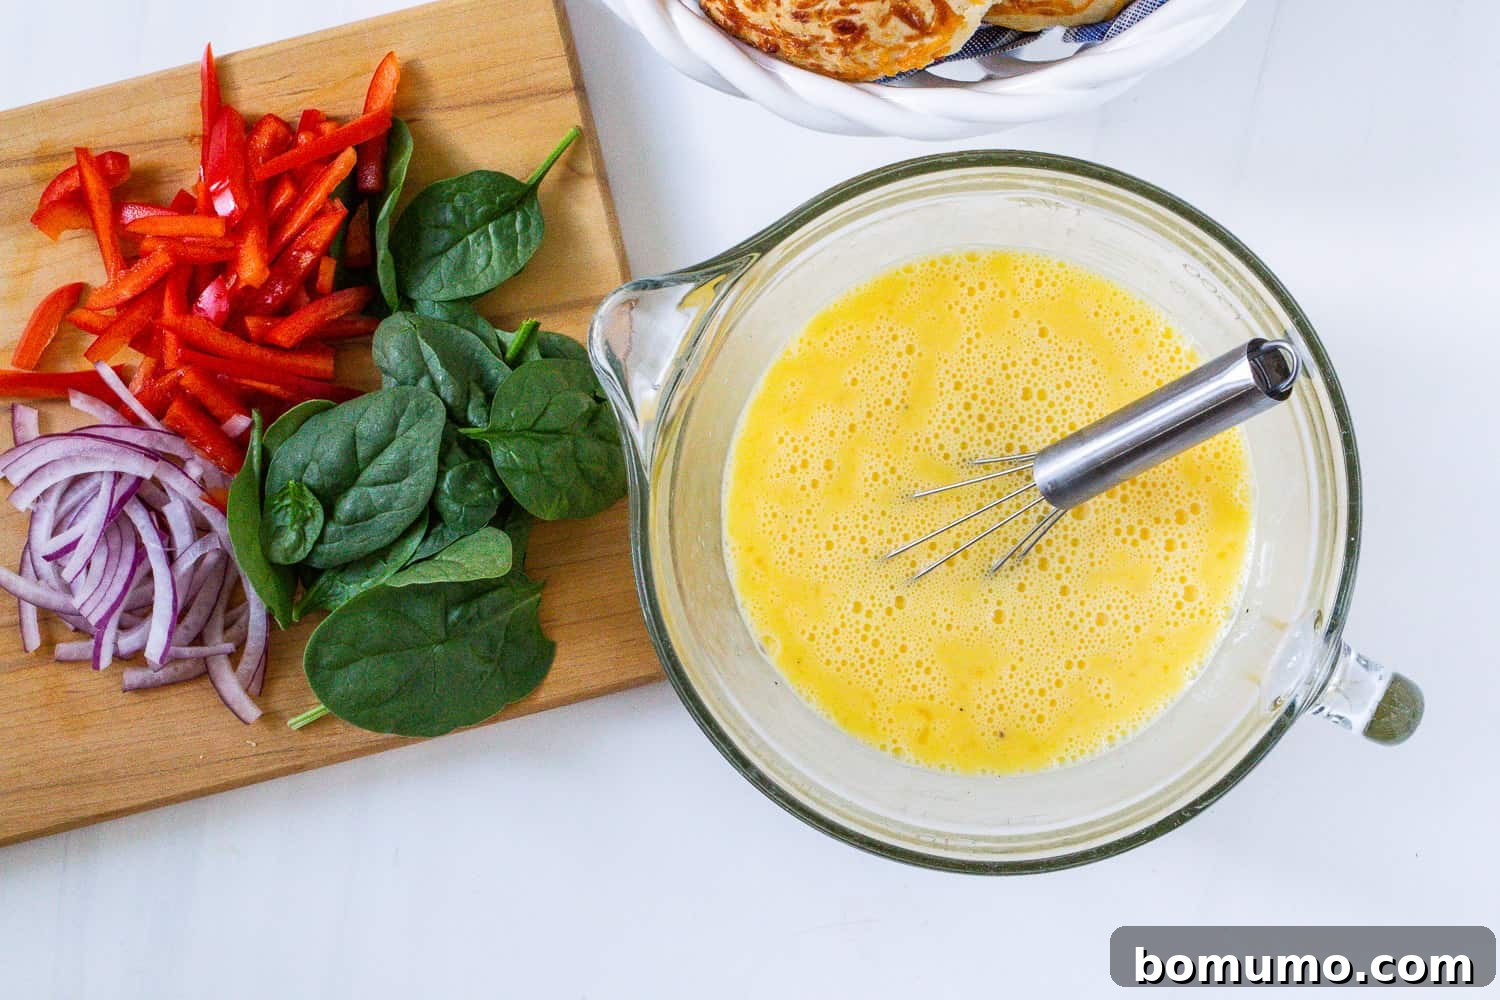
Step 3: Pour and Customize with Toppings
Carefully pour the well-blended egg mixture into your prepared, greased sheet pan. Distribute the liquid evenly across the surface. This is the perfect moment to add your chosen toppings! Gently sprinkle your optional mix-ins – whether it’s shredded cheese, cooked bacon bits, finely diced vegetables, or a combination – over the liquid egg mixture. Aim for an even distribution to ensure every bite is flavorful. Remember the tip about not overloading; 1½ to 2 cups of toppings total is generally the sweet spot to ensure the eggs can “glue” everything together effectively without becoming too heavy or moist.
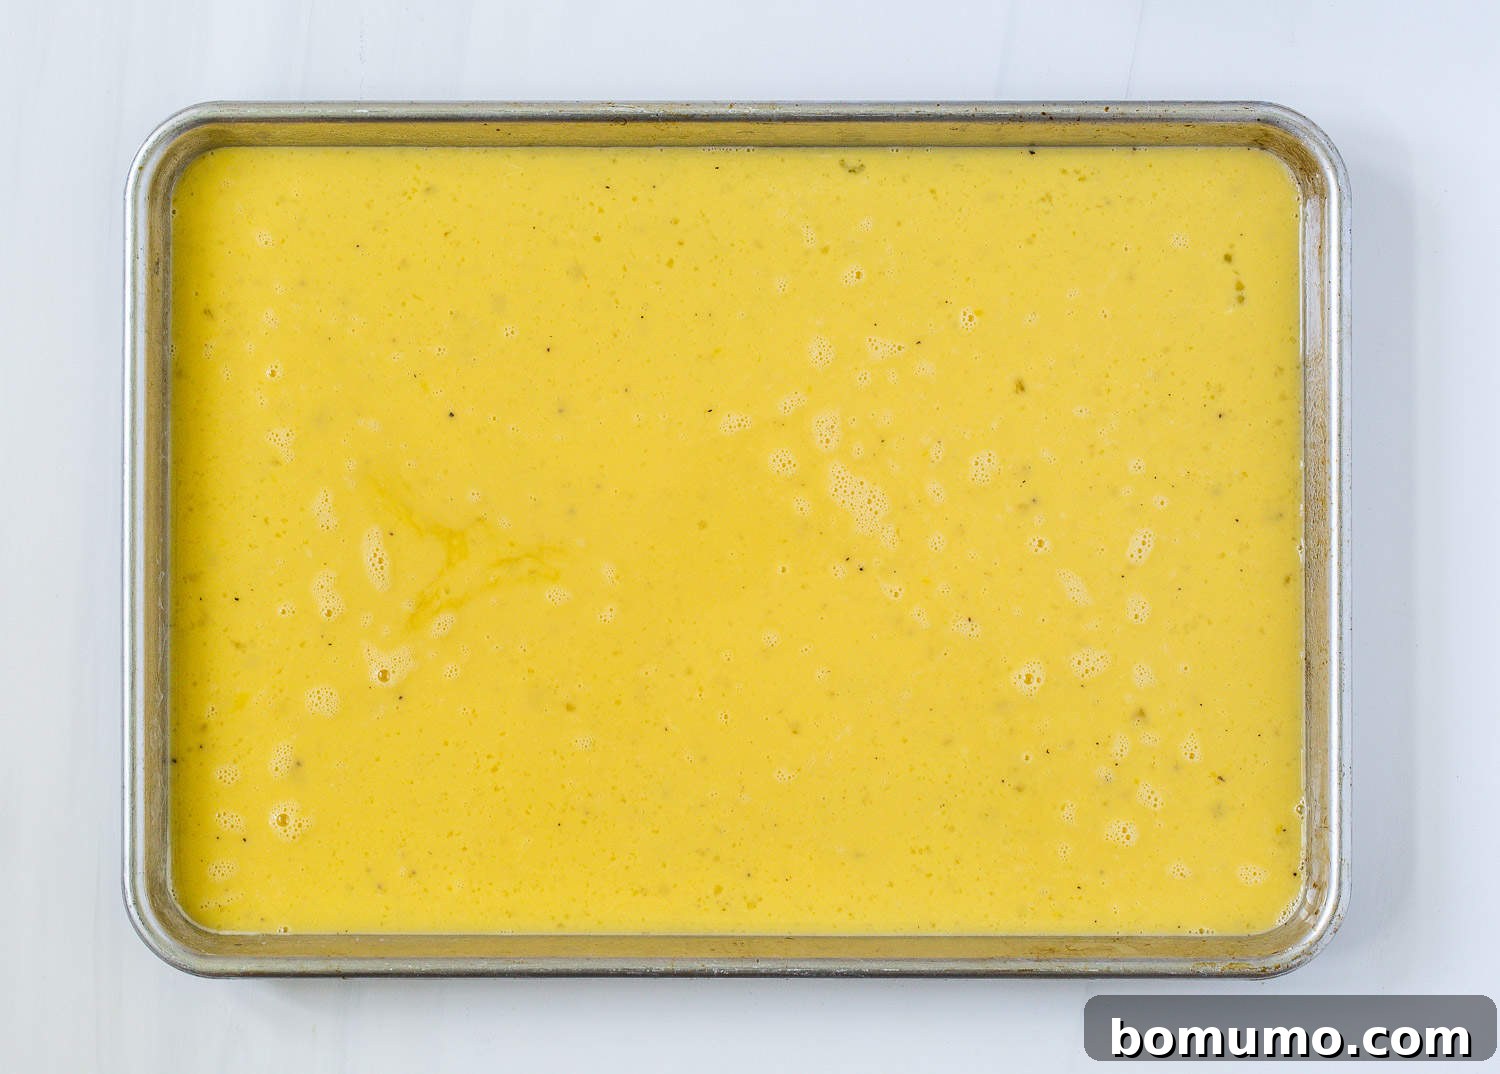
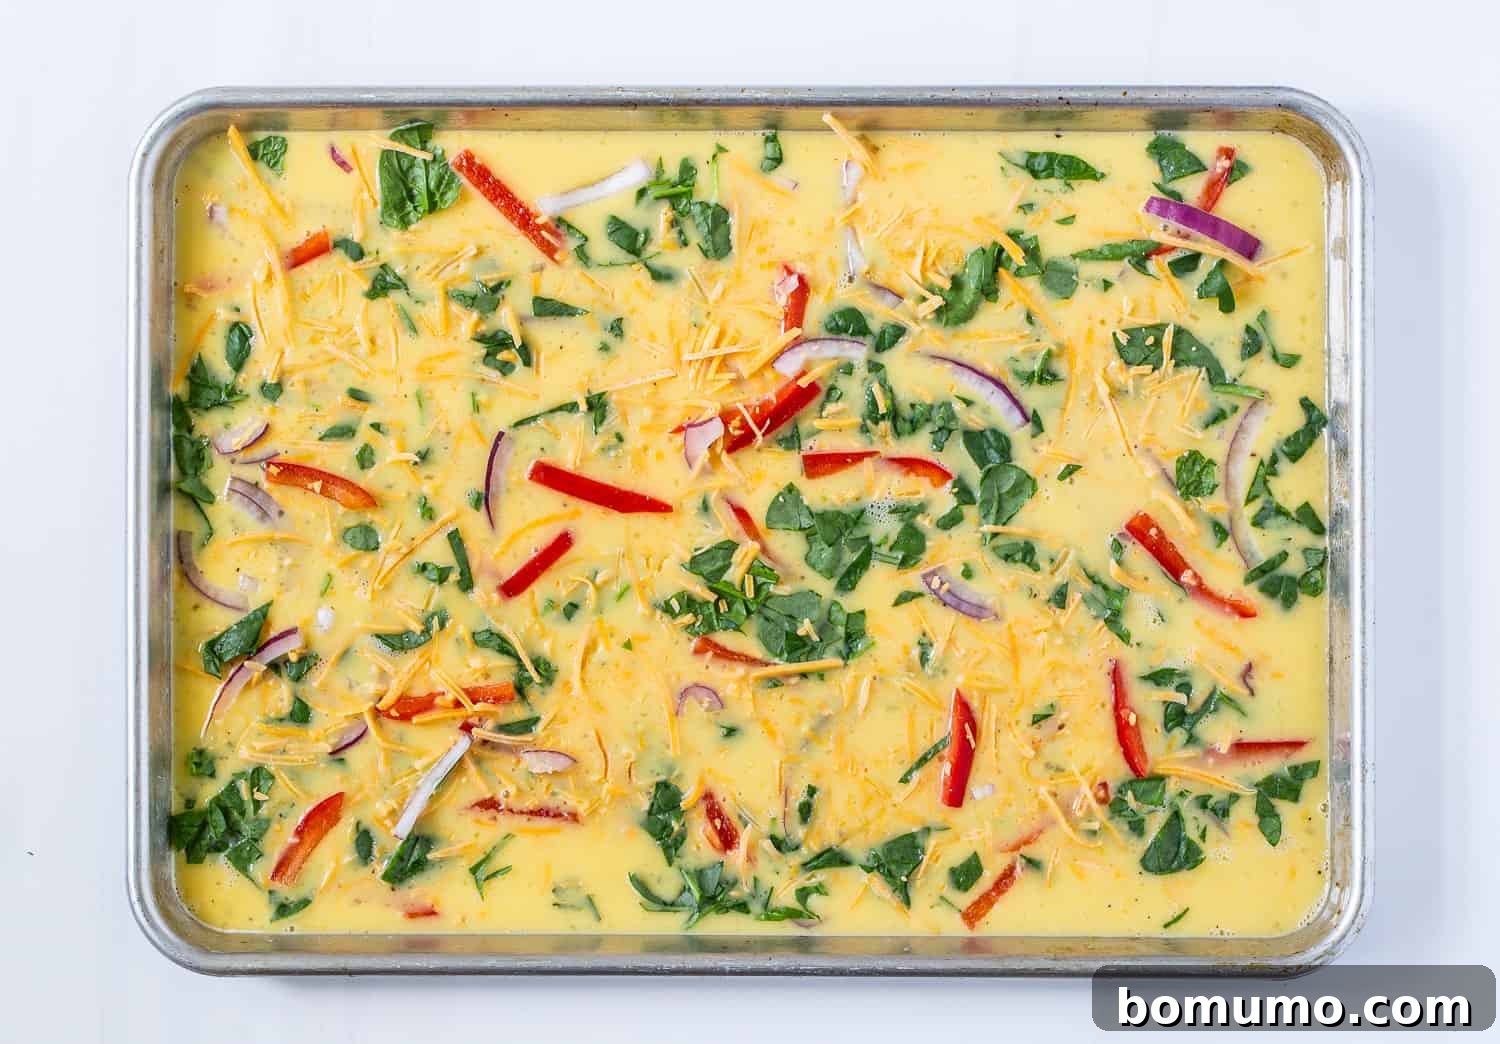
Step 4: Bake Until Golden and Set
Carefully transfer the sheet pan to the middle rack of your preheated oven. If you’re concerned about spilling the liquid egg mixture on your journey to the oven, a smart trick is to place the empty, greased pan into the oven first, then carefully pour the egg mixture into it. Bake the eggs until they are fully set in the middle and appear lightly golden around the edges. The baking time will vary depending on your pan size and the amount of toppings you’ve added. Keep a close eye on them to prevent overcooking, which can lead to a rubbery texture.
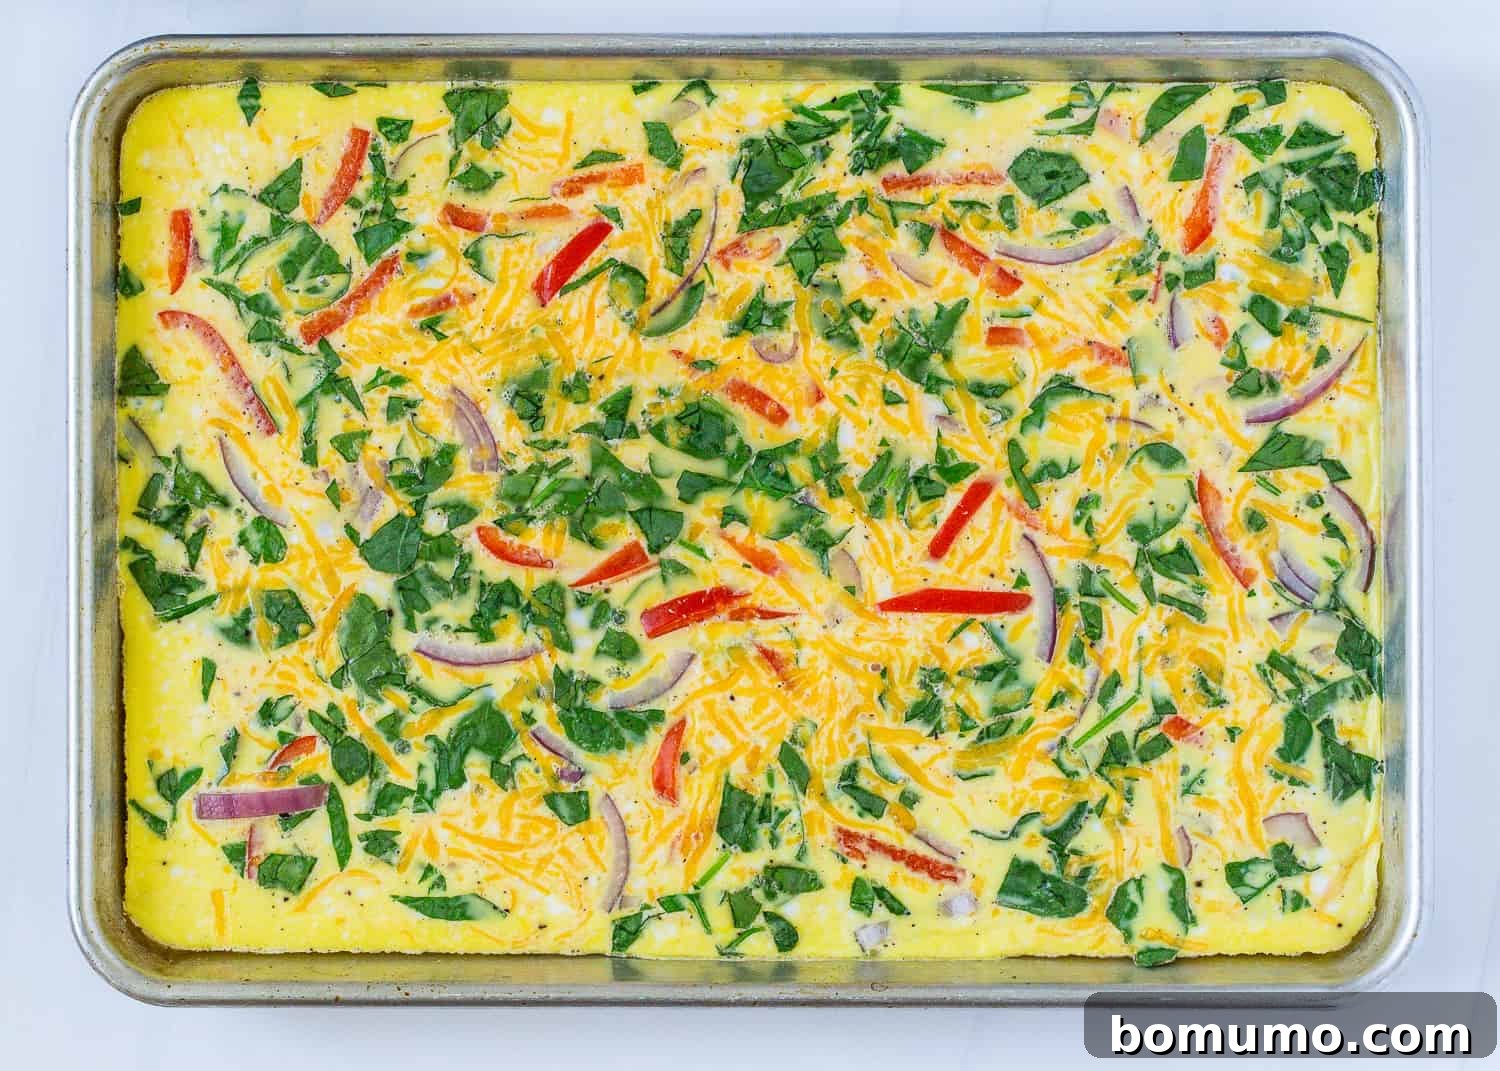
How to Tell When Sheet Pan Eggs Are Perfectly Cooked
Ensuring your eggs are cooked safely and to perfection is crucial. While the internal temperature for safely cooked eggs is 160ºF, using an instant-read thermometer can be tricky with such a thin layer. Here are reliable visual cues to tell when your sheet pan eggs are done:
- Visual Firmness: The entire sheet of eggs should appear set and firm in the center. If you gently shake the pan, there should be no noticeable jiggle or liquid movement in the middle.
- Clean Knife Test: Carefully insert a thin knife or a toothpick into the center of the egg sheet. If it comes out clean, without any wet or sticky egg residue, your eggs are perfectly cooked.
- Golden Edges: The edges of the eggs will often start to turn a light golden brown, indicating they are fully baked.
Step 5: Cool, Slice, and Serve Your Delicious Creation
Once baked, remove the sheet pan from the oven and allow the eggs to cool in the pan for a few minutes. This brief cooling period helps the eggs set further and makes them much easier to slice neatly. Using a knife or a pizza cutter, slice the large egg sheet into individual squares, rectangles, or strips – whatever shape suits your serving style! These versatile egg portions are fantastic served hot on a toasted English muffin, a slice of your favorite bread, a warm biscuit, or nestled in a soft tortilla or wrap. For an extra special treat, I love serving mine with a warm cheddar cheese roll straight from Family Fare’s bakery department. While you’re at Family Fare, make sure to explore their bakery, produce, meat, and deli departments. They consistently provide fine, fresh products, backed by their incredible 200% Freshness Guarantee: if you’re not satisfied, they’ll give you your money back AND replace the product for free!
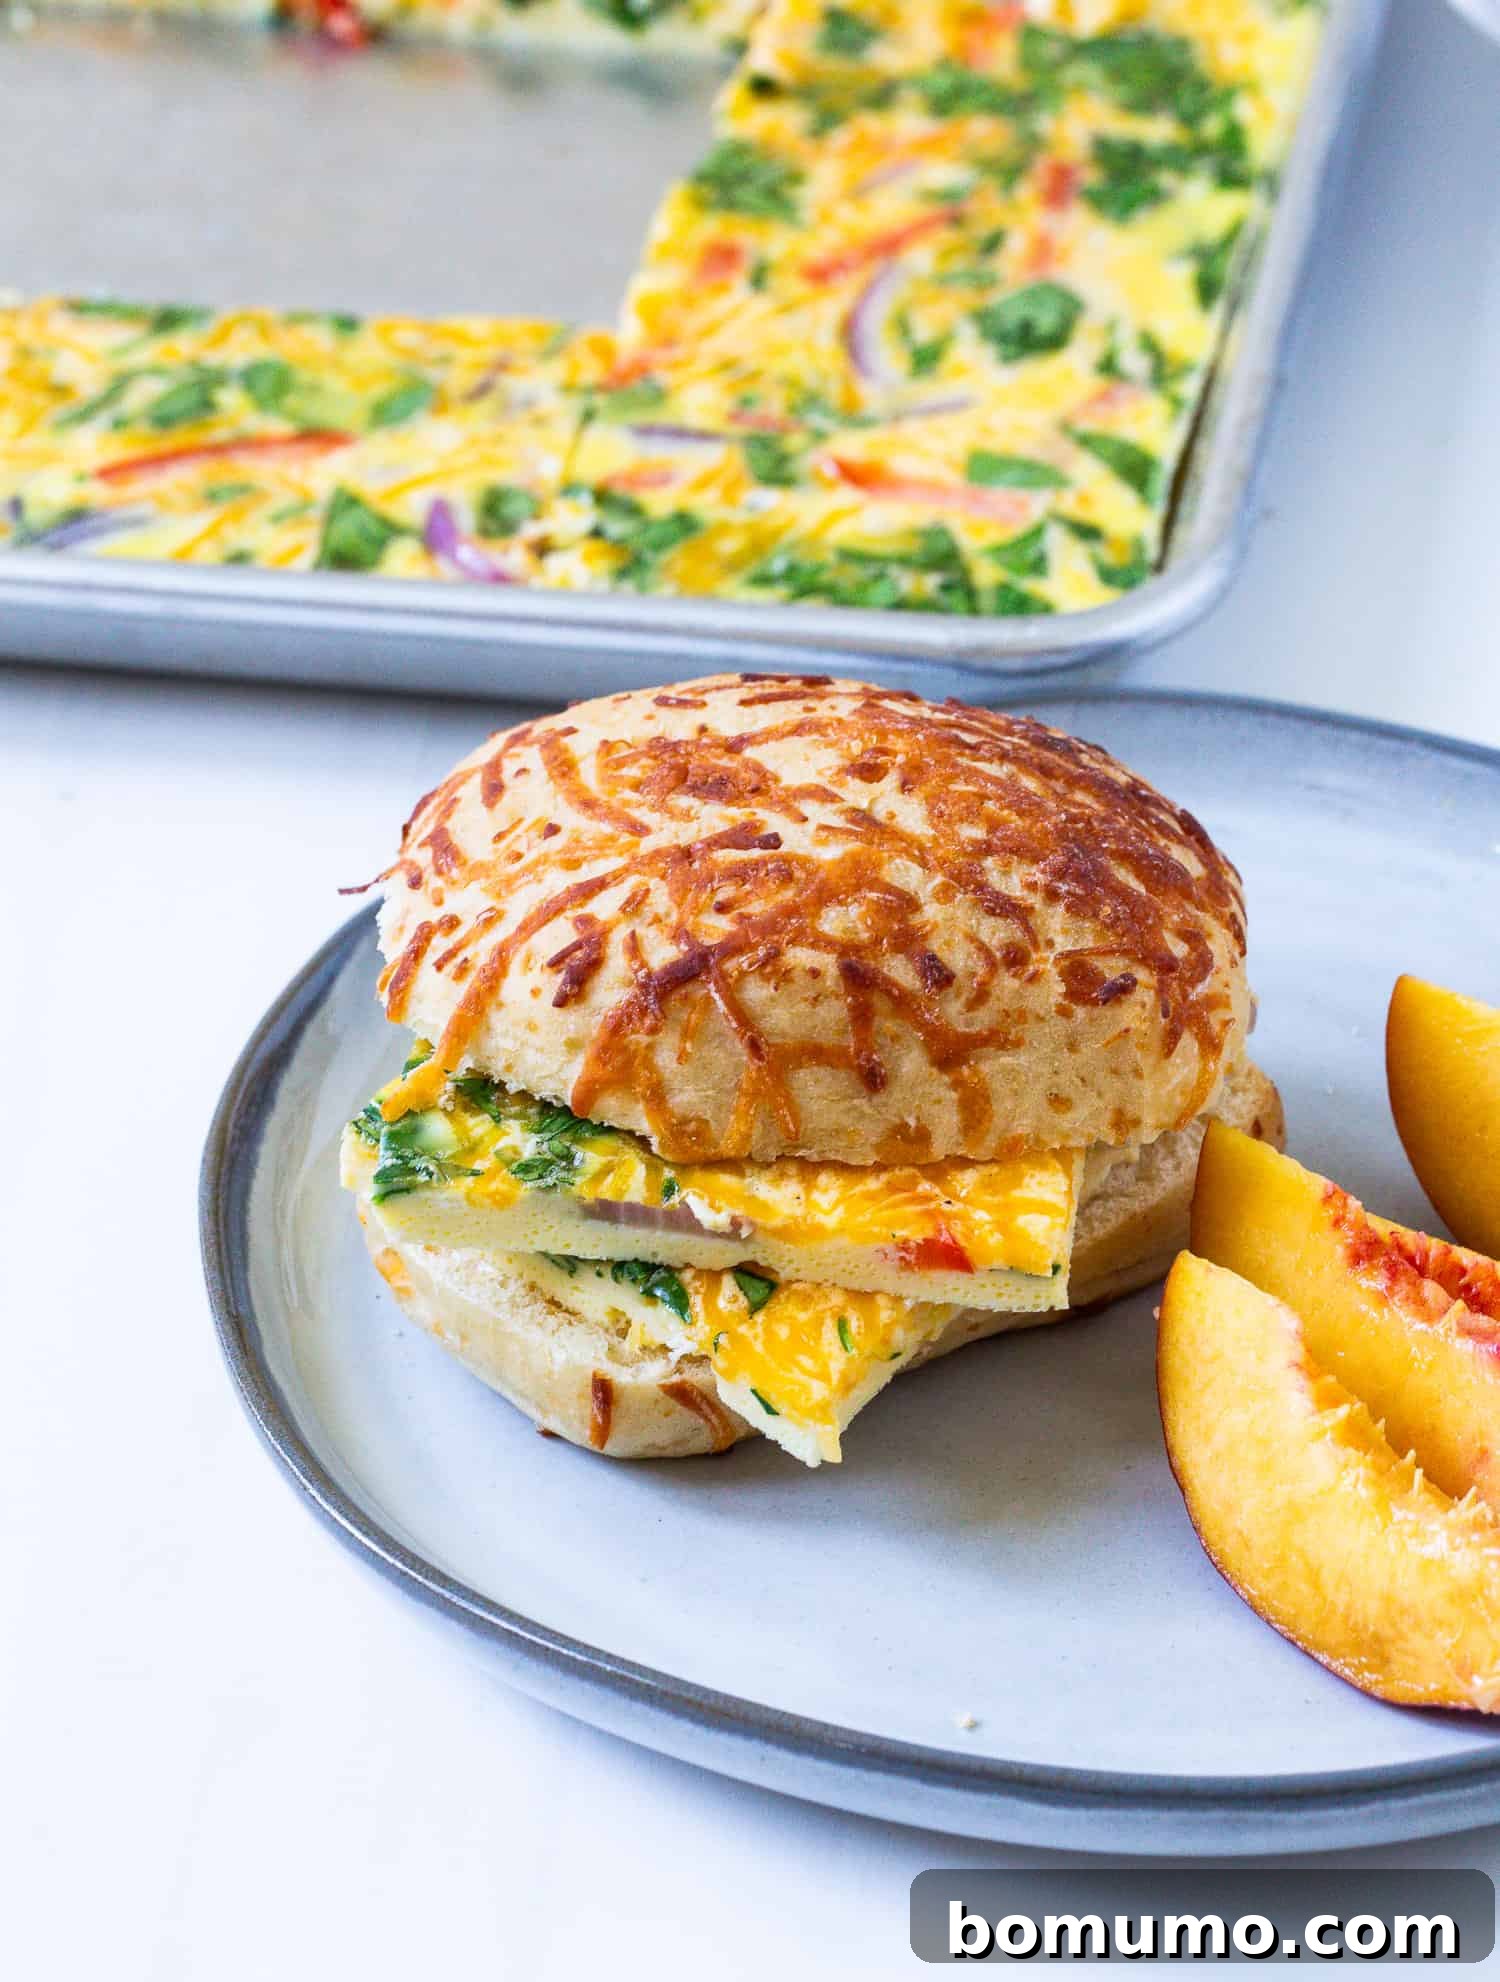
Expert Tips for Flawless Sheet Pan Eggs Every Time
While sheet pan eggs are forgiving, a few expert tips can elevate your results from good to absolutely perfect:
Achieving the Ideal Egg Mixture
The key to evenly cooked and beautifully textured sheet pan eggs lies in thorough blending. Regardless of whether you opt for a traditional whisk, an electric mixer, or a blender, ensure the egg whites and yolks are completely homogenized. Any visible streaks indicate an incomplete mix, which can lead to uneven cooking. However, avoid over-whisking to the point of creating a frothy mixture. Too much air can make your eggs puff up excessively in the oven and then deflate, leading to a less desirable texture. A smooth, uniform liquid is what you’re looking for.
Preventing Spills: A Kitchen Safety Essential
Transferring a sheet pan filled with liquid egg mixture can be a precarious task, with spills being a common mishap. To prevent this, exercise extreme caution. If you find your hands are a bit shaky, or you’re using a particularly flexible pan, consider this smart trick: place the greased sheet pan into the oven first, then carefully pour the egg mixture directly into the pan while it’s already on the rack. Gently push the rack back into the oven. Alternatively, if spills are a consistent concern, opt for a 9×13 inch cake pan, which features higher sides offering better containment for the liquid eggs.
The Art of Perfect Baking: Don’t Overcook!
The ideal texture for scrambled eggs is soft and tender, not rubbery or dry. This holds true for sheet pan eggs. The baking time will fluctuate based on the specific size of your pan, as well as the quantity and type of toppings you’ve incorporated. Thinner egg layers in larger pans cook faster, while thicker layers or those loaded with moisture-releasing toppings will require more time. Start checking your eggs a few minutes before the estimated cook time. They are best when just set in the center and still slightly moist; overcooking is the primary culprit behind chewy eggs.
Smart Topping Choices for Texture and Flavor
Toppings are fantastic for customizing your sheet pan eggs, but moderation is key. Aim for approximately 1½ to 2 cups of total mix-ins for a dozen eggs. Overloading the pan with too many toppings can prevent the egg mixture from binding everything together properly, leading to a fragmented texture. Furthermore, be mindful of toppings that contain a high amount of moisture, such as raw chopped tomatoes or raw mushrooms. These can release liquid during baking, potentially making your eggs watery. For best results with such ingredients, it’s advisable to sauté them lightly beforehand to remove excess moisture.
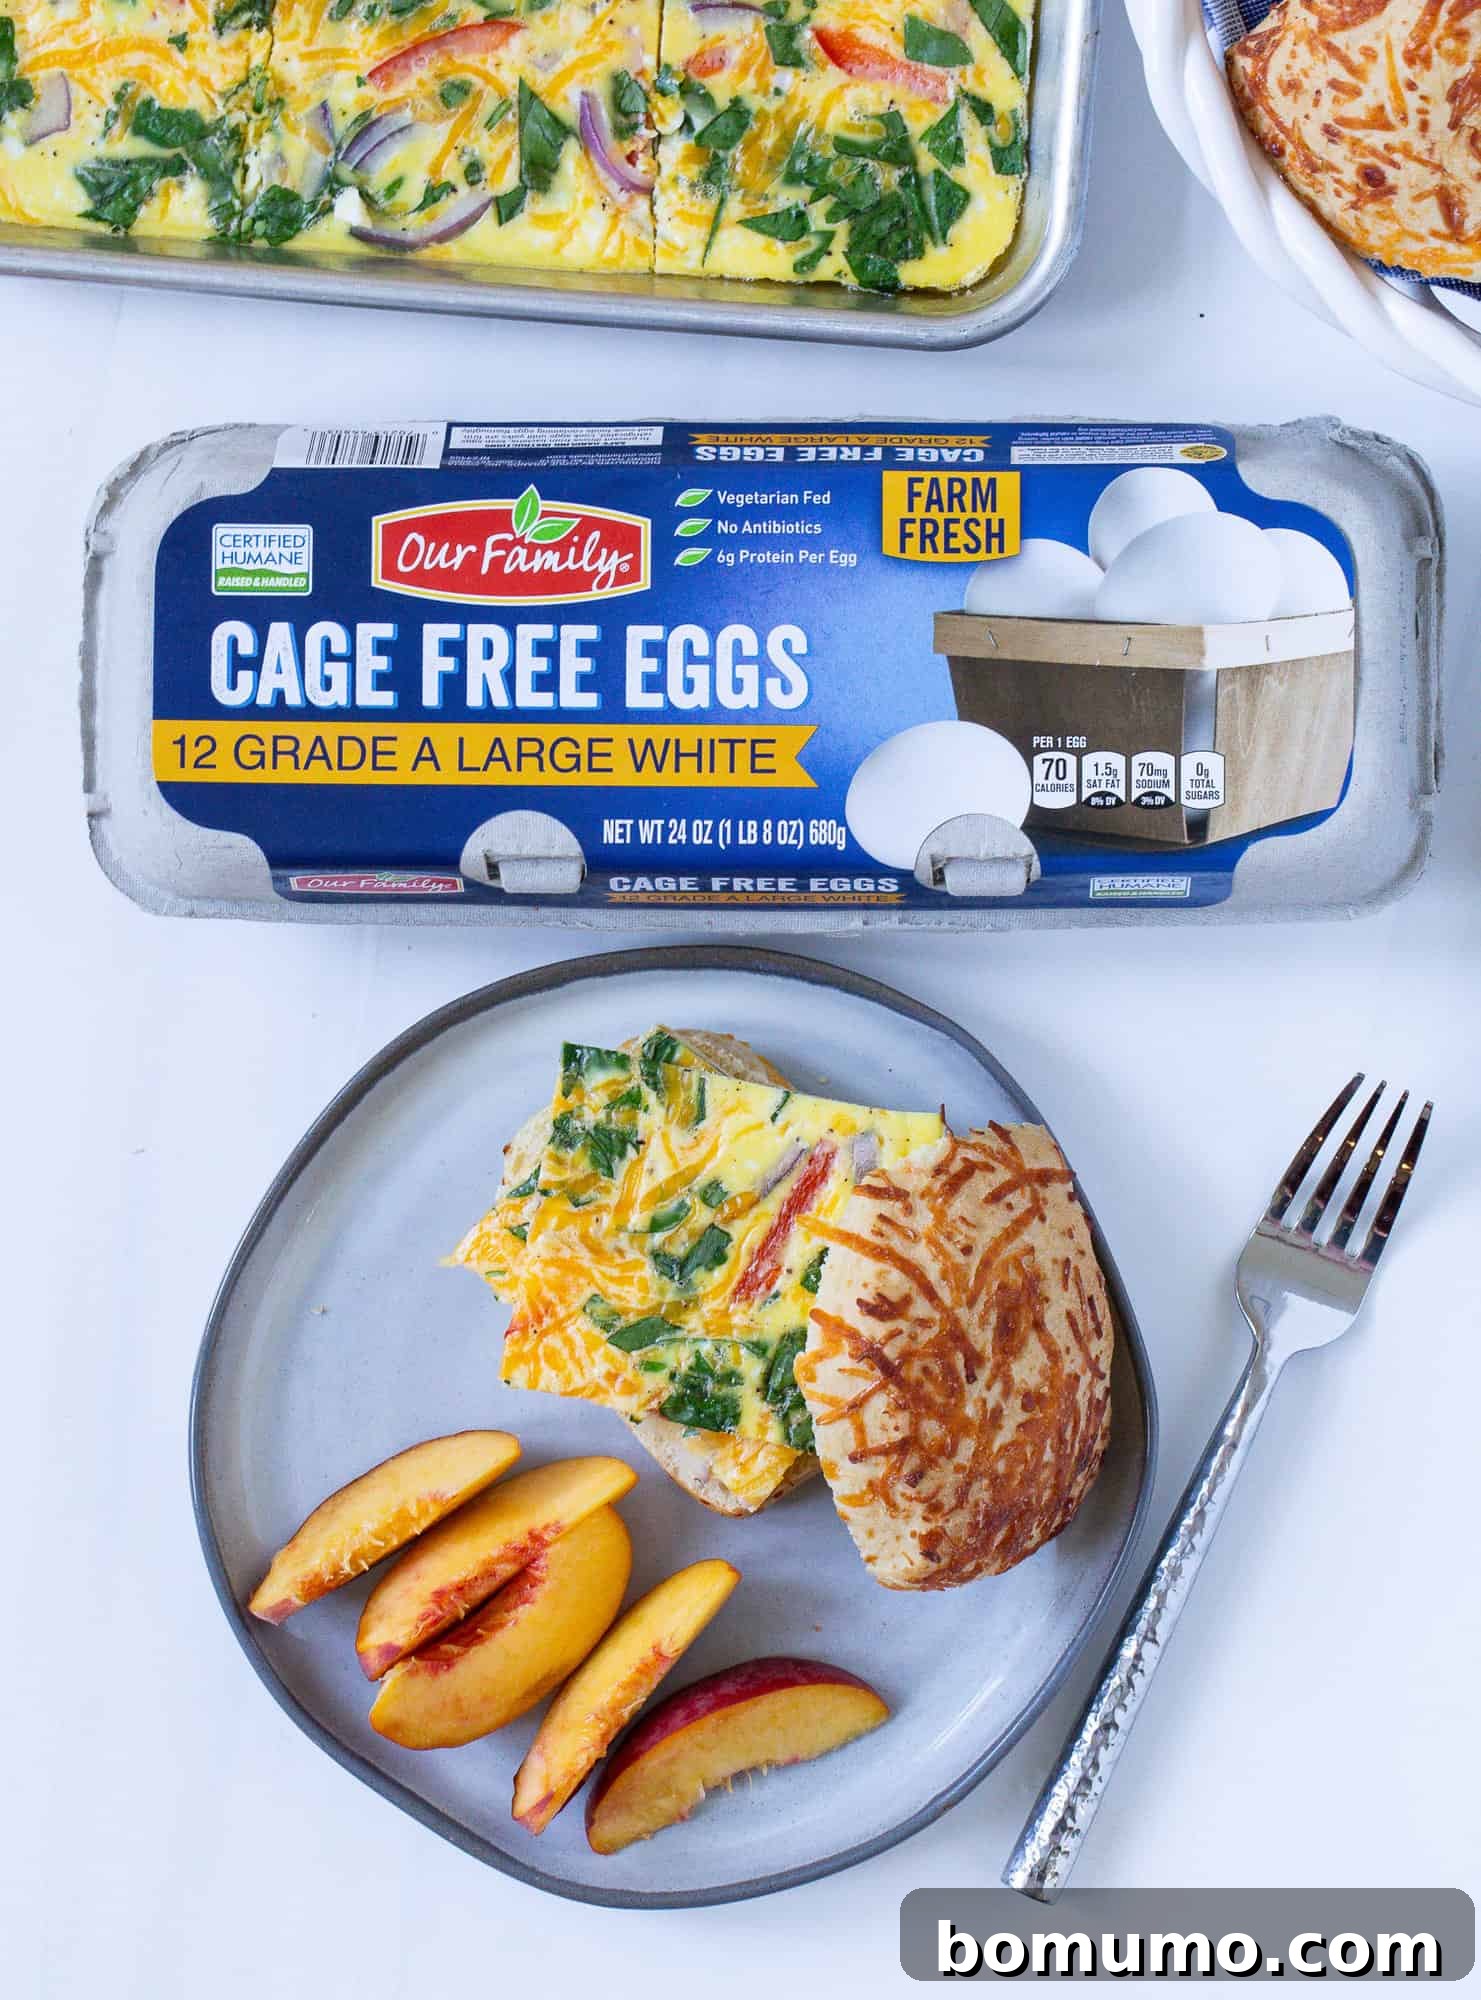
Endless Culinary Adventures: Sheet Pan Egg Variations
The beauty of sheet pan eggs lies in their adaptability. Consider them a blank canvas for your breakfast creativity. Here are some inspiring ideas to customize your next batch:
- Flavorful Add-In Combinations Galore: Beyond the basics, think about gourmet pairings. Try finely diced red onion with goat cheese, sun-dried tomatoes with fresh basil, or a robust combination of cooked bacon, ham, and sausage for a meat lover’s dream. For a Mediterranean twist, sprinkle feta cheese and chopped spinach. Don’t forget herbs like chives or dill for a fresh finish.
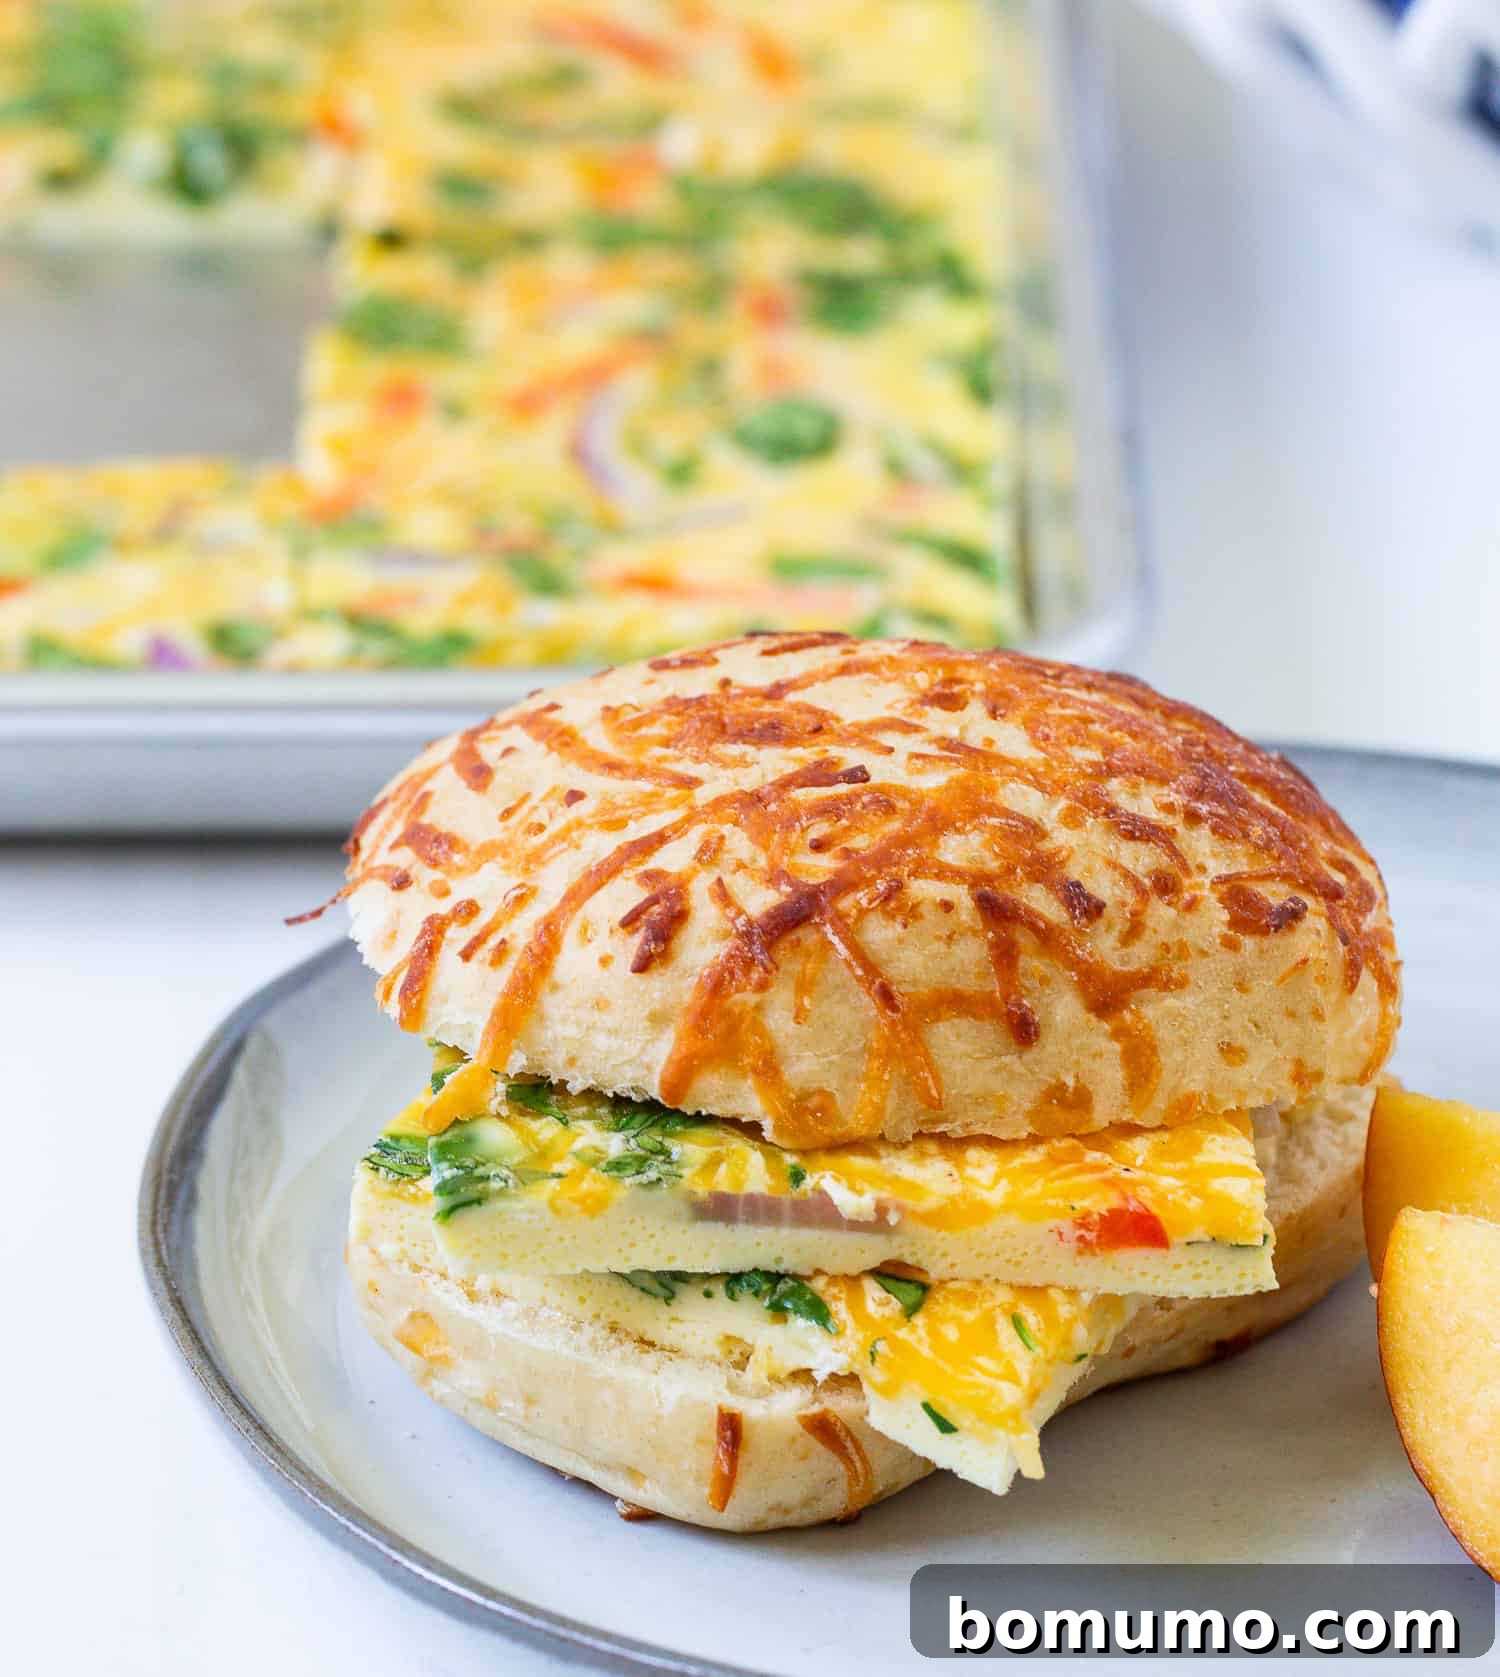
- Reinventing Breakfast Sandwiches and Wraps: Elevate your breakfast game by using these perfectly portioned egg squares to build gourmet sandwiches. Layer a slice of sheet pan egg with melted cheese, a crispy strip of bacon, a savory sausage patty, or a slice of deli ham inside a warm English muffin, fluffy biscuit, toasted bagel, or even a buttery croissant. It’s a quick, homemade version of your favorite fast-food breakfast, but infinitely healthier and tastier!
- Low-Carb and Kid-Friendly Options: For a delicious low-carb or gluten-free breakfast, skip the bread entirely. Simply roll up a slice of sheet pan egg into a “tube” – it’s a fun, mess-free finger food that kids especially adore. You can even add a sprinkle of cheese or a sliver of ham before rolling.
- Sweet and Savory Pancake Roll-Ups: For a delightful treat that combines breakfast favorites, place a warm sheet pan egg slice onto a freshly made pancake, roll it up, and serve with a side of maple syrup for dipping. This sweet and savory combination is a surefire hit with the younger crowd and surprisingly delicious for adults too.
- Time-Saving Shortcuts for Busy Mornings: If cracking and whisking a dozen eggs feels like too much effort on a hectic morning, don’t hesitate to use a shortcut. Pre-packaged liquid scrambled eggs or egg whites (found in the dairy aisle) work just as well and save you valuable prep time. Just measure out the equivalent volume and proceed with the recipe.
Maximizing Convenience: Make-Ahead & Storage Solutions
Maximizing Convenience: Make-Ahead & Storage Solutions
One of the most appealing aspects of sheet pan eggs is their incredible suitability for make-ahead meal prep. Whether you’re planning for busy weekdays or just want healthy options readily available, these tips will help you enjoy your eggs long after they’re baked.
Freezing Breakfast Sandwiches for Grab-and-Go
Prepare a batch of ready-to-eat breakfast sandwiches to freeze, and you’ll have a wholesome, convenient meal perfect for any rushed morning. These homemade sandwiches are far superior to store-bought versions and can be kept in the freezer for up to a month without compromising quality. Here’s how to assemble and store them:
- Assemble: Start with a base of your choice – an English muffin, a croissant, or a delicious cheddar cheese roll. Layer a slice of sheet pan egg, then add your favorite protein: a slice of cheese, a few strips of cooked bacon, a savory sausage patty, or a slice of ham.
- Wrap: Individually wrap each assembled sandwich tightly in aluminum foil or parchment paper. This step is crucial for preventing freezer burn and maintaining freshness.
- Freeze: Place the wrapped sandwiches into a large, resealable freezer bag, ensuring as much air as possible is removed before sealing. They will remain fresh and delicious in the freezer for up to one month.
- Reheat (Microwave Method): For a quick reheat, thaw your frozen sandwich overnight in the refrigerator. Remove the foil or parchment paper and wrap the sandwich in a paper towel. Microwave on 50% power (or use the defrost setting) for 1 minute. Flip the sandwich over and microwave on full power for another 1 minute, or until heated through.
- Reheat (Oven Method): If you prefer a crispy exterior, reheat from frozen in the oven. Place the foil-wrapped or parchment-wrapped sandwiches on a baking sheet. Bake in a preheated oven at 350ºF (175°C) for 15 to 20 minutes, or until the cheese is melted and the sandwich is thoroughly heated.
Storing Cooked Sheet Pan Eggs
Whether you made plain sheet pan eggs or ones loaded with toppings, proper storage ensures they stay fresh and delicious for future meals.
- Refrigerate: Allow the sliced eggs to cool completely to room temperature before storing. Transfer them to an airtight container. When properly stored in the refrigerator, they will remain fresh for up to 4 days, making them perfect for weekday breakfasts.
- Freeze: Sheet pan eggs freeze exceptionally well, offering a fantastic option for quick meals, lunches, or snacks weeks down the line. To make them easy to grab one at a time, wrap individual portions in plastic wrap or parchment paper, or place parchment paper between layers if stacking in a container. They will maintain their quality in the freezer for up to 3 months. Thanks to their relatively thin profile, these eggs thaw quite quickly.
Reheating for Optimal Taste and Texture
When reheating plain sheet pan eggs, aim to warm them through gently to prevent them from becoming tough or rubbery. Because they are in a thin layer, they reheat very quickly.
- Microwave: Place an egg square on a microwave-safe plate and microwave briefly on medium power (around 50%) for 30-60 seconds, or until just warm. Avoid high power and extended reheating times.
- Stovetop: A gentle sauté in a lightly oiled pan over low heat can also work well, warming the eggs slowly without overcooking.
- Oven: For multiple portions, place on a baking sheet and warm in a preheated 300°F (150°C) oven for about 5-7 minutes.
For detailed reheating instructions specific to breakfast sandwiches, please refer back to the “Freezing Breakfast Sandwiches” section above.
Creative Uses for Leftover Sheet Pan Eggs
Creative Uses for Leftover Sheet Pan Eggs
Don’t let any leftover sheet pan eggs go to waste! Their versatile nature makes them a fantastic addition to various meals beyond breakfast. Get creative and incorporate them into your lunch or dinner for an extra boost of protein and nutrition:
- Fried Rice: Chop the eggs into small cubes or thin strips and toss them into your favorite fried rice recipe during the final stages of cooking. They add excellent texture and richness.
- Egg Roll in a Bowl: Dice the eggs and mix them into a savory egg roll in a bowl for added substance and flavor, mimicking the filling of an actual egg roll.
- Salads: Cut the eggs into strips or crumble them over a fresh green salad for an easy and satisfying protein boost. They pair wonderfully with a light vinaigrette.
- Grain Bowls (Meal Bowls): Elevate your grain bowls by adding a few slices of sheet pan eggs. Combine with quinoa, brown rice, roasted vegetables, and your favorite sauce for a complete and nutritious meal.
- Quick Tacos or Burritos: Warm up some tortillas, add diced eggs, salsa, avocado, and cheese for super-fast and delicious egg tacos or burritos.
Unlock Your Week with Free Meal Plans
Are you searching for well-organized weekly meal plans that seamlessly integrate delicious recipes like these sheet pan eggs into your busy schedule? Look no further!
Discover my carefully curated Meal Plan #40 or explore the budget-friendly options in Meal Plan #61. Each plan offers a wholesome recipe for every weekday, thoughtfully accompanied by a categorized grocery list to simplify your shopping. Let me take the stress out of meal planning for you this week! We consistently add fresh, new meal plans on a weekly basis, so there’s always something new to inspire your culinary adventures.
Explore More Delicious Egg Recipes
Shakshuka: Savory Poached Eggs in Tomato Sauce
Sheet Pan Breakfast Tostadas: Easy & Zesty
Hash Brown Breakfast Casserole: Comforting & Simple
Crustless Quiche (with Flavor Options): Light & Versatile
Sheet Pan Eggs Recipe
Ingredients
- 12 large Our Family eggs
- ¼ cup milk (whole milk or 2% is best)
- ¼ teaspoon kosher salt
- ¼ teaspoon coarse ground black pepper, more to taste
Optional Mix-Ins (1 ½ cups total)
- cooked and crumbled bacon (or cooked ham or cooked sausage)
- vegetables (finely diced bell peppers, onions, shredded spinach, or pre-cooked mushrooms)
- shredded cheese
- sliced green onions
Instructions
-
Preheat oven to 350ºF (175°C). Generously spray a 10 x 15-inch rimmed sheet pan (or your preferred size, see notes) with nonstick cooking spray.
-
In a large bowl, whisk together the eggs, milk, salt, and pepper until thoroughly combined and smooth, avoiding excessive frothing. A blender or electric mixer can also be used.12 large Our Family eggs,
¼ cup milk,
¼ teaspoon kosher salt,
¼ teaspoon coarse ground black pepper, more to taste -
Carefully pour the egg mixture into the prepared pan. If desired, evenly sprinkle your chosen optional toppings over the liquid eggs. For best results, limit total toppings to 1 ½ cups to 2 cups.
-
Bake for 17 minutes, or until the eggs are completely set in the middle and no longer jiggle. Remove from oven and let the eggs cool in the pan for 3 to 4 minutes before cutting into squares.
-
Serve the egg squares immediately on a toasted English muffin, bread, biscuit, or in a wrap for an easy and delicious breakfast. Refer to the blog post for more serving ideas and creative variations!
Notes
- Adding Vegetables: For best results, ensure vegetables like bell peppers or onions are finely diced. For high-moisture vegetables such as mushrooms or tomatoes, it is highly recommended to sauté them lightly beforehand to remove excess water and prevent a watery egg texture. Shredded spinach can be added directly.
- Adding Meat: Any meat additions, such as bacon, ham, or sausage, must be fully cooked and crumbled/diced prior to being added to the egg mixture.
- Different Pan Sizes and Cook Times: The baking time for your sheet pan eggs will vary based on the dimensions of the pan you use and the amount/type of toppings. Use these times as a general guide, but always check for doneness:
- 12 x 17-inch pan: Approximately 14 minutes
- 10 x 15-inch pan (with toppings): Approximately 17 minutes (as used in this recipe)
- 9 x 13-inch baking pan: Approximately 24 minutes
- Nutrition Information: Please note that the provided nutrition information is an approximation and does not include any optional toppings you may add. The exact values will vary depending on the specific ingredients used and the size of the cut squares. One serving, as calculated, is equivalent to 2 eggs.
- Storage and Freezing: Allow cooked eggs to cool completely before storing. Refrigerate in an airtight container for up to 4 days. For longer storage, freeze individual egg squares (wrapped in plastic or parchment paper, or separated by parchment layers in a container) for up to 3 months. They thaw and reheat quickly.
- Flavor Combination Ideas: Get inspired with these delicious pairings for your mix-ins:
- Classic Ham & Sharp Cheddar Cheese
- Gourmet Sun-Dried Tomato & Tangy Goat Cheese
- Hearty Bacon, Diced Ham, & Crumbled Sausage Trio
- Mediterranean Feta Cheese & Fresh Spinach
- Spicy Chorizo & Pepper Jack Cheese
- Mushroom, Onion & Swiss Cheese
Nutrition
Calories: 148kcal,
Carbohydrates: 1g,
Protein: 13g,
Fat: 10g,
Saturated Fat: 3g,
Polyunsaturated Fat: 2g,
Monounsaturated Fat: 4g,
Trans Fat: 0.05g,
Cholesterol: 373mg,
Sodium: 244mg,
Potassium: 153mg,
Fiber: 0.02g,
Sugar: 1g,
Vitamin A: 550IU,
Vitamin C: 0.02mg,
Calcium: 68mg,
Iron: 2mg
Nutrition information is automatically calculated, so should only be used as an approximation.
This content and recipe are brought to you through a valued partnership with Spartan Nash and Family Fare. I was compensated for my time in creating this recipe and content, but please know that all opinions and recommendations expressed are sincerely my own. Your support by reading about brands we genuinely use and love in our home helps me cover the operational expenses of keeping this site free and accessible to everyone. Thank you!