
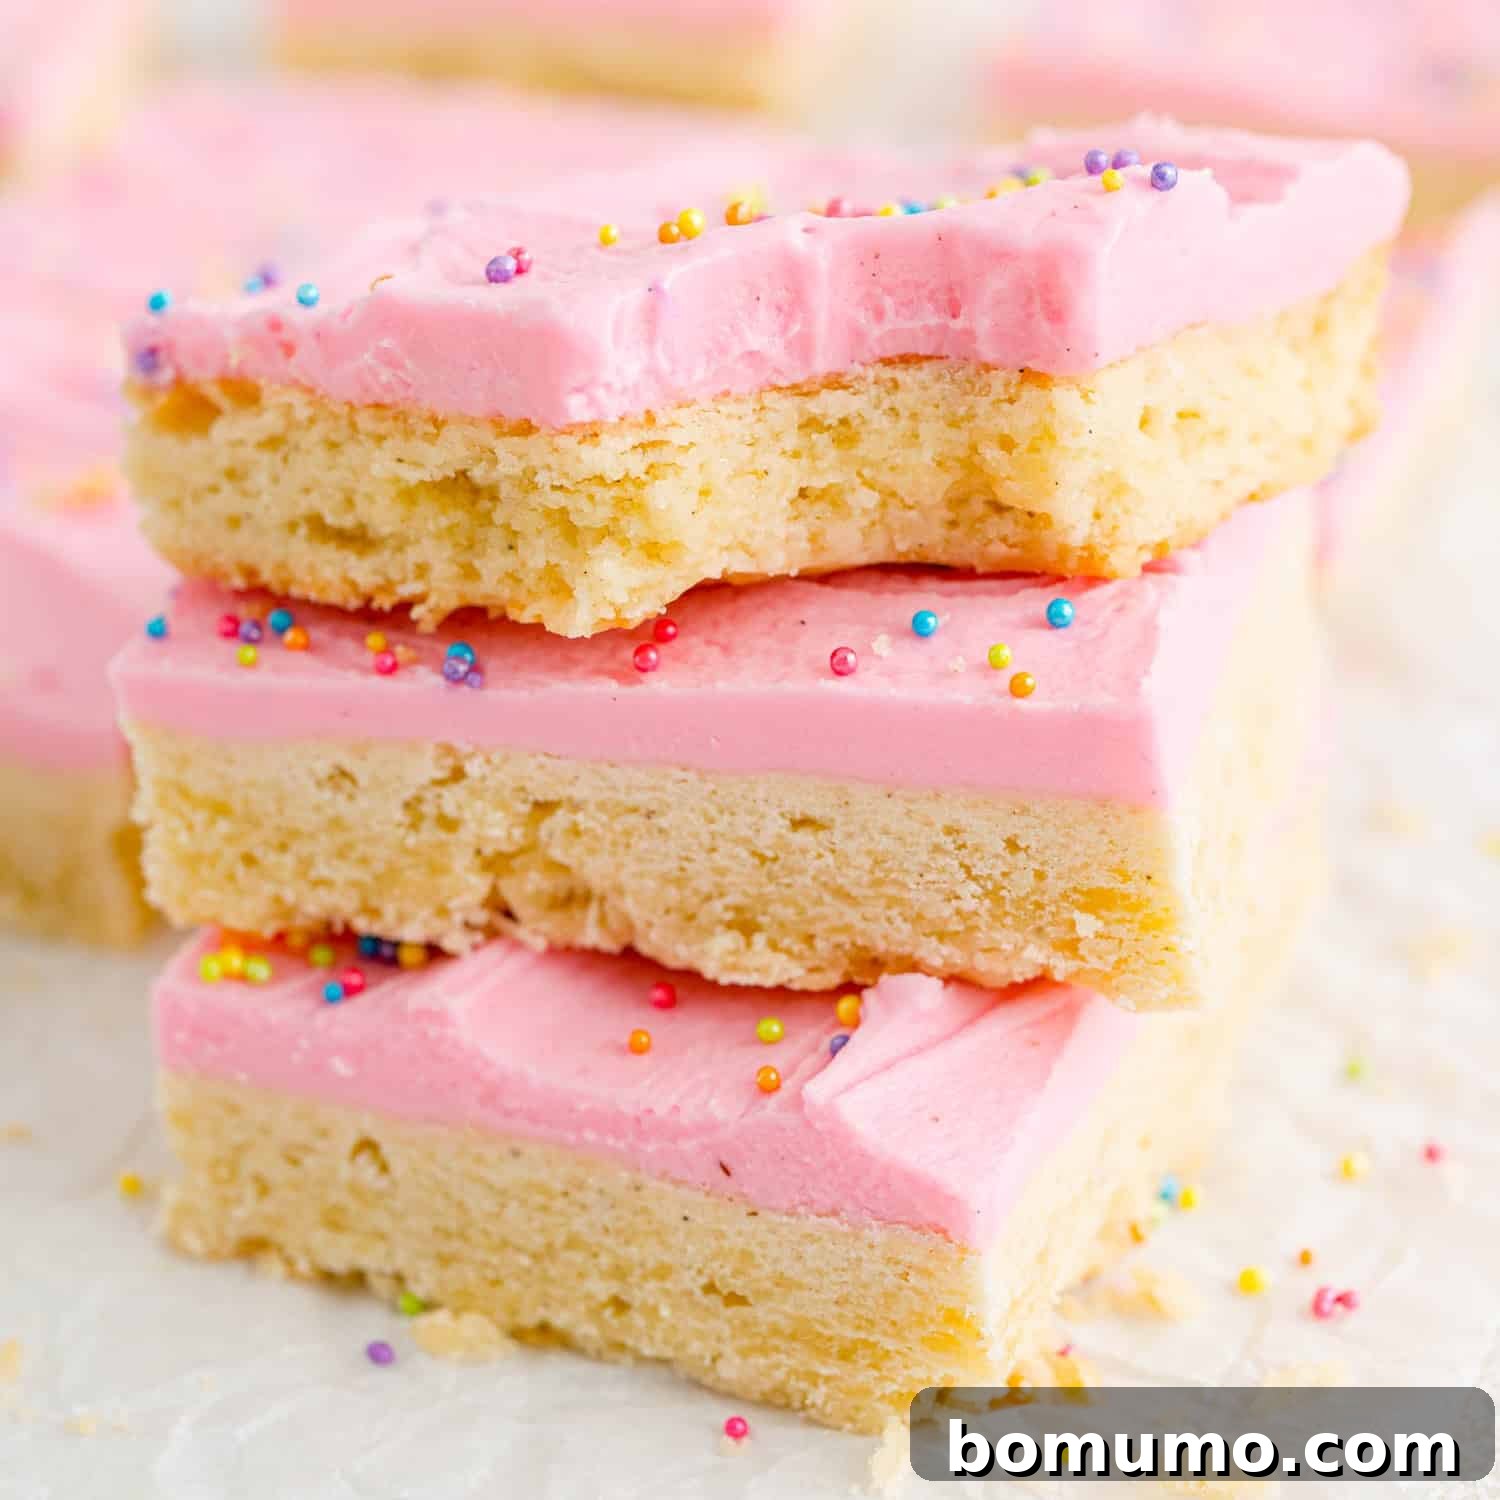
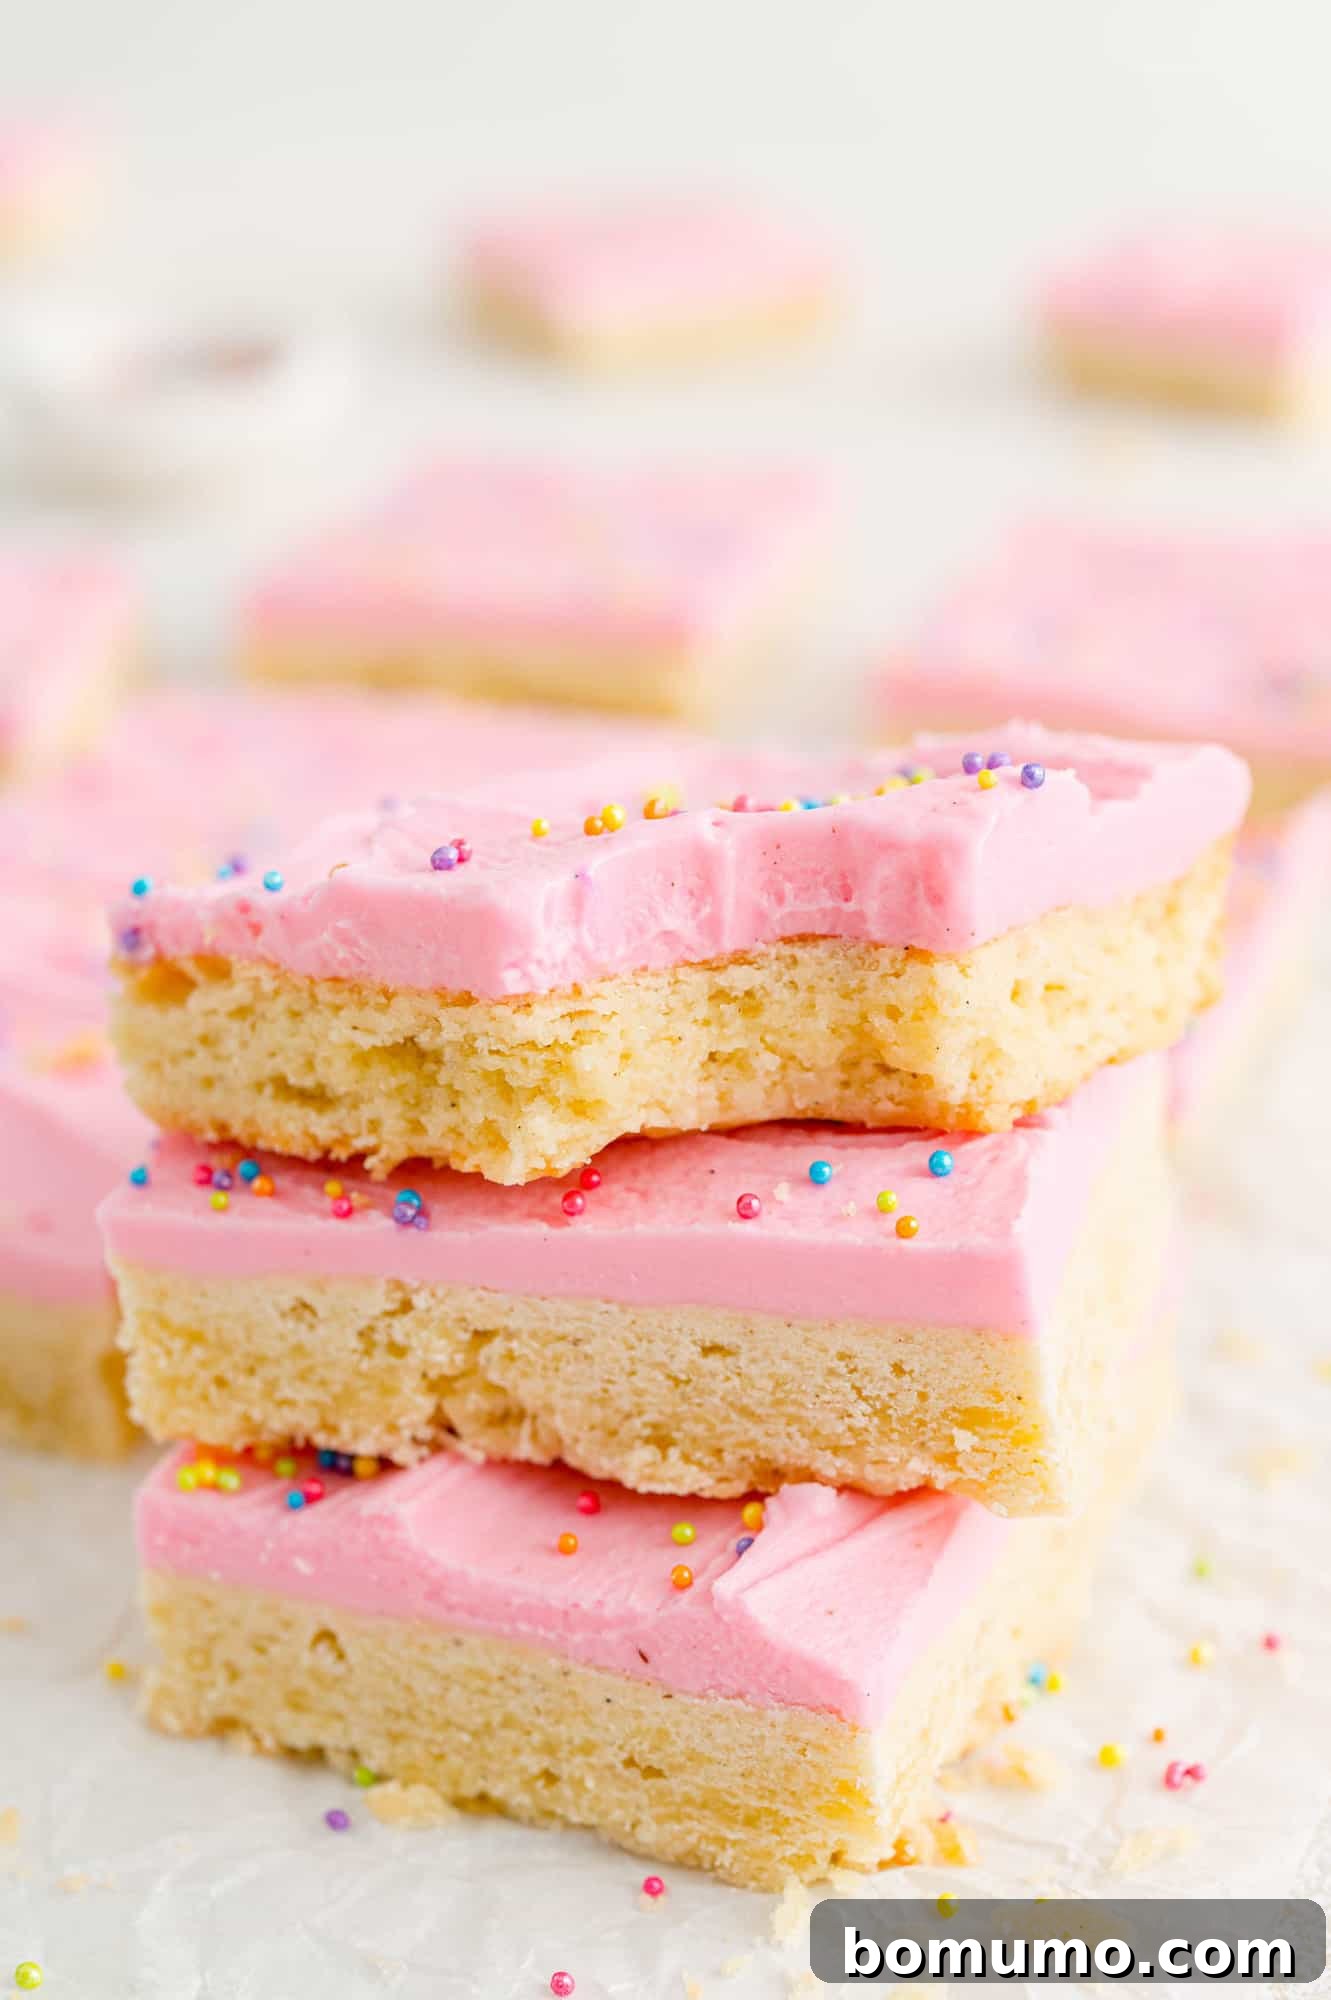
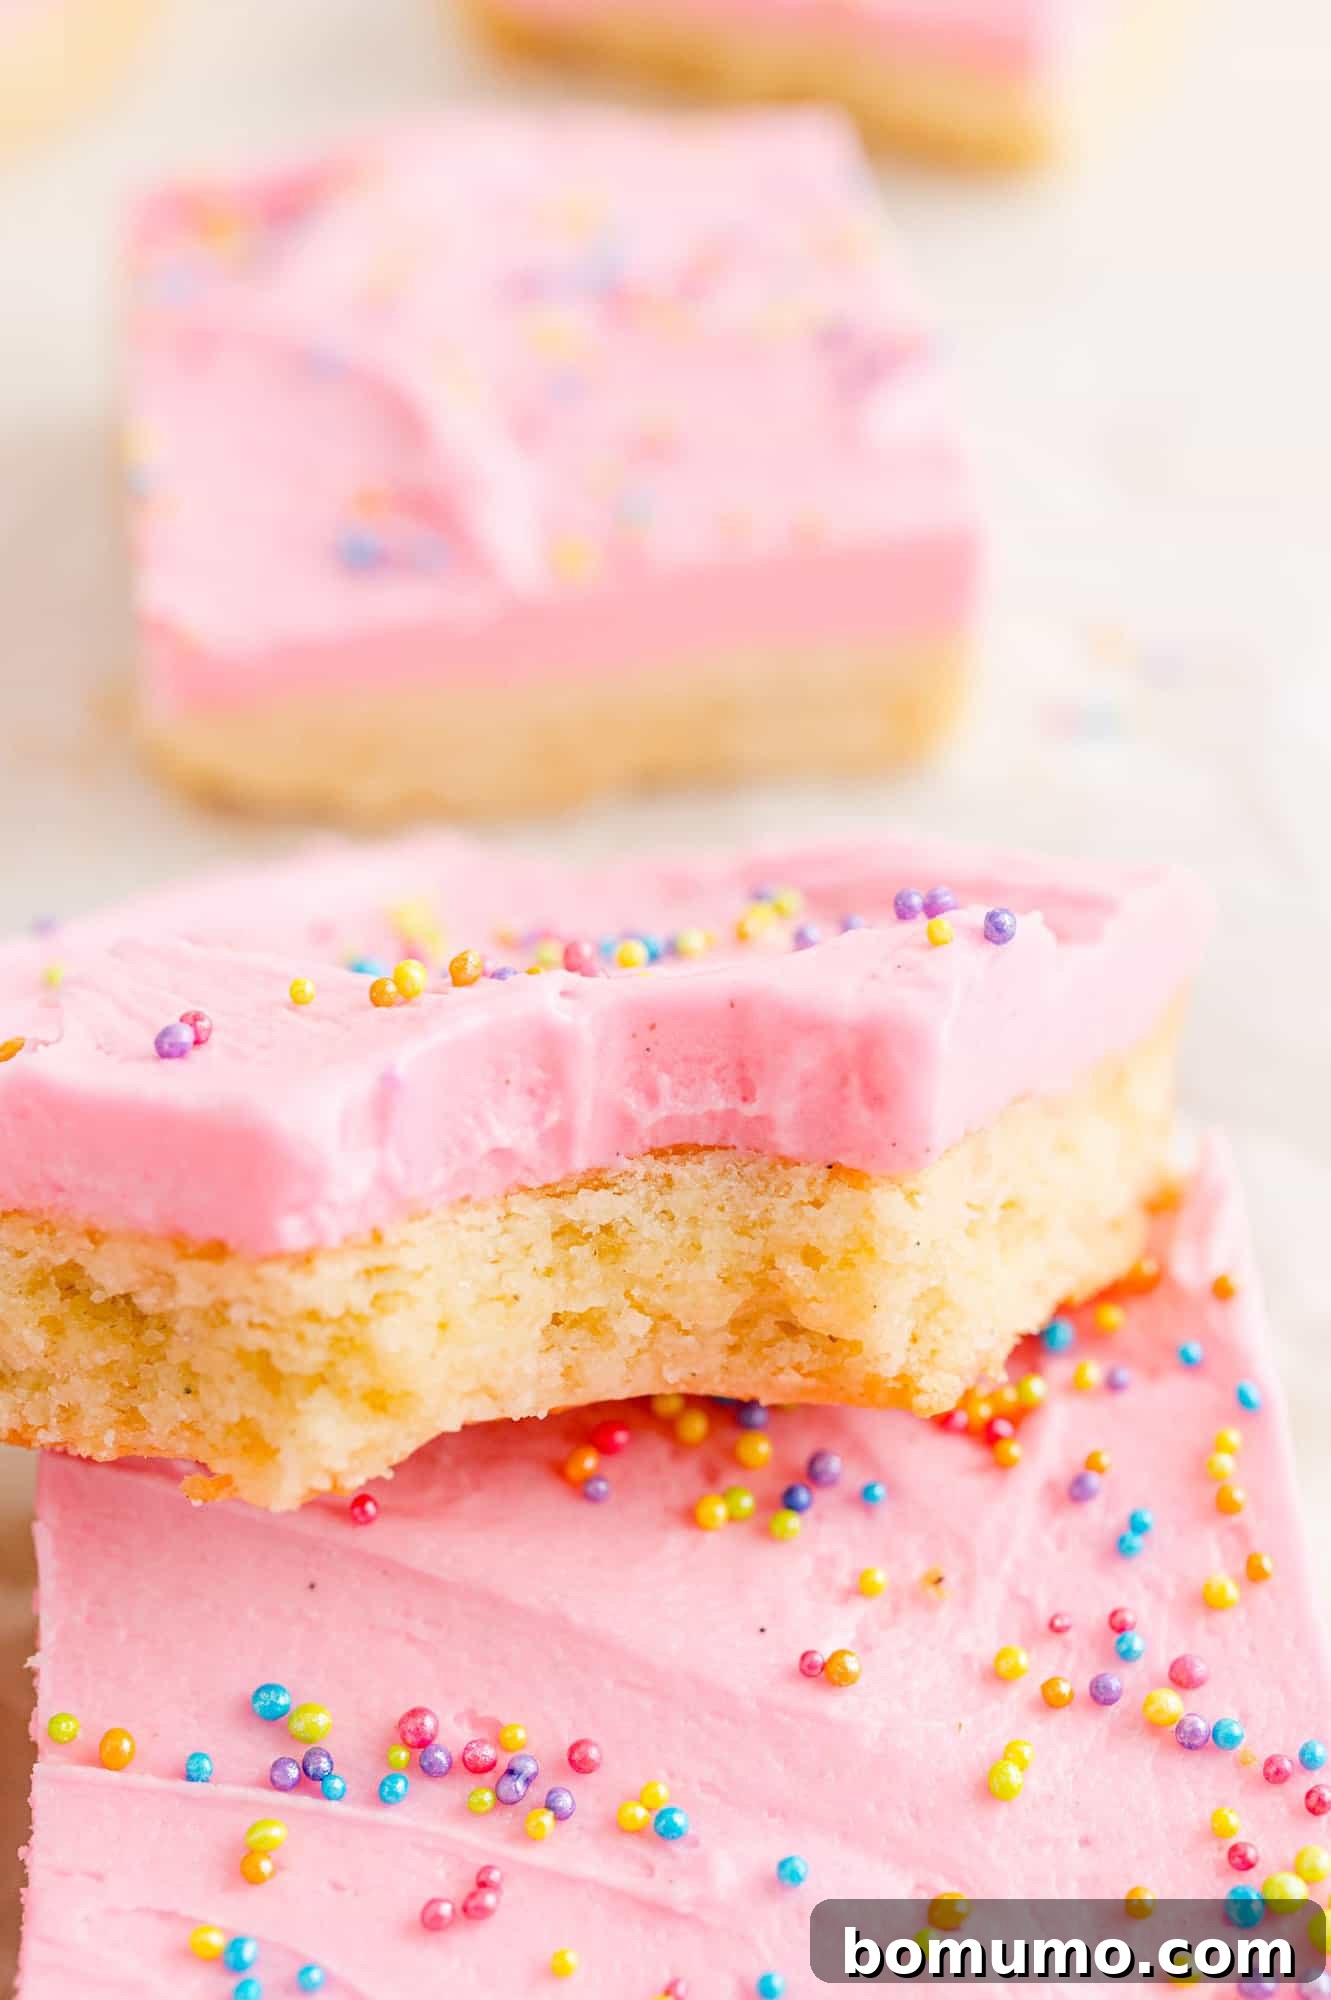
Sugar cookie bars are an irresistible delight, marrying the classic charm of a sugar cookie with the convenience and generous frosting of a bar. Each bite offers a sweet and buttery base, perfectly complemented by a luscious layer of creamy buttercream frosting. The true magic, however, lies in their incredible versatility: with a simple change of frosting color and sprinkles, these bars can be effortlessly customized to suit any holiday, celebration, or casual gathering you have planned. From festive holiday treats to elegant bridal shower favors, these cookie bars are guaranteed to be a hit, offering both ease of preparation and boundless decorative fun.
Recipe Overview: Your Guide to Delicious Sugar Cookie Bars
Why you’ll love it: These sugar cookie bars are a breeze to make, requiring less effort than individual cookies, and offer endless possibilities for creative decoration. They’re soft, chewy, and topped with a thick layer of vanilla bean buttercream that will win over any crowd.
How long it takes: Approximately 1 hour from start to finish (including chilling time).
Equipment you’ll need: An electric mixer (handheld or stand mixer), a large mixing bowl, and a 9×13 inch baking pan are all you need to create this delightful dessert.
Servings: This recipe yields approximately 24 generous bars, depending on how you choose to cut them, making them perfect for sharing.
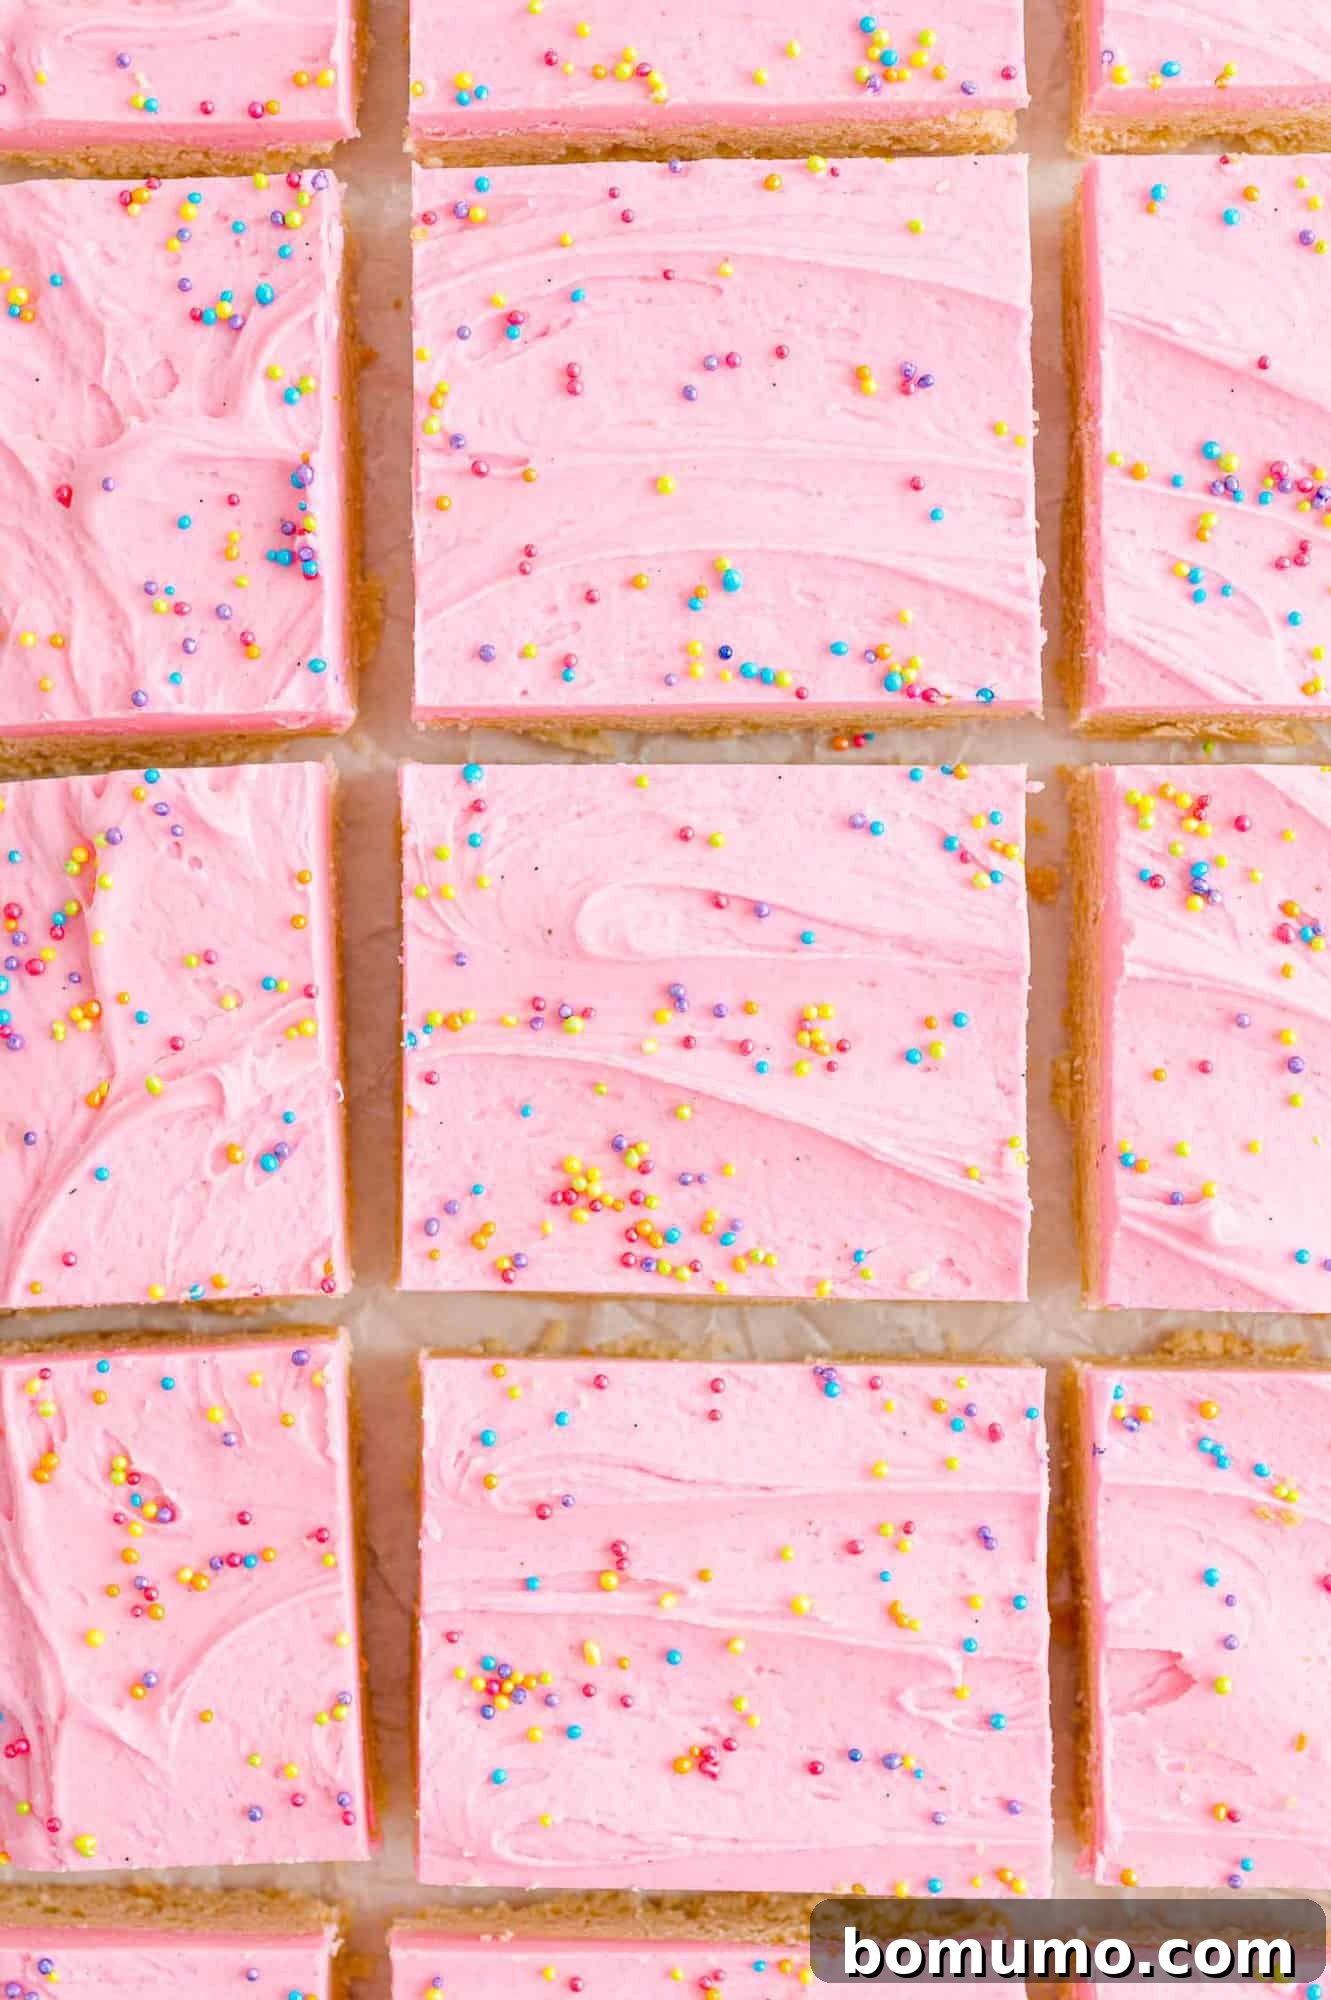
It’s no secret that vanilla holds a special place in the hearts of bakers everywhere, and I am certainly no exception. My culinary journey is frequently adorned with the aromatic embrace of vanilla, manifesting in delights such as vanilla bean whipped cream cheese, vanilla buttercream frosting, almond vanilla granola, vanilla bean whipped butter, homemade vanilla pudding, and even homemade vanilla ice cream. The exquisite flavor profile of vanilla, with its sweet, warm, and comforting notes, is a quintessential ingredient that elevates almost any baked good, from delicate cookies to hearty muffins.
Vanilla is more than just a flavor; it’s an experience. Its popularity extends far beyond the kitchen, gracing candles, air fresheners, and body care products with its universally loved aroma. For me, there’s a particular joy in spotting those tiny, beautiful flecks of vanilla bean in whatever I’m about to enjoy. It’s a visual promise, an assurance that what you’re about to taste will be nothing short of extraordinary.
These sugar cookie bars are a testament to the power of vanilla. The tender, buttery cookie base is infused with the rich, complex flavor of vanilla bean paste, creating a foundation that is both sweet and profoundly aromatic. But why stop there? The generous layer of creamy buttercream frosting also receives a lavish boost of vanilla bean paste, doubling down on the delightful vanilla experience. The result is a soft, chewy, and utterly decadent dessert bar, packed with enough vanilla goodness to satisfy even the most fervent vanilla enthusiasts. These bars are not just cookies; they are a celebration of vanilla in every blissful bite.
Understanding Vanilla Bean Paste: A Baker’s Secret Ingredient
Vanilla bean paste is a highly concentrated and flavorful product that bridges the gap between vanilla extract and whole vanilla beans. It’s essentially a sweetened blend of pure vanilla extract and the tiny, aromatic seeds scraped directly from vanilla beans. This unique combination results in a consistency similar to honey or a thick syrup, but with the distinctive visual appeal of visible vanilla bean flecks throughout.
You can typically find vanilla bean paste sold in tubes or small plastic jars in the baking aisle of most grocery stores, usually alongside other vanilla products like extracts and whole beans. It offers the intense flavor and beautiful speckled appearance of fresh vanilla beans without the need for scraping, making it a convenient and superior alternative to standard vanilla extract for many recipes.
Irresistible Reasons to Fall in Love with These Sugar Cookie Bars
- Effortlessly Easy to Make: One of the standout features of these sugar cookie bars is their simplicity. Unlike traditional cut-out cookies that require rolling, chilling, and individual shaping, bar cookies streamline the entire baking process. You simply press the dough into a single pan, bake, cool, and then frost and cut. This saves significant time and effort, making them an ideal choice for busy bakers or when you need a delicious dessert in a pinch. The ingredient list is also wonderfully straightforward, featuring basic pantry staples like flour, powdered sugar, butter, and, of course, a generous amount of vanilla.
- Fun, Festive, and Fully Customizable: These sweet treats are a canvas for creativity! Their neutral vanilla base makes them incredibly versatile for any occasion. Imagine a classic white frosting with shimmering pearly sprinkles for an elegant bridal shower or engagement party. For Christmas, switch to vibrant green frosting with joyful red sprinkles. Planning a Halloween bash? Orange frosting adorned with spooky chocolate jimmies will be a crowd-pleaser. A few drops of gel food coloring and a handful of festive sprinkles are all it takes to transform these bars into a personalized delight, making every event feel extra special. Explore more seasonal ideas with Christmas or Halloween recipes!
- A Universal Crowd-Pleaser: Who can resist a soft, chewy, and richly frosted vanilla cookie? These cookie bars are essentially a giant, decadent frosted sugar cookie, ensuring they appeal to almost everyone. Their comforting flavor profile and delightful texture make them a go-to dessert for potlucks, birthday parties, school events, or simply as a comforting treat for your family. Expect rave reviews and requests for the recipe!
Gathering Your Essential Ingredients for Perfect Cookie Bars
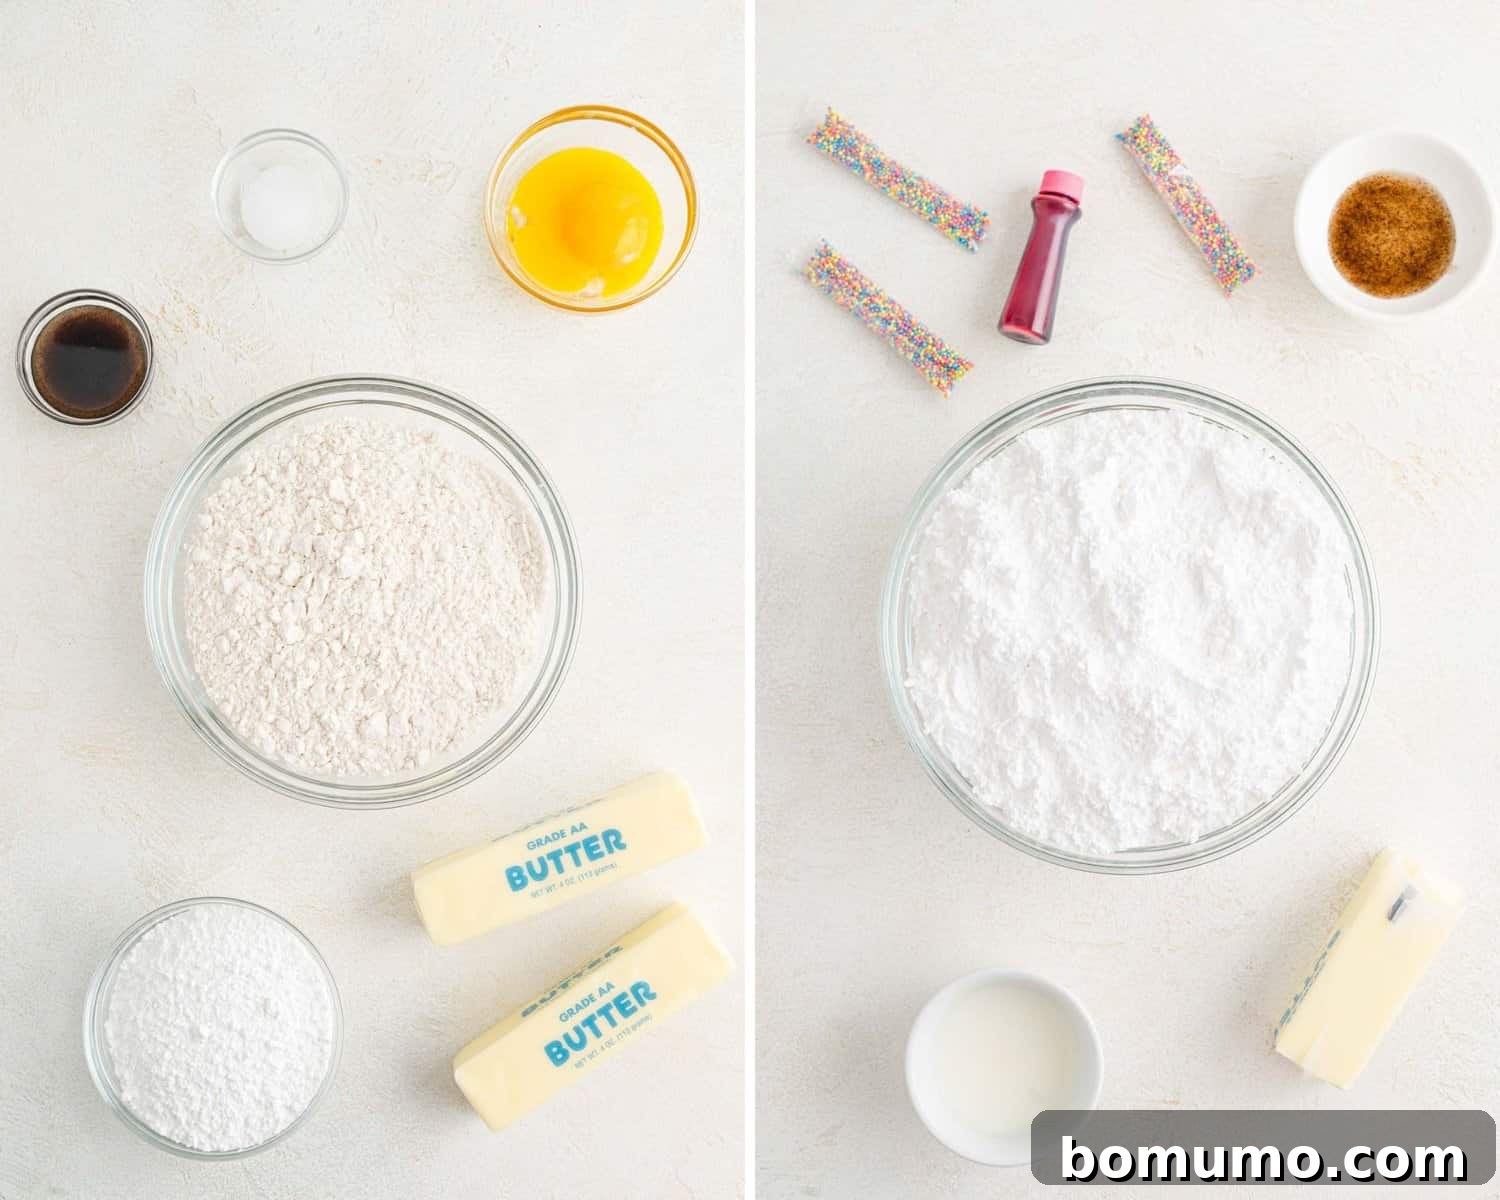
- Butter: For consistent and superior baking results, always opt for unsalted (sweet) butter. This allows you to control the exact amount of salt in your recipe. You’ll need a full cup (which is equivalent to two standard sticks) for the rich cookie base and an additional ⅓ cup (about one-third of a stick) for the fluffy buttercream frosting. Ensure your butter is softened to room temperature before beginning, as this is crucial for achieving a smooth, well-combined dough and frosting.
- Powdered Sugar (Confectioner’s Sugar): Both the cookie base and the frosting benefit immensely from the fine texture of powdered sugar. Unlike granulated sugar, which can create a grittier texture, powdered sugar dissolves beautifully, yielding an incredibly smooth, melt-in-your-mouth consistency for both layers. It’s the secret to that perfectly smooth buttercream!
- All-Purpose Flour: I typically reach for unbleached all-purpose flour due to its minimal processing. However, bleached all-purpose flour, which is lighter in color, is also perfectly acceptable and will yield excellent results. The key is to measure your flour correctly to avoid a dense or dry cookie.
- Vanilla Bean Paste: As highlighted earlier, vanilla bean paste offers an intense vanilla flavor and those desirable visual flecks. For more detailed information, please refer to our dedicated section on “What is Vanilla Bean Paste?” If vanilla bean paste is unavailable, you can substitute pure vanilla extract or the seeds scraped from a whole vanilla bean on a 1:1 basis. For example, 1 tablespoon of vanilla bean paste can be replaced with 1 tablespoon of pure vanilla extract or the seeds from one vanilla bean. (Nielsen Massey, a renowned retailer of vanilla products, provides excellent guidance on this.)
- Eggs: For this specific recipe, only the egg yolks are used for the cookie bars. The yolks contribute richness and tenderness to the cookie base. Don’t discard the whites; refrigerate them and save them for another culinary use, such as meringues or omelets.
- Milk or Cream: A small amount, typically a couple of tablespoons, is essential for achieving the perfect smooth, spreadable consistency in your buttercream frosting. You can use any milk (dairy or non-dairy) or even heavy cream for an extra rich frosting.
- Gel Food Coloring and Sprinkles (Optional): These are your tools for customization and fun! While the cookie bars are delightful in their natural state, a squeeze of gel food coloring can transform your frosting into any desired hue, and a shower of colorful sprinkles adds festive flair. Have them ready if you plan to decorate for a special occasion.
A Simple Guide: How to Bake and Decorate Sugar Cookie Bars
Crafting these vanilla bean cookie bars is a straightforward two-part process: first, baking the tender vanilla cookie base until golden, allowing it to cool completely, and then, preparing and spreading a luscious, thick buttercream frosting layer. For those who prefer a less adorned treat, these bars are also wonderfully delicious unfrosted!
Crafting the Perfect Cookie Layer:
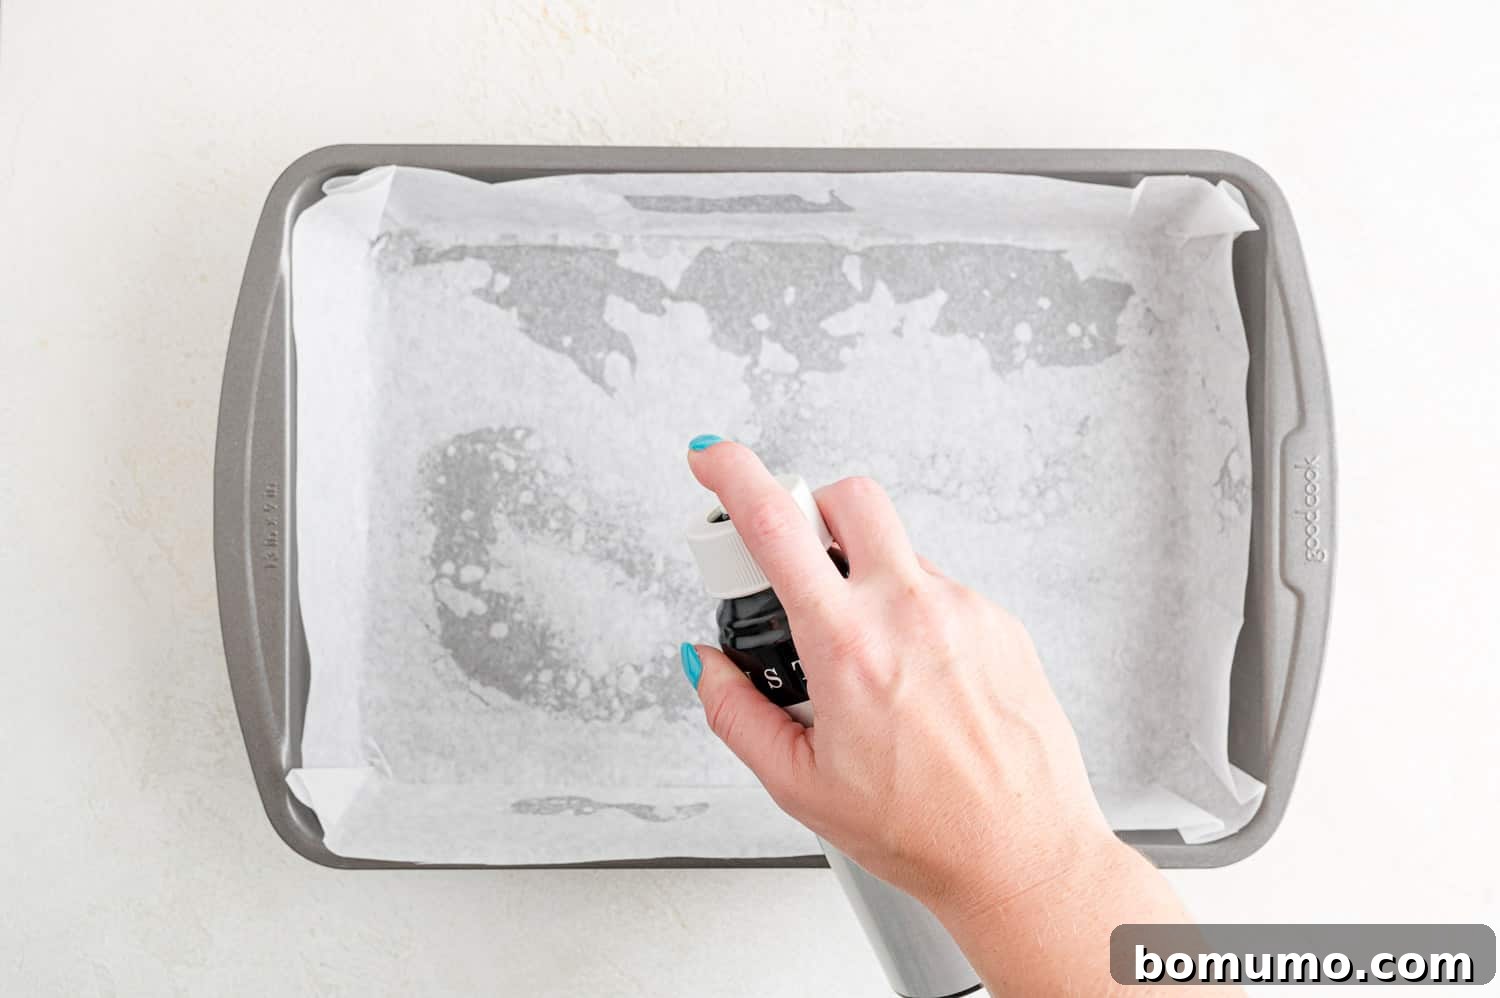
Begin by preheating your oven to 350°F (175°C), ensuring it’s at the ideal temperature for even baking. Next, prepare your 9×13 inch baking pan. Lightly spray the inside of the pan with a nonstick baking spray. Then, line the pan with parchment paper, allowing a generous overhang on the longer sides; this overhang will act as convenient “handles” to lift the baked bars out later. Lightly spray the parchment-lined pan once more for extra nonstick insurance.
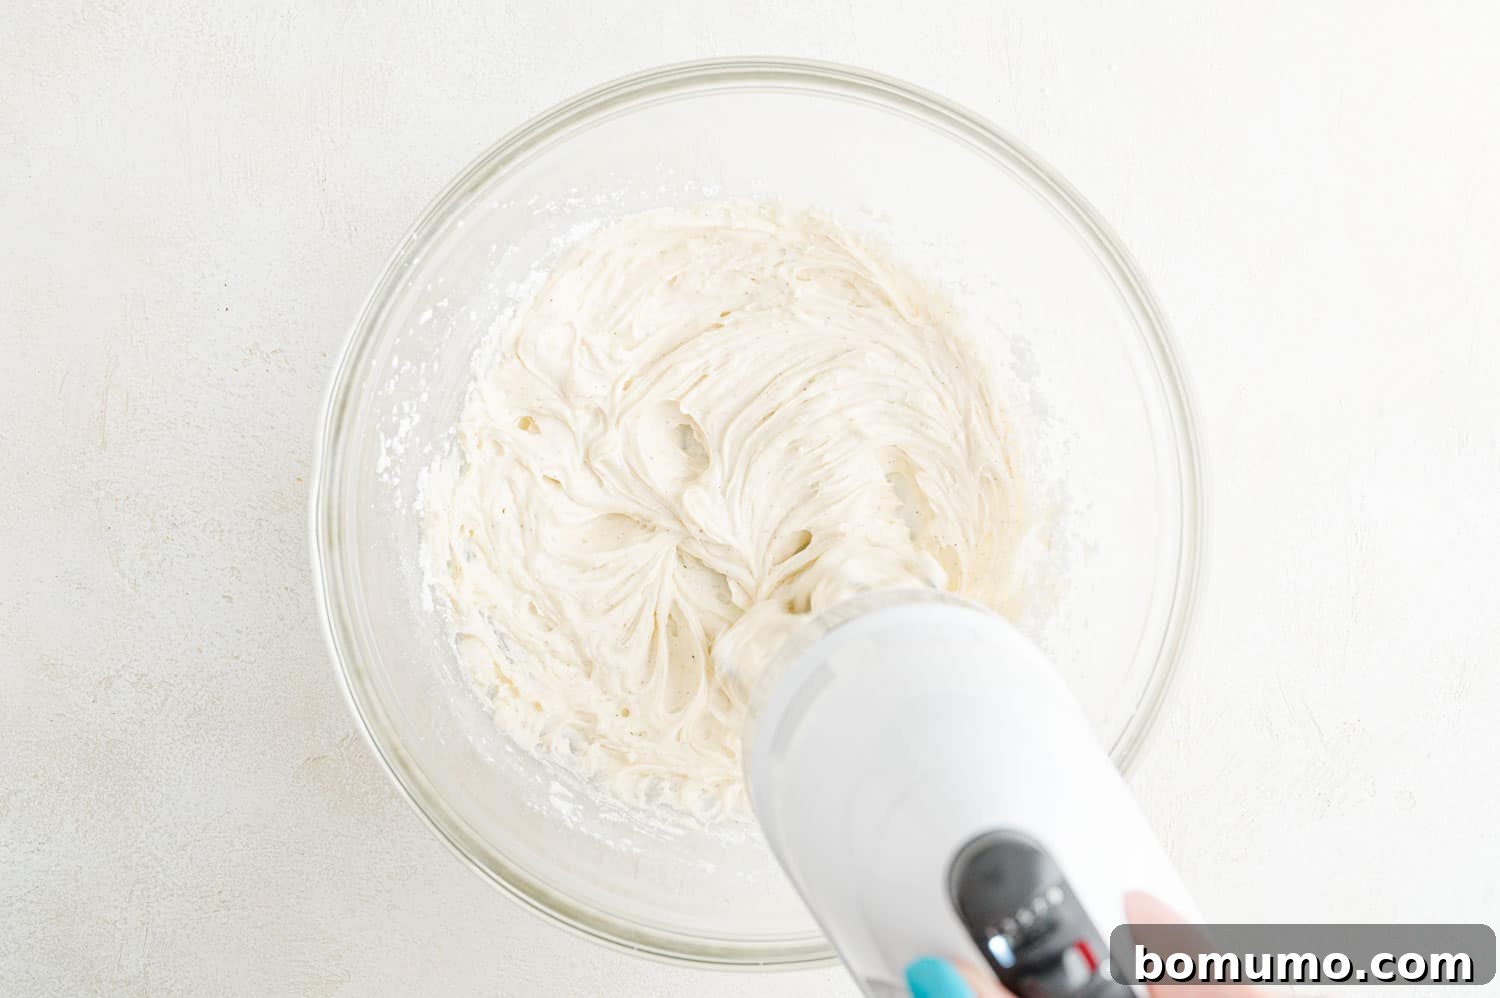
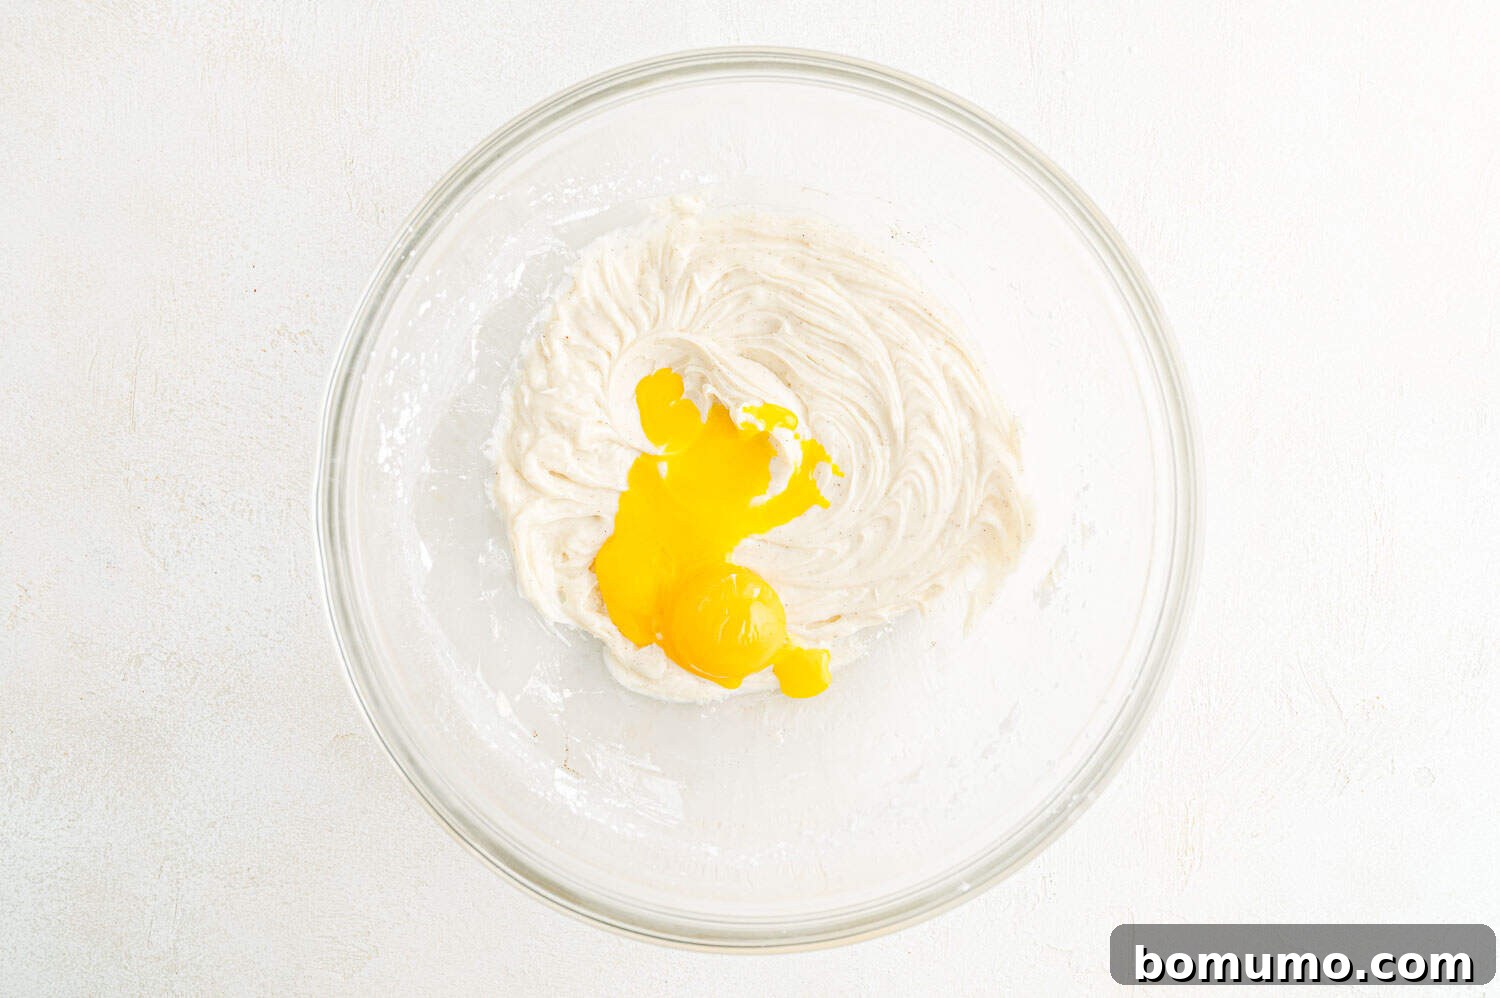
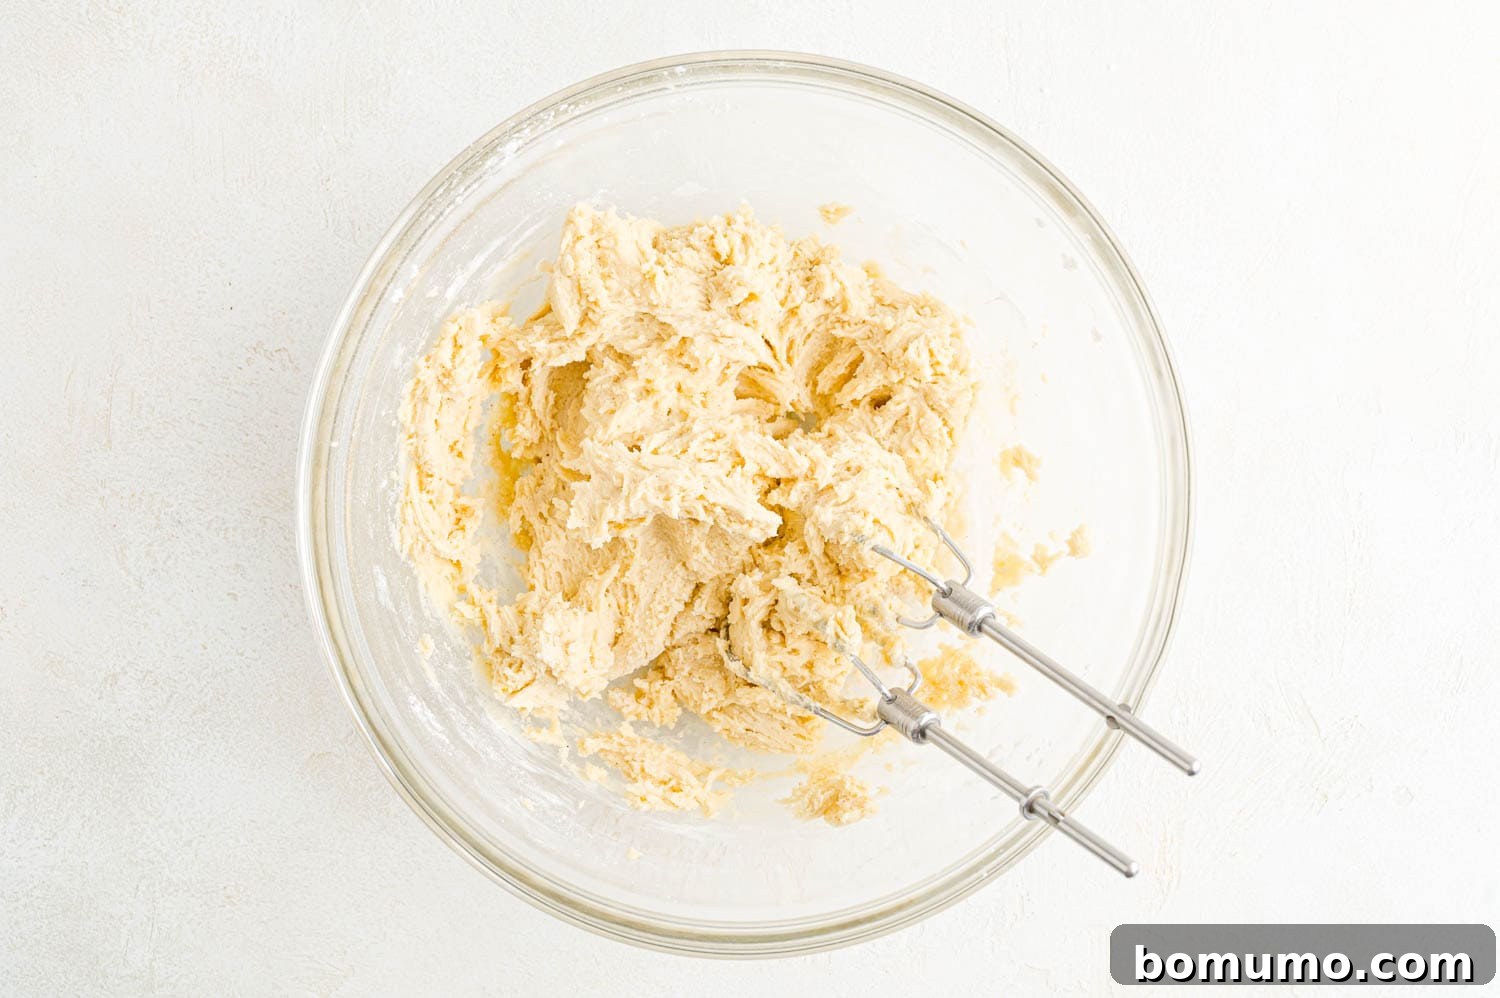
In a large mixing bowl, combine the softened butter, powdered sugar, and vanilla bean paste. Using an electric hand mixer or a stand mixer fitted with the paddle attachment, cream these ingredients together on medium speed. Continue mixing until the mixture becomes wonderfully fluffy and light in color, typically taking 2-3 minutes. This aeration creates a tender cookie texture. Next, add the two egg yolks and beat again, scraping down the sides of the bowl as needed, until they are fully incorporated and the mixture is smooth.
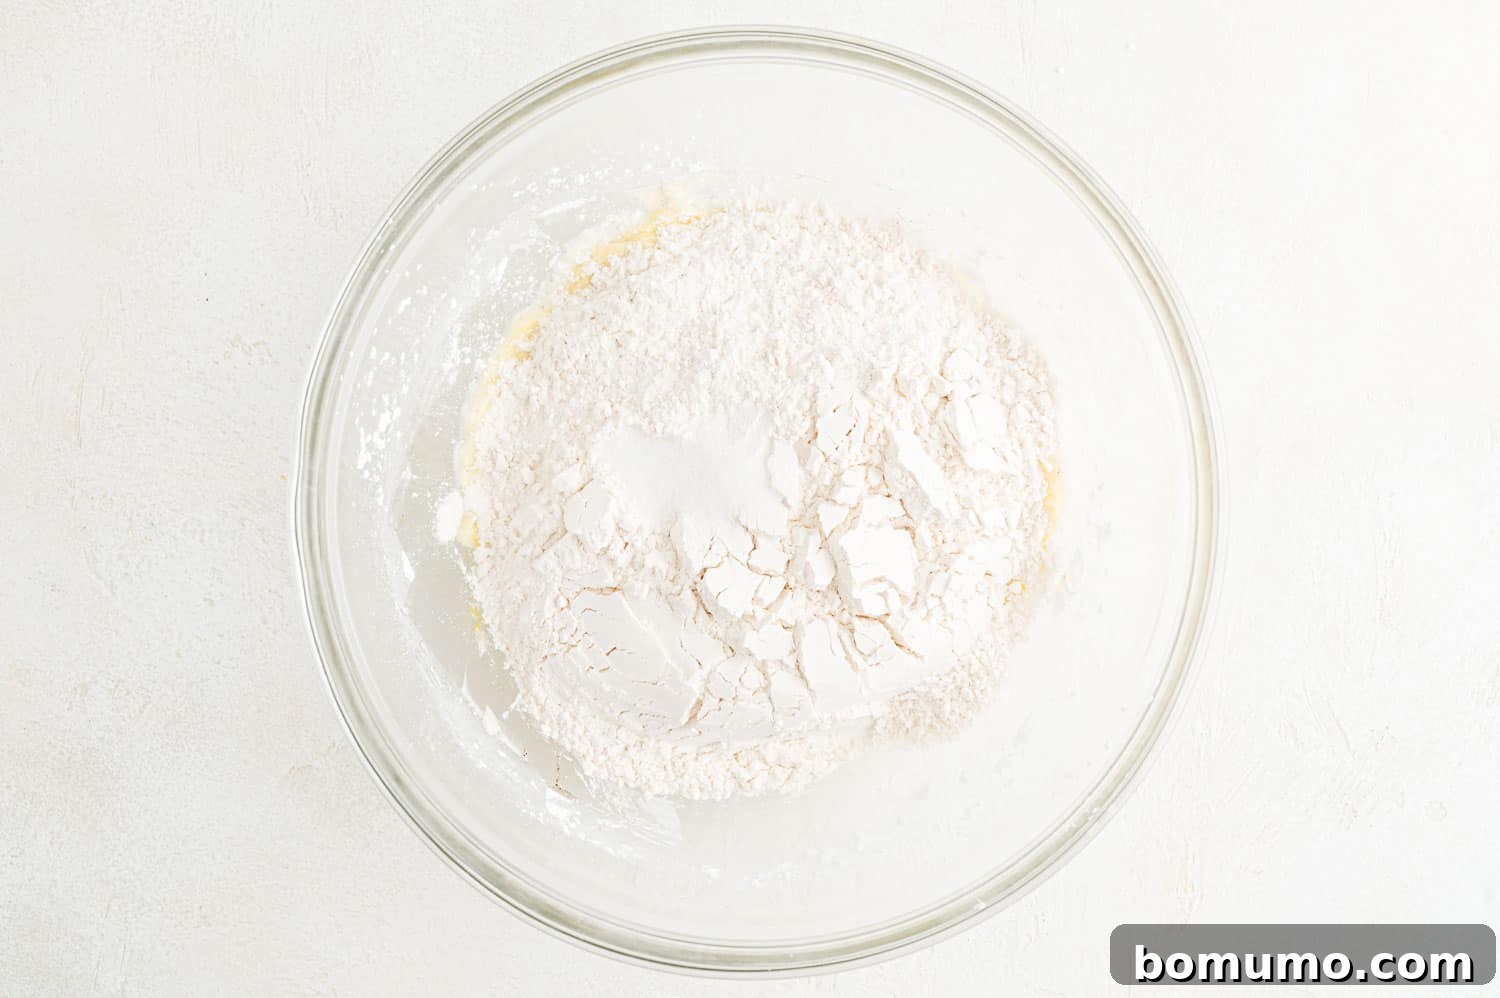
Finally, add the all-purpose flour and salt to the wet ingredients. Mix on low speed, or stir by hand, just until the flour is fully incorporated and a cohesive cookie dough forms. Be careful not to overmix, as this can lead to tough cookies. The dough will be soft but manageable.
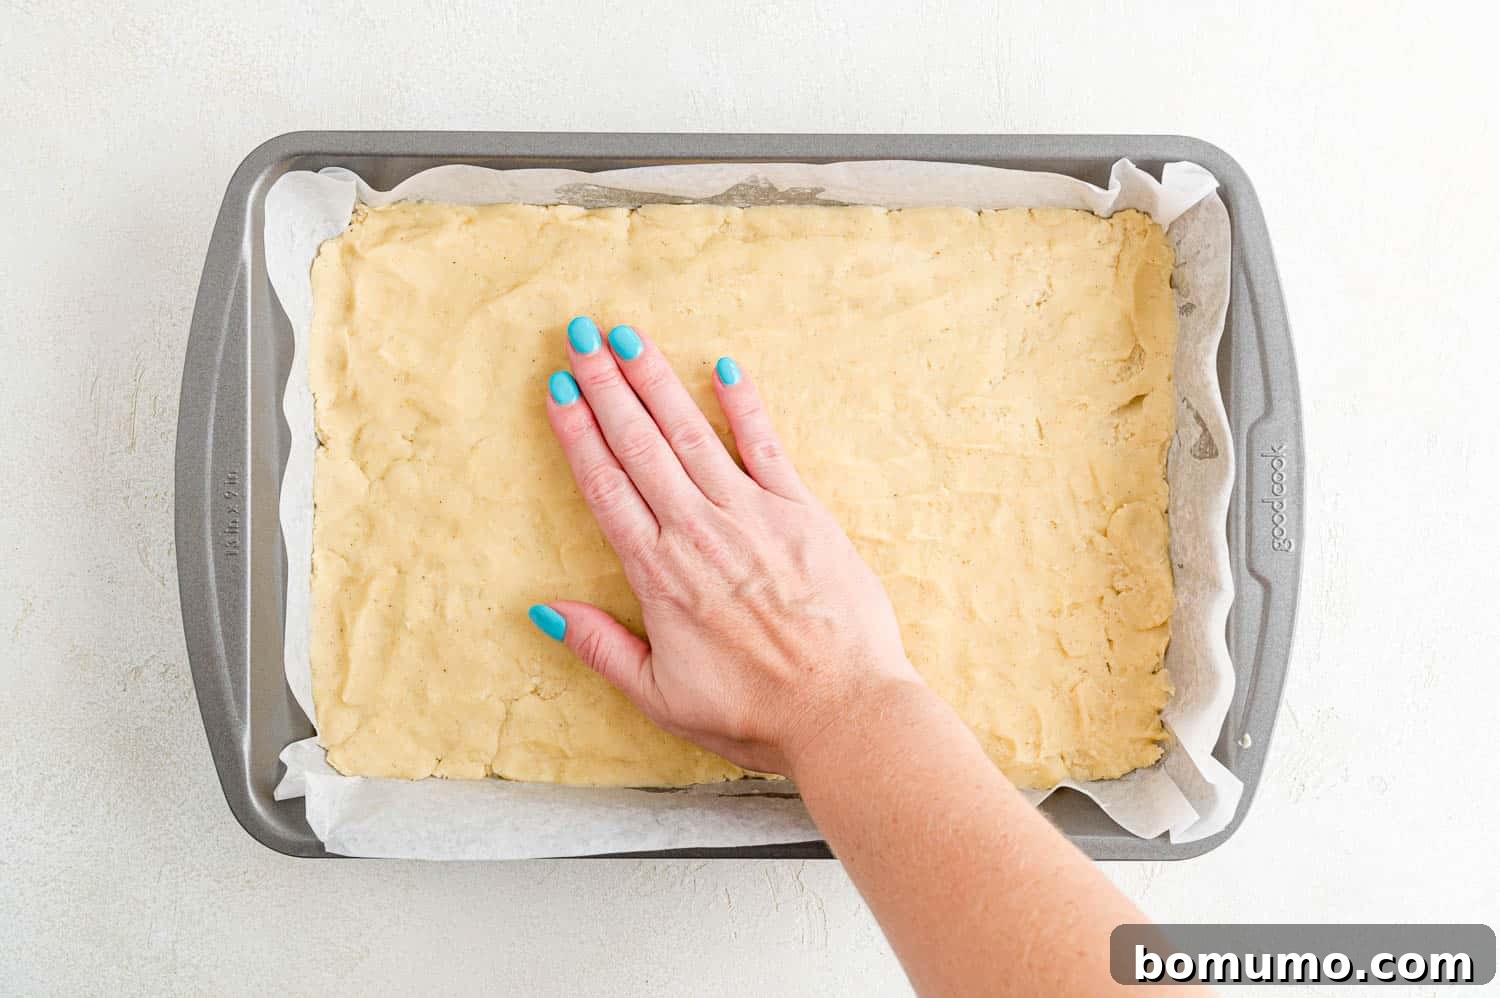
Transfer the cookie dough into your prepared 9×13 inch pan. Using your fingertips, gently and evenly press the dough out to cover the entire bottom of the pan, reaching all the way to the edges. Ensure the thickness is uniform for even baking.
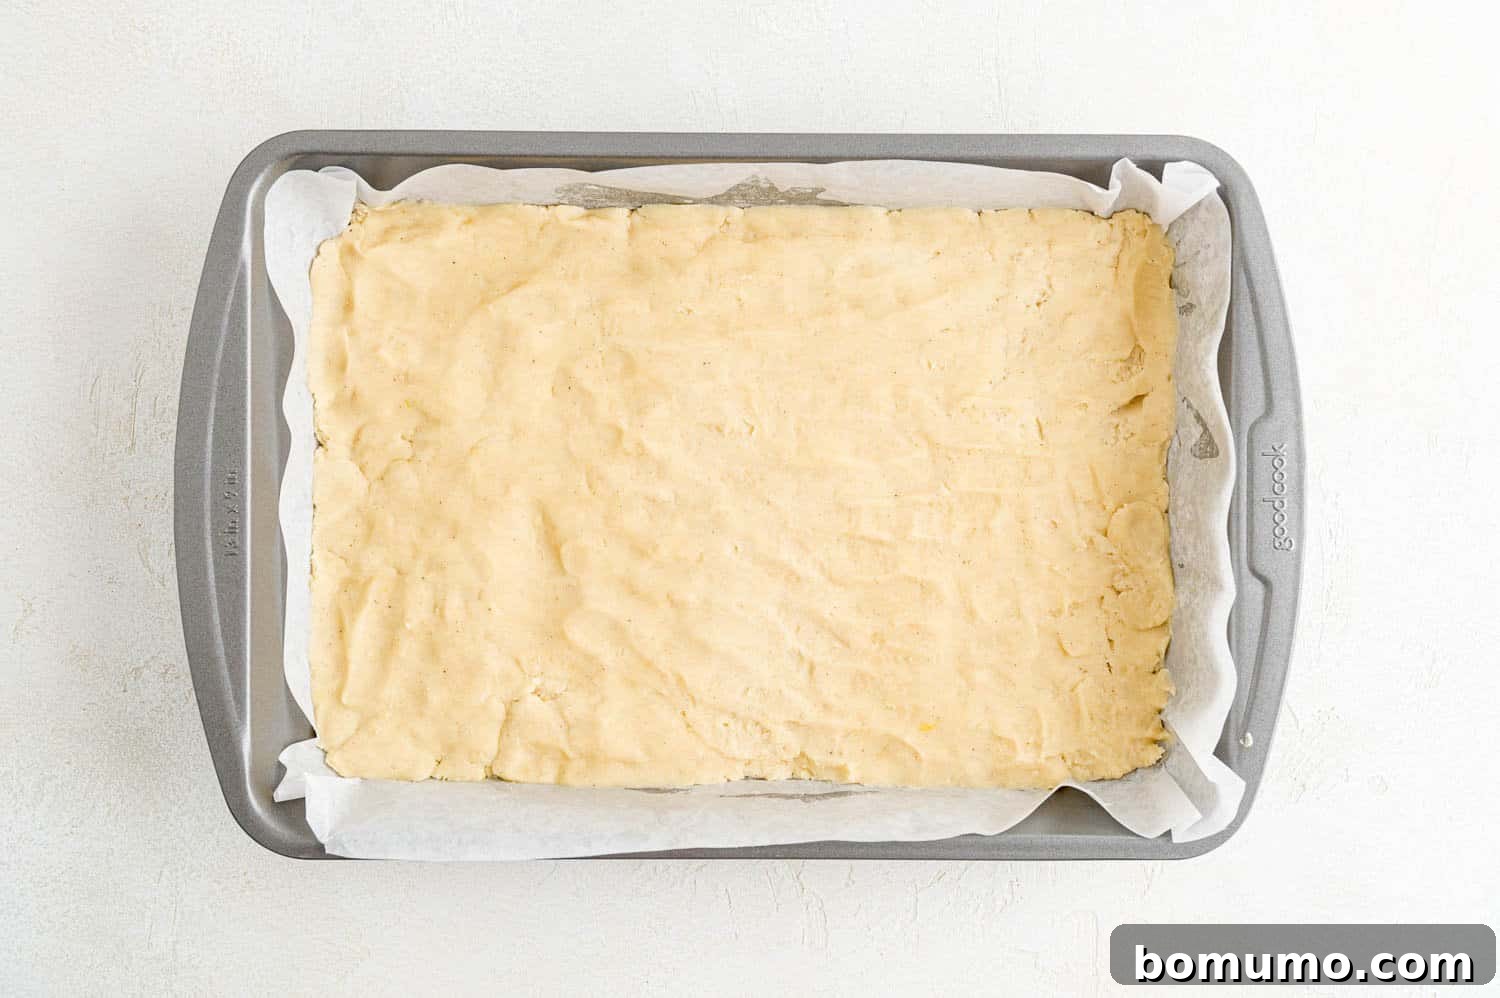
Bake the cookie base for approximately 20 minutes, or until the edges are lightly golden brown and the center appears set and no longer shiny. Avoid overbaking, as the bars will continue to firm up as they cool, and you want to maintain a soft, chewy texture. Once baked, remove the pan from the oven and place it on a wire rack. It is absolutely crucial to allow the bottom cookie layer to cool completely before proceeding to the frosting stage. Patience here will prevent a melted, gooey mess!
Preparing the Decadent Frosting Layer:
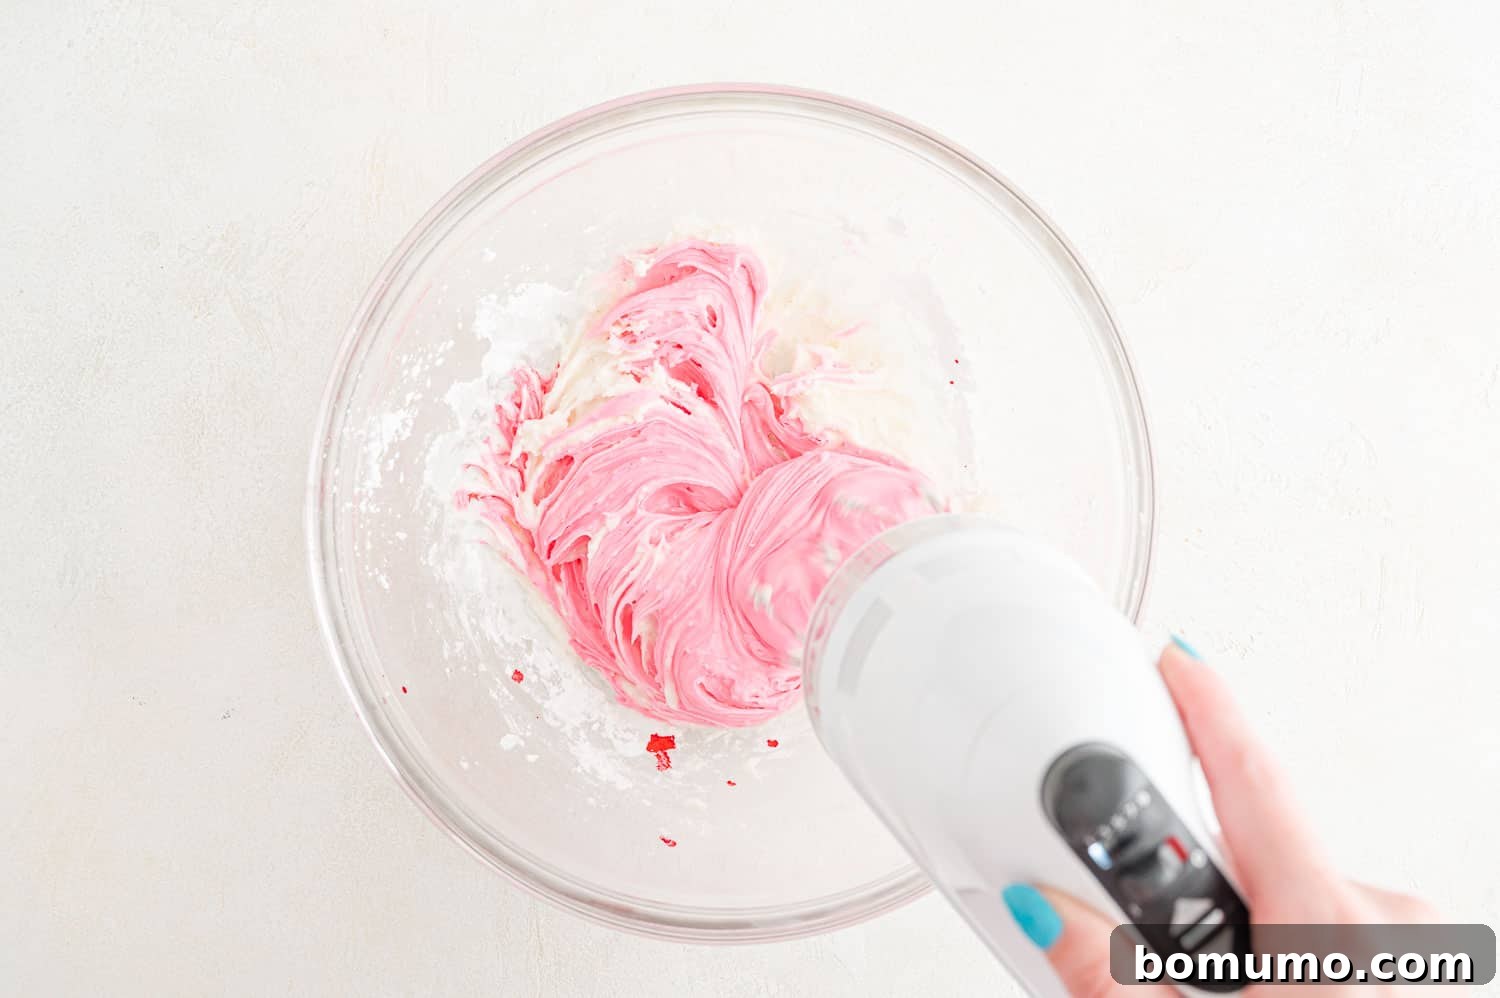
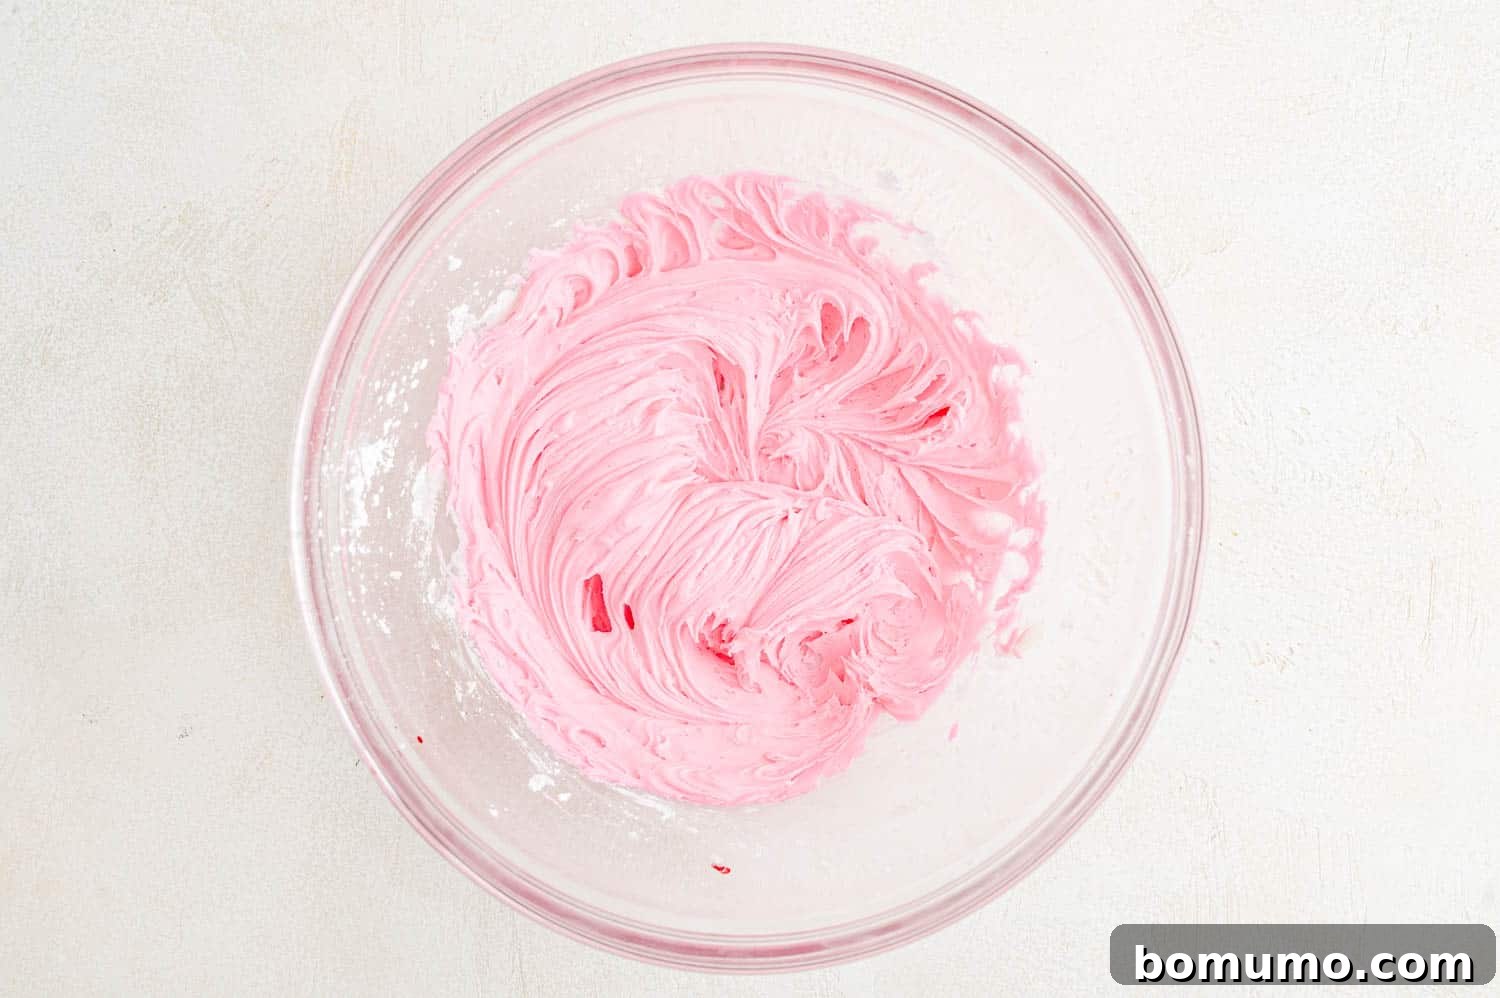
While your cookie base is cooling, prepare the buttercream frosting. In a medium mixing bowl, combine all the frosting ingredients: softened unsalted butter, vanilla bean paste, milk or cream, and powdered sugar. Using a hand mixer or stand mixer, beat the mixture on medium-high speed until it transforms into a light, airy, and incredibly fluffy buttercream. This typically takes 3-5 minutes, ensuring all ingredients are well combined and the frosting is smooth. If you desire colored frosting, carefully add gel food coloring a tiny drop at a time, mixing well after each addition until you achieve your desired hue. Remember, a little gel food coloring goes a long way!
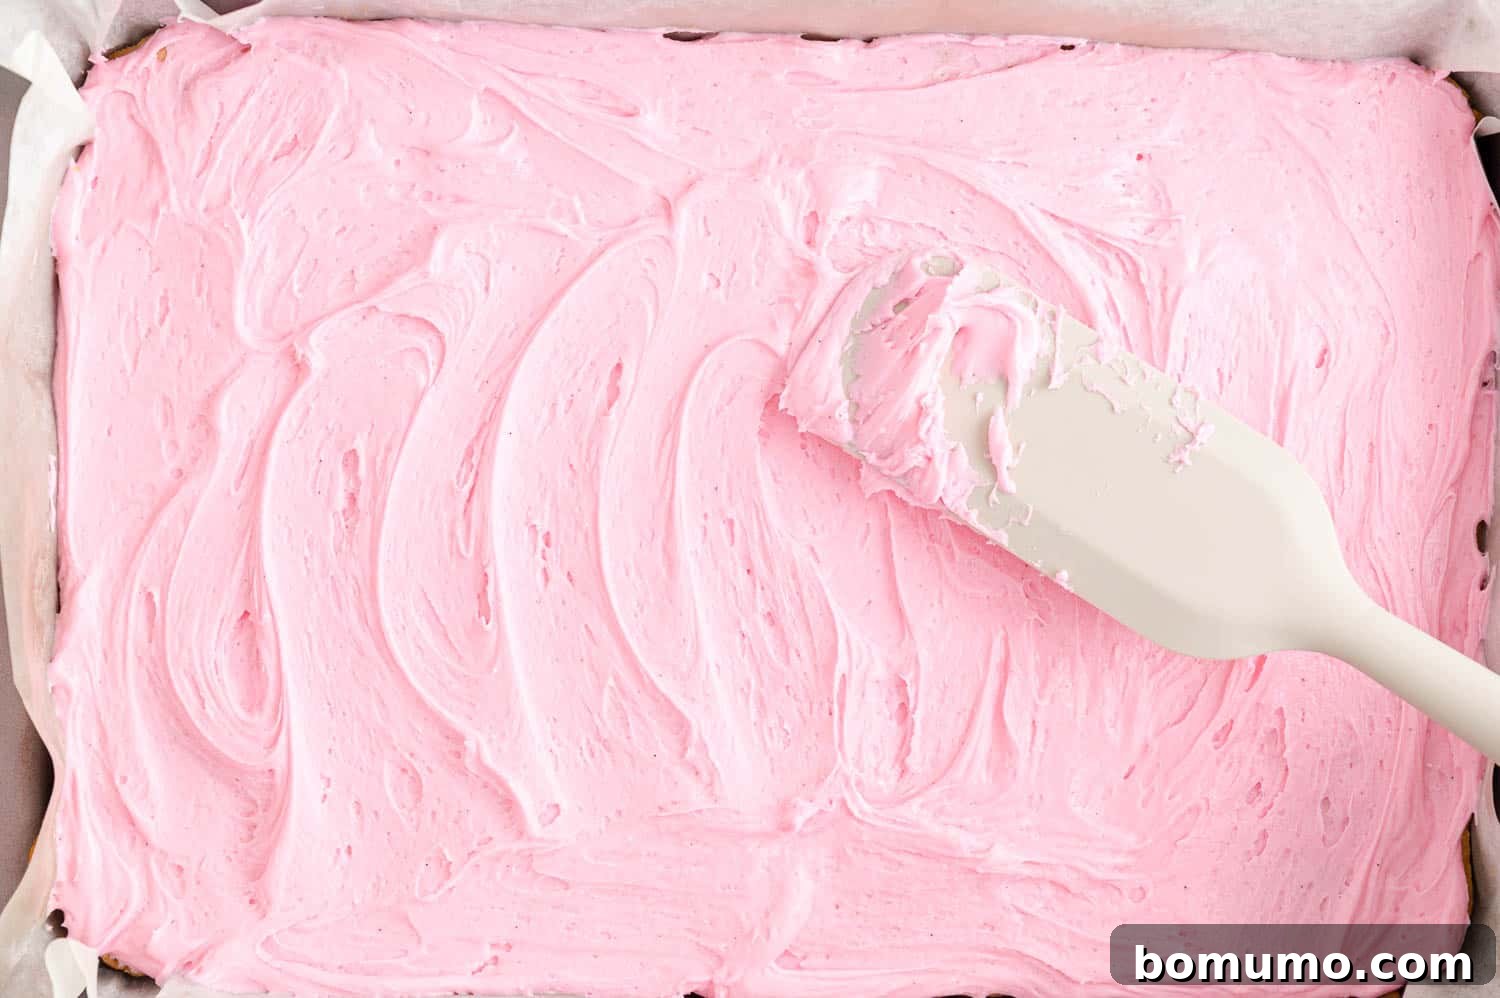
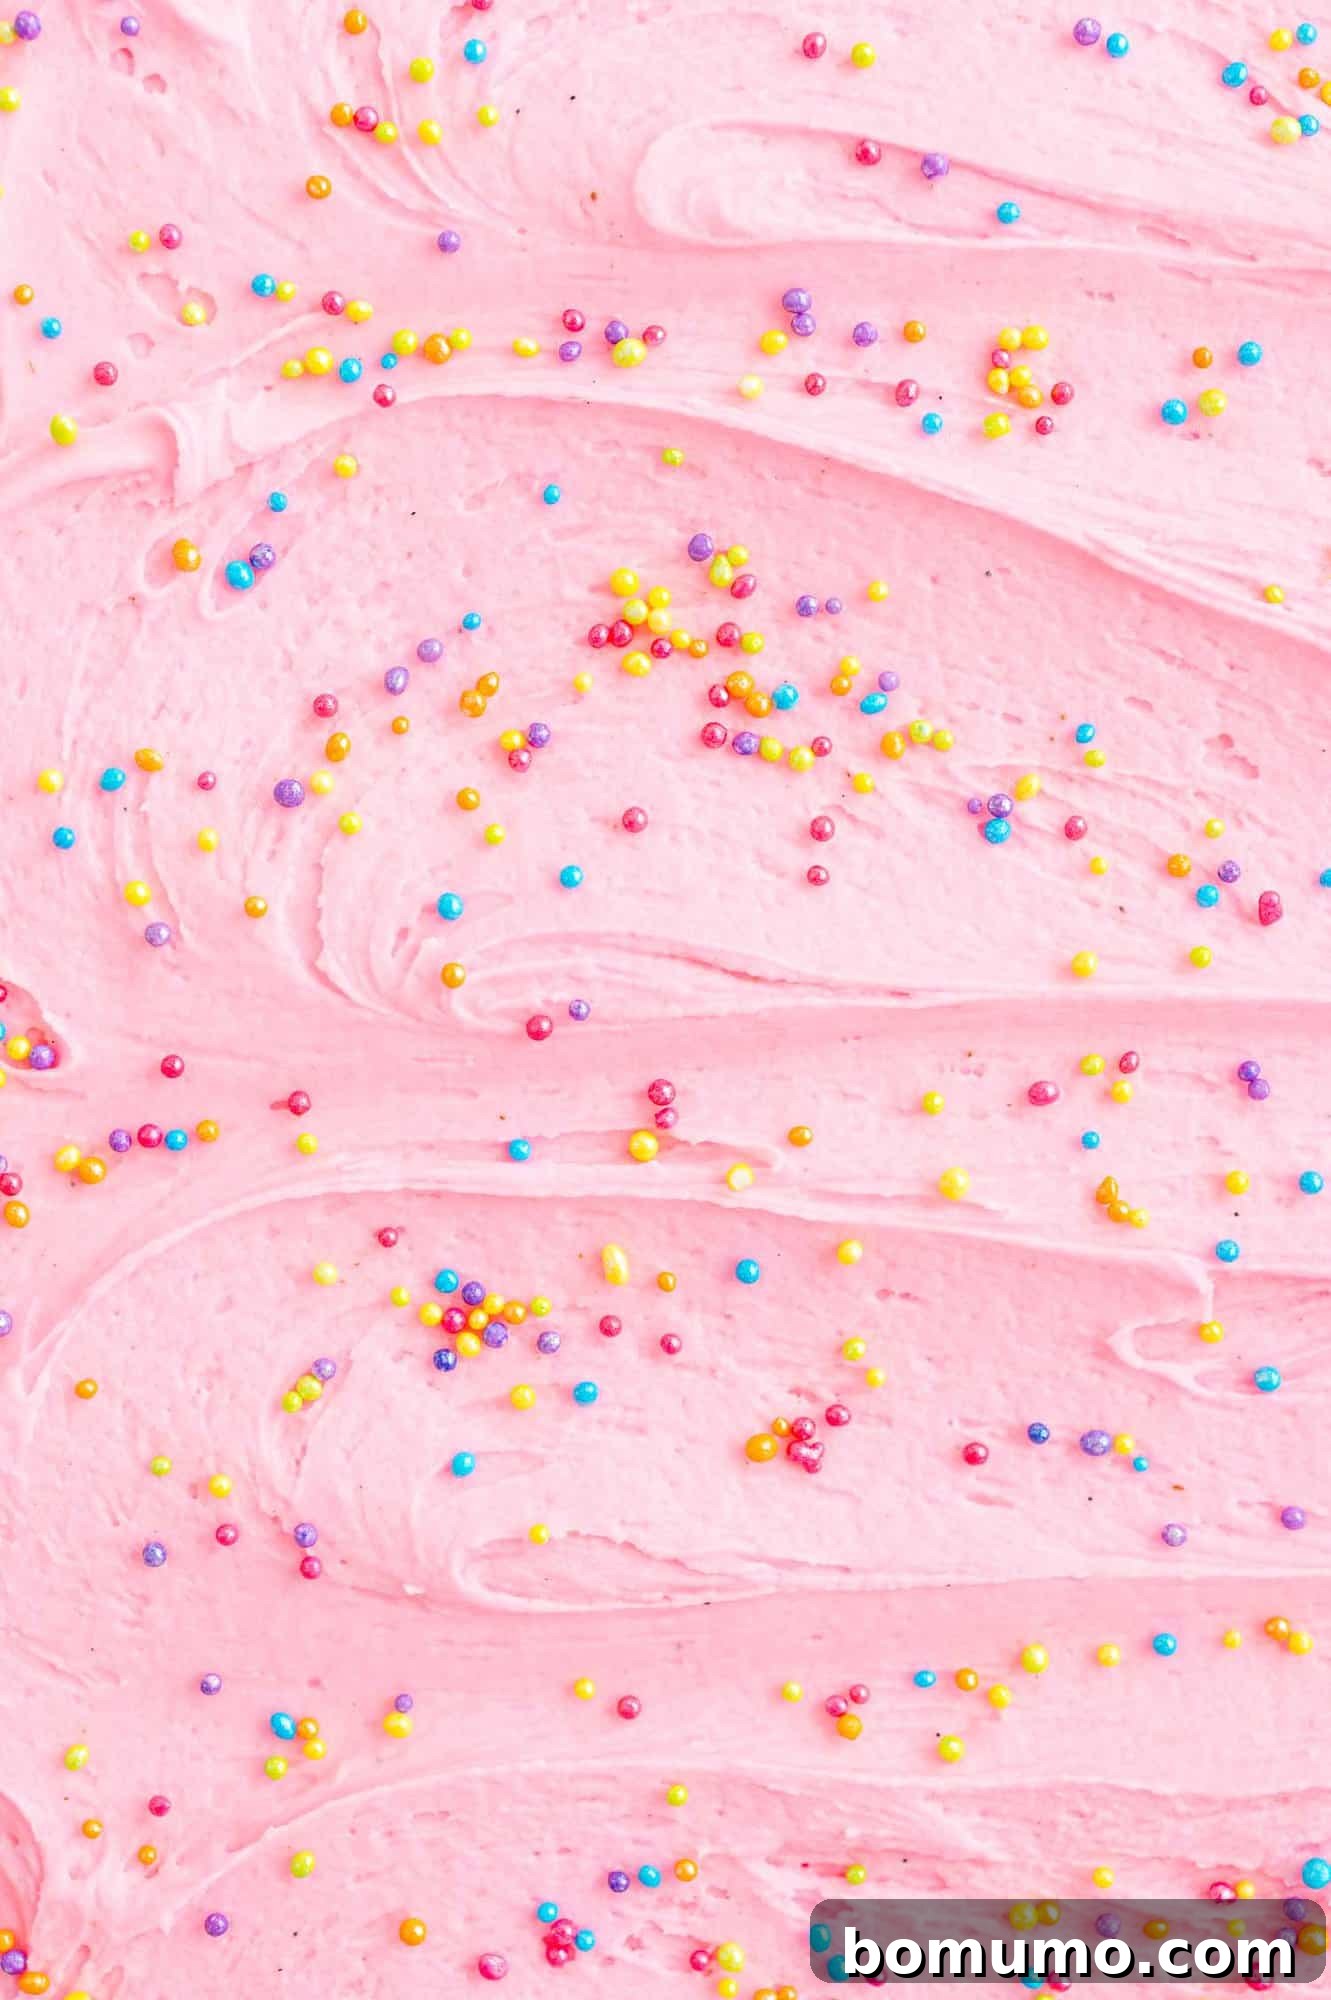
Once the cookie base is completely cool, spread the prepared buttercream frosting evenly over its surface using an offset spatula or the back of a spoon. Work quickly but carefully to create a smooth, generous layer. Immediately after spreading the frosting, generously scatter your chosen sprinkles over the top. It’s important to add the sprinkles right away, as the frosting will begin to set on the surface, making it difficult for the sprinkles to adhere if you wait too long.
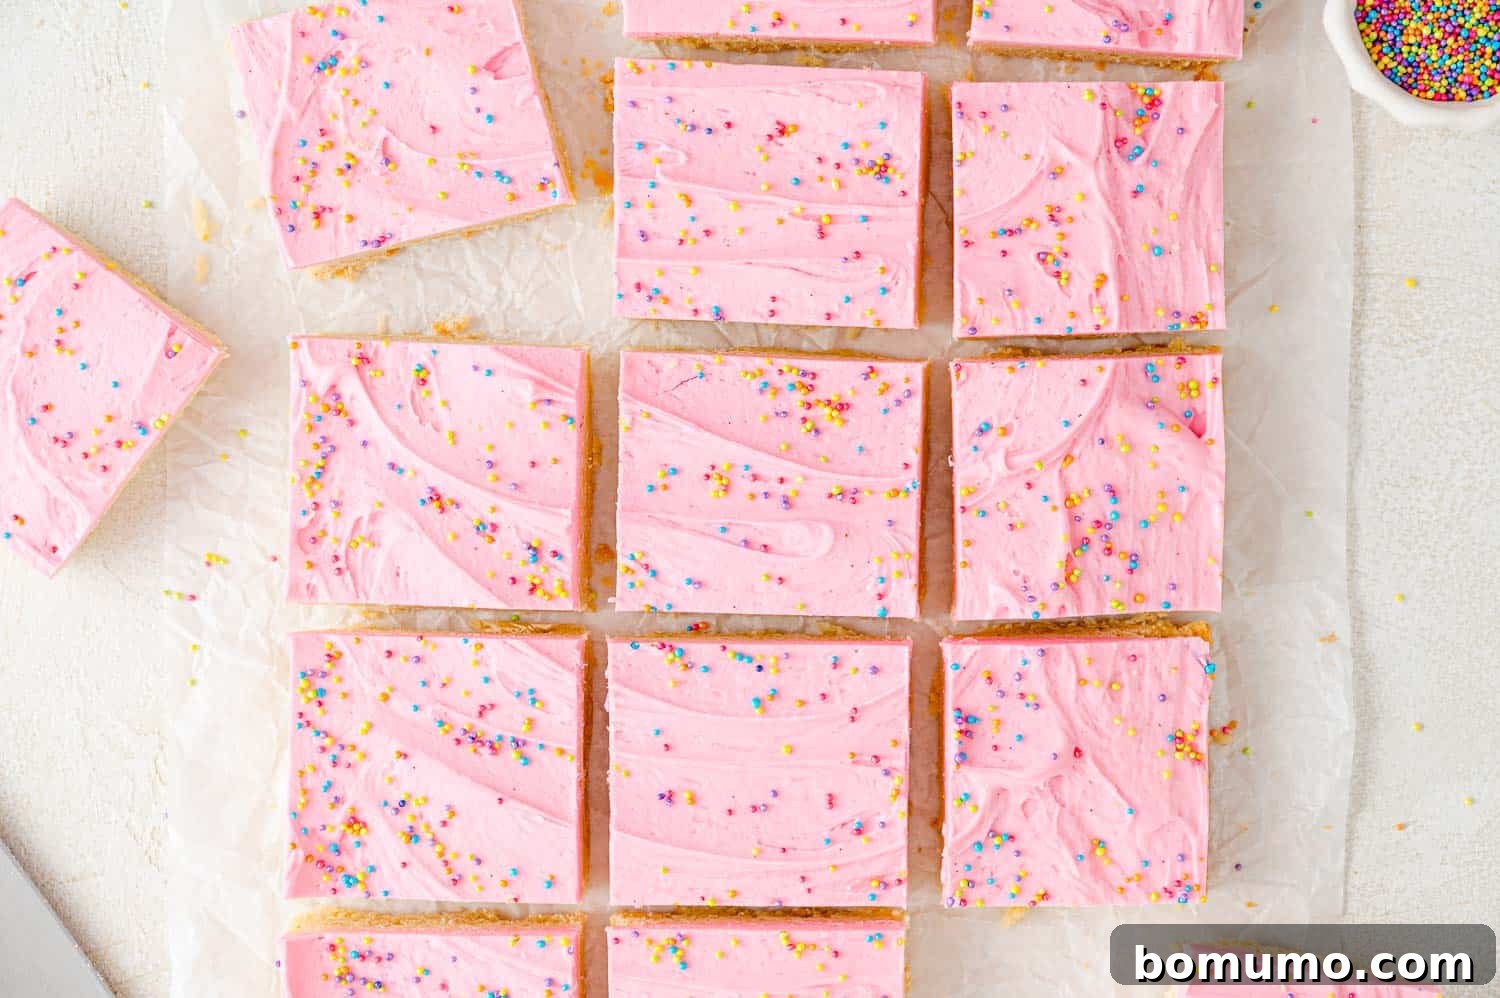
For easier and cleaner slicing, chill the frosted bars in the freezer for at least 30 minutes, or in the refrigerator for about an hour, until the frosting is firm. To cut the bars, gently lift the entire slab out of the pan using the parchment paper handles. Place the slab on a clean cutting board. Use a sharp knife, wiping it clean between cuts for the neatest edges, to slice the bars into even squares of your desired size. Serve and enjoy!
Expert Tips for Flawless Sugar Cookie Bars Every Time
- Ensure Butter is Properly Softened: This is a fundamental step in baking. For optimal results, remove your unsalted butter from the refrigerator at least an hour before you plan to bake. Properly softened butter should yield slightly to gentle pressure from your finger but should not be melted or greasy. Cold, hard butter will not cream well with the sugar, leading to a dense texture. If you’re short on time, you can microwave the butter at a very low power setting (10-20%) in short 10-15 second intervals, carefully checking for softness without letting it melt.
- Master the Art of Measuring Flour: Incorrect flour measurement is a common baking pitfall. To ensure accuracy, always use the “spoon and level” method. Gently scoop flour into your measuring cup using a separate spoon, then use the straight edge of a knife or ruler to level off the top, removing any excess. Never scoop flour directly from the container with your measuring cup or tap/shake the cup, as this compacts the flour, leading to too much being added and a dry, crumbly dough.
- Avoid Overbaking for a Perfectly Tender Bar: Knowing when your cookie bars are done can be a bit more nuanced than individual cookies. You absolutely want to avoid overbaking, as these bars will continue to firm up as they cool, and excessive baking can result in a hard, dry texture. Look for key indicators: the edges should be lightly golden brown, and the center should appear set and firm when gently touched, not gooey or liquid. A slight wobble in the very center is acceptable, as it will set during cooling.
- The Golden Rule: Cool Completely Before Frosting: This tip cannot be stressed enough! Applying frosting to a warm or even slightly warm cookie base is a recipe for disaster. The heat will cause the buttercream to melt, creating a runny, unsightly, and very unappetizing mess. Allow the cookie base to cool entirely on a wire rack, which can take up to an hour or more, depending on your kitchen temperature. Patience truly pays off for perfectly frosted bars.
- Don’t Forget the Sprinkles Immediately: If you’re decorating with sprinkles, be sure to add them immediately after spreading the frosting. As buttercream sits, it begins to form a slight crust on the surface, which can prevent sprinkles from adhering properly. Quick application ensures they stick beautifully.
Frequently Asked Questions About Sugar Cookie Bars
While both sugar cookies and shortbread are beloved buttery treats, their ingredient ratios and resulting textures set them apart.
Sugar cookies typically have a higher proportion of flour and often include eggs, leading to a dough that’s sturdy enough for rolling and cutting into various shapes. They are generally crisp on the edges and soft in the center, making them ideal for decorating. Try my recipe for classic sugar cookies!
A shortbread cookie, on the other hand, contains less sugar and a higher proportion of butter, with no eggs. This rich butter content gives shortbread its characteristic crumbly, tender, and melt-in-your-mouth texture. Shortbread dough is often pressed into molds, rolled into logs and sliced, or simply pressed into a pan and pricked with a fork before baking. Explore my collection of slice and bake cookies for more than 10 delightful shortbread-inspired recipes!
Absolutely! These sugar cookie bars are excellent for making in advance. You can bake the cookie base a day or two before, let it cool completely, wrap it tightly, and store it at room temperature. Prepare the frosting and frost the bars the day you plan to serve, or even frost them a day in advance and refrigerate. The flavors actually meld beautifully over time.
Buttercream frosting consistency is key. If your frosting seems too thick, add milk or cream one teaspoon at a time, beating after each addition, until it reaches a smooth, spreadable consistency. If it’s too thin, gradually add a tablespoon or two more of powdered sugar until it thickens to your liking. Always adjust gradually to avoid over-correcting.
Storage & Preservation Tips for Your Cookie Bars
Should you refrigerate cookie bars? While these buttercream-frosted sugar cookie bars can be kept at room temperature for a day or two in an airtight container, especially in cooler climates, I highly recommend refrigeration for extended freshness and to prevent the buttercream from softening too much, particularly in warm kitchens. When properly stored in an airtight container in the refrigerator, they will remain fresh and delicious for up to a week.
Freezing for Long-Term Enjoyment: Sugar cookie bars are wonderfully sturdy, making them an excellent candidate for freezing. You can freeze them for up to 3 months in an airtight container. If you plan to stack the bars, place a sheet of parchment paper or waxed paper between each layer to prevent sticking. Thaw them in the refrigerator overnight or at room temperature for a few hours before serving.
Discover More Delicious Bars & Cookies
Best Blondie Recipe (one bowl!)
Oh Henry Bars – with nut-free option
Easy Snickerdoodle Bars
Frosted Oreo Cookie Bars
Sugar Cookie Bars with Vanilla Bean Buttercream
Rating: 5 out of 5 stars based on 7 votes
By: Rachel Gurk
Prep Time: 15 minutes
Cook Time: 14 minutes
Chilling Time: 30 minutes
Total Time: 59 minutes
Servings: 24 bars
Pin Recipe
Print Recipe
Sugar cookie bars are sweet and delicious, thanks to a thick layer of buttercream frosting. The frosting and the sprinkles can be matched to any festivity you have planned!
Ingredients
Cookie Bars:
- 1 cup unsalted butter, softened (2 sticks)
- ¾ cup powdered sugar
- 1 tablespoon vanilla bean paste (see note)
- 2 egg yolks
- 2 ¼ cups all-purpose flour
- ½ teaspoon salt
Frosting:
- ⅓ cup unsalted butter, softened
- 1 teaspoon vanilla bean paste (see note)
- 2 tablespoons milk or cream
- 3 cups powdered sugar
- Gel food coloring (optional)
- Sprinkles (optional)
Instructions
- Preheat the oven to 350°F (175°C). Prepare a 9×13 inch pan by spraying it lightly with baking spray, lining with parchment paper (leaving an overhang), and spraying again.
- Add softened butter, powdered sugar, and vanilla bean paste to a large mixing bowl. Cream together using an electric hand mixer on medium speed until light and fluffy. Add the egg yolks and mix well until combined.
- Add the all-purpose flour and salt to the mixture; beat or stir just until a soft cookie dough forms and the flour is fully incorporated. Do not overmix.
- Press the cookie dough evenly into the bottom of the prepared pan, spreading it to the edges with your fingertips.
- Bake for 20 minutes, or until the edges are lightly golden brown and the center is set and no longer shiny. Remove from the oven and let cool completely on a wire rack. This step is crucial before frosting.
- Meanwhile, prepare the frosting. In a medium mixing bowl, combine the softened unsalted butter, vanilla bean paste, milk or cream, and powdered sugar. Whip with an electric mixer until the frosting is light, fluffy, and smooth. If desired, tint with gel food coloring, adding a small amount at a time and mixing until your preferred color is achieved.
- Once the cookie base is completely cool, spread the prepared frosting evenly over the top. Immediately scatter sprinkles over the frosted bars to ensure they adhere before the frosting sets.
- Chill the frosted bars in the freezer for at least 30 minutes, or in the refrigerator for about an hour, until the frosting is firm. Lift the bars out of the pan using the parchment paper handles, place on a cutting board, and slice into even squares. Serve and enjoy!
Notes
- The buttercream frosting can be left white or tinted with gel food coloring to match any occasion. Decorate with your favorite sprinkles, jimmies, or other edible decorations.
- Substitute for vanilla bean paste: If vanilla bean paste is not available, you can substitute pure vanilla extract or the seeds scraped from one whole vanilla bean on a 1:1 basis. For instance, 1 tablespoon of vanilla bean paste equals 1 tablespoon of vanilla extract or the seeds from 1 vanilla bean.
Nutrition
Serving: 1 bar, Calories: 215kcal, Carbohydrates: 28g, Protein: 2g, Fat: 11g, Saturated Fat: 7g, Polyunsaturated Fat: 0.5g, Monounsaturated Fat: 3g, Trans Fat: 0.4g, Cholesterol: 43mg, Sodium: 52mg, Potassium: 19mg, Fiber: 0.3g, Sugar: 19g, Vitamin A: 338IU, Calcium: 8mg, Iron: 1mg
Nutrition information is automatically calculated and should only be used as an approximation.